14
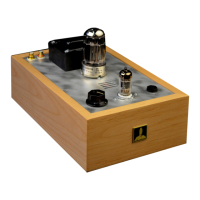
Power transformer
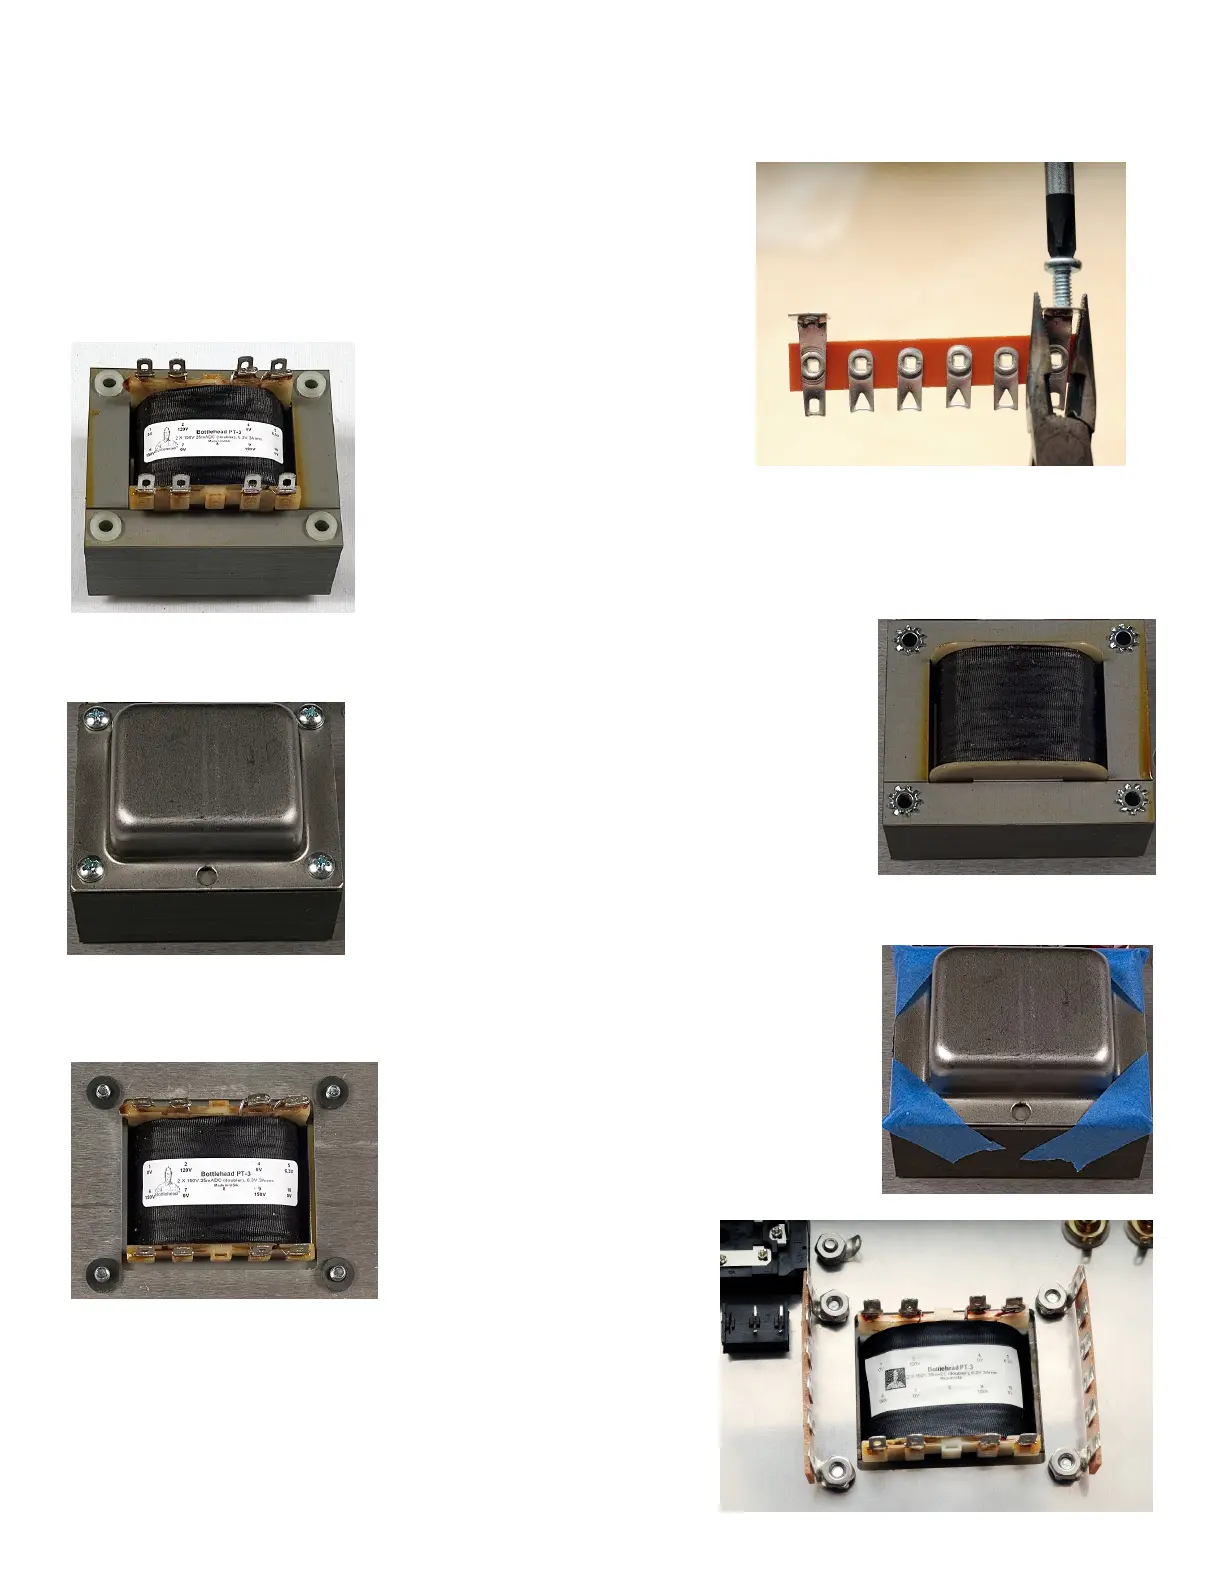
The power transformer comes partially assembled, with the bell end and mountings out. This is to
ease installation and to allow the builder to paint the bell end
before installation if they so choose.
( ) First grasp the mounting tabs of each 6 lug terminal strip
firmly in some pliers and slowly thread the #8-32x1/2”self
tapping screw into each mounting tab to cut a thread. Remove
the screw and set the terminal strip aside. You will not need to
use the self tapping screw during
the rest of the assembly.
( ) slip a nylon shoulder washer into the hole on each bottom corner of the
power transformer, and set the transformer into its hole, taking care to
align the mounting holes. The terminals numbered 1-5 should be to the
rear of the chassis and the terminals numbered 6-10 should be to the
front.
( ) Set a star lock washer on each hole on top of the transformer and
carefully set the bell end over them.
( ) Slip a round #8 lockwasher over one 1-3/4”
screw and place that screw in the hole nearest
the safety ground. Place three more #8 by 1-3/4”
screws into the other holes on each corner of the transformer.
( ) Temporarily tape the screws down over the corners of the bell end and
the lamination stack and flip the chassis over, being careful to keep the
transformer from coming out of the hole.
( ) Slip a #8 fiber shoulder washer over each
of the screws on the underside of the chassis.
( ) Screw the screws into the threaded terminal strips and
secure them each with a #8 nut. The terminal strip
can be bent back slightly to aid in starting the nut, then
bend it back to perpendicular.