4
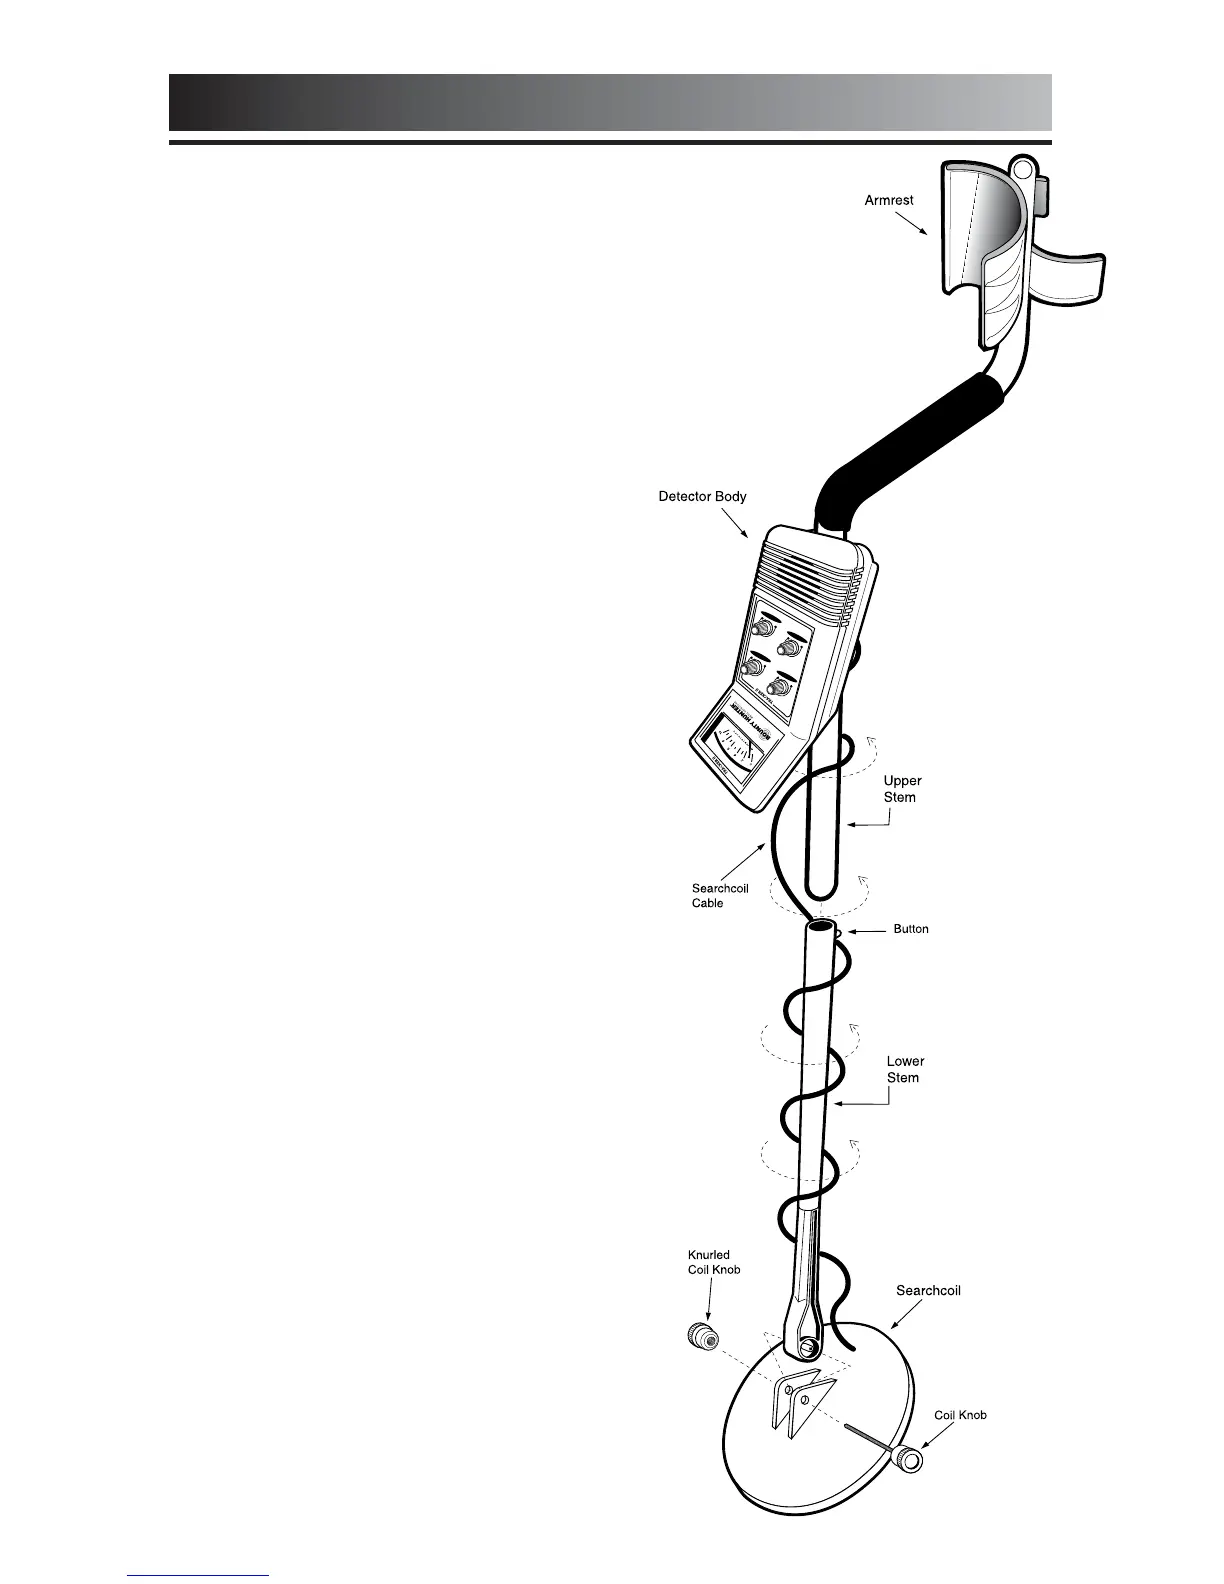
ASSEMBLY
No tools are required. Follow these
steps:
1
Unpack your detector and find
the following parts:
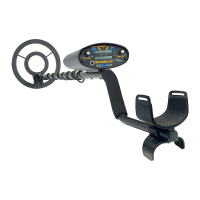
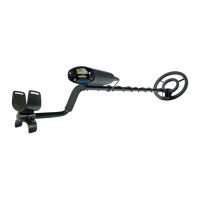
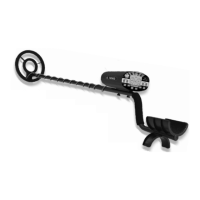
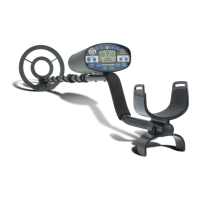
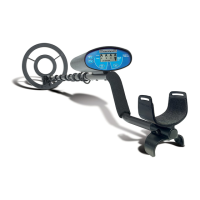
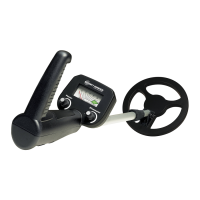
•Detector body, attached to
S-rod handle and search coil.
•Lower stem (short metal
tube with plastic extension
and silver button).
• (2) Coil knobs. One with a
shaft attached, one without.
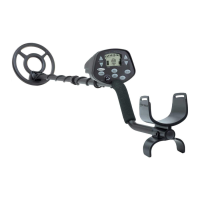
2
Depress the button on the lower
stem and push the lower stem
into the upper stem.
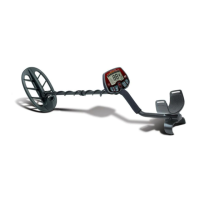
3
Wind the search coil cable
around the two-piece stem.
4
Leave some slack in the cable
as you reach the end of the
lower stem.
5
Attach the coil to the stem using
the coil knobs.
6
Install two (2) 9-volt ALKALINE
batteries (not included).
There are two battery doors on
the back of the detector body.