19
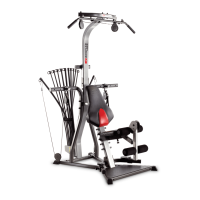
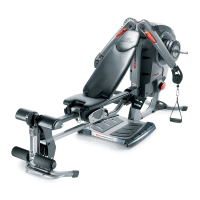
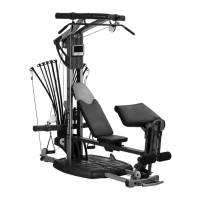
Assembling Your Bowflex Ultimate
®
2
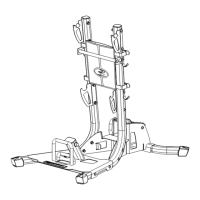
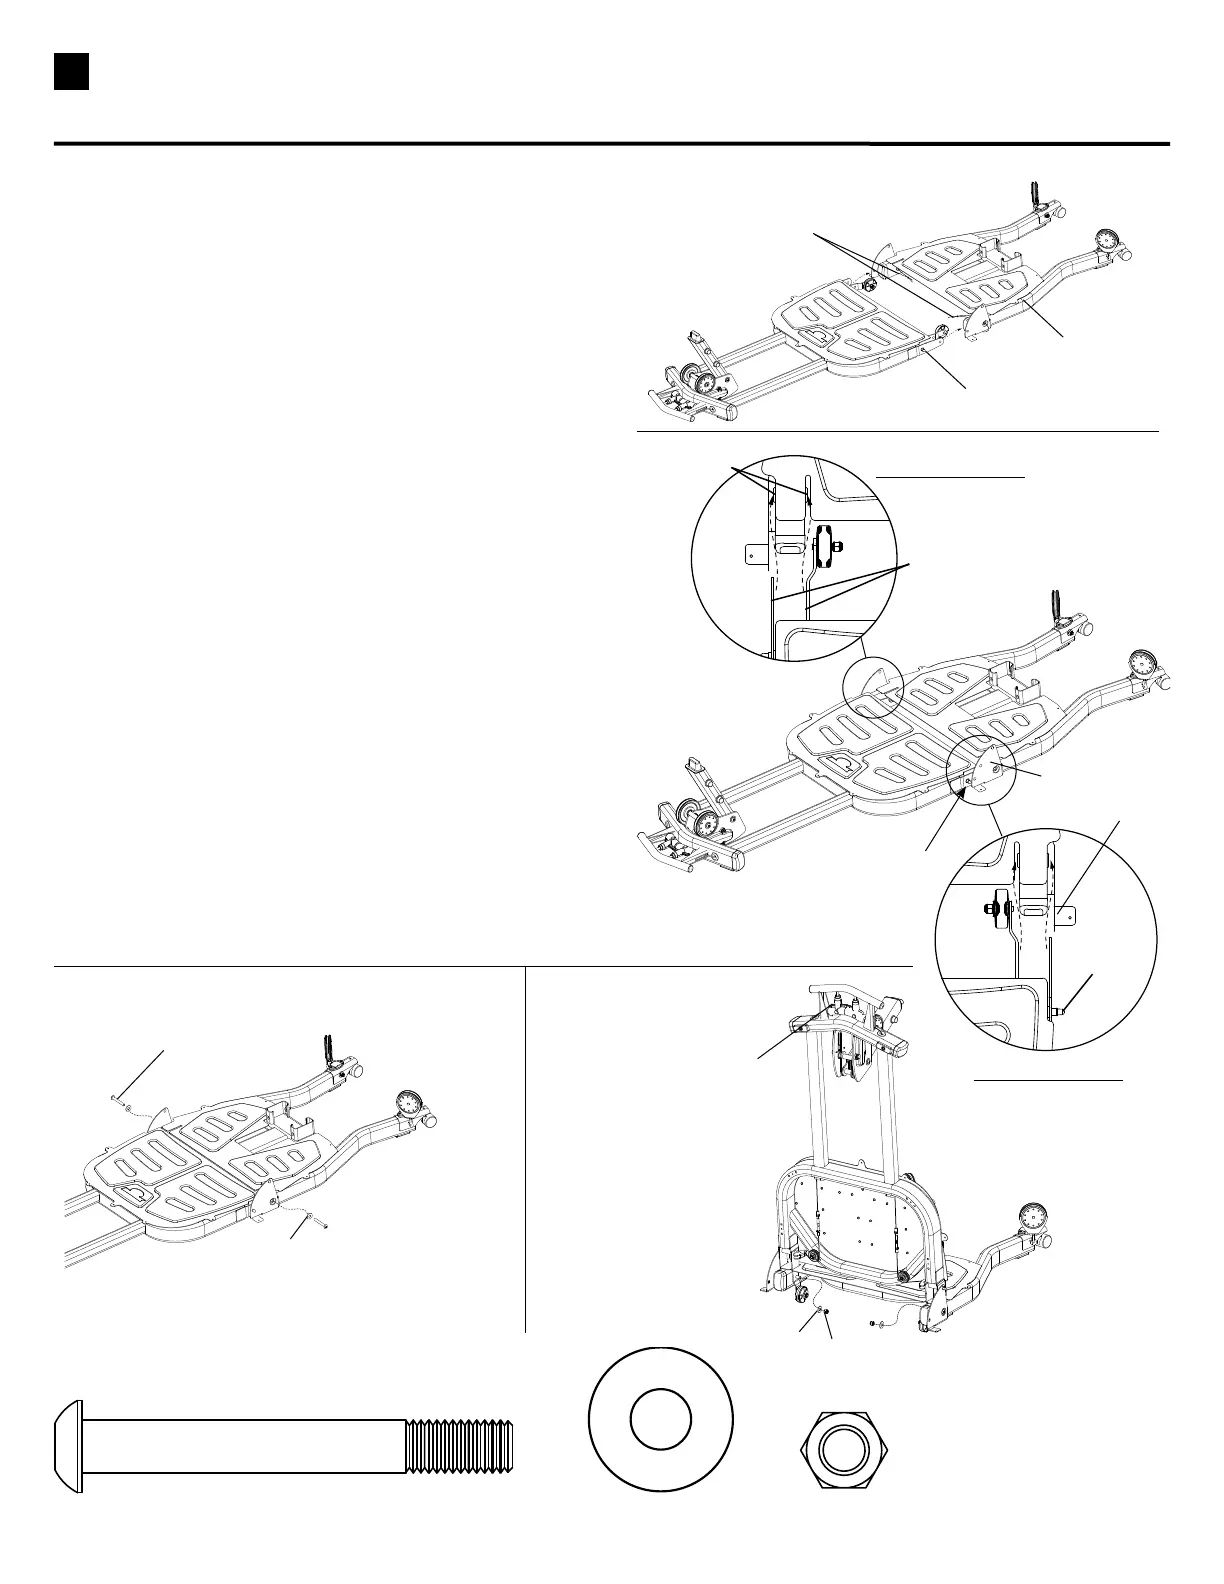
STEP 3 – Use two people for this step!
Parts:
•FrontBaseAssembly
•RearBasePlatform(Box2)
Tool:
•HexKey(7/32”)
•Wrench(9/16”)- or Adjustable Wrench
3-1 RemoveWireTiesfromBushings.
3-2 SlideFrontBasetowardrearbaseuntilthe
LockingPinsmakecontactwiththesideplates.
MAKE SUREtheFlangesslideovertheBushings
duringthisprocedure.(See Top Detail View)
3-3 SqueezetheFrontHandletoretracttheLocking
Pins,liftthehandleabout3-4inchesandpush
FrontBasecompletelyintotheRearBase.
ReleasethehandleandmakesuretheLocking
PinsprotrudethroughtheSidePlates.
3-4 InserttheButtonHeadBoltandWasherthen
squeezeFrontHandleandfoldFrontBaseupto
installInsideWasherandHexnut.Completely
tightenhardware.
2 Pan Head Allen Bolt (3/8” X 3”) 4 Washers (3/8”)
Hardware (1:1):
2 Nylock Nut (3/8”)
Remove Wire Ties
from Bushings
TOP DETAIL VIEW
Bushings
Make sure Flanges
slide over Bushings
TOP DETAIL VIEW
Slide Front Base
towards Back Base
Until it Contacts Pins
Locking Pin
Pan Head Allen Bolt
Washer
Squeeze Handle and
Fold Front Base up
to install Nylock Nut
and Washer
A
B
C
D
Washer
Nylock Nut
Side Plate
Side Plate
Locking Pin
Rear Base
Platform