24 25
ENGLISH
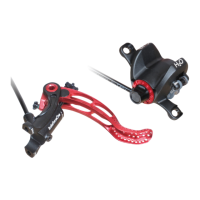
) If necessary loosen screws (1) (pic. 4) and set lever in a suitable position
to reach hose.
) Tighten screws lightly (1).
) Pull Safety pin (2) from hose connector (3).
) Push down the ring-shaped lock on the hose connector (3) and remove
hose carfully.
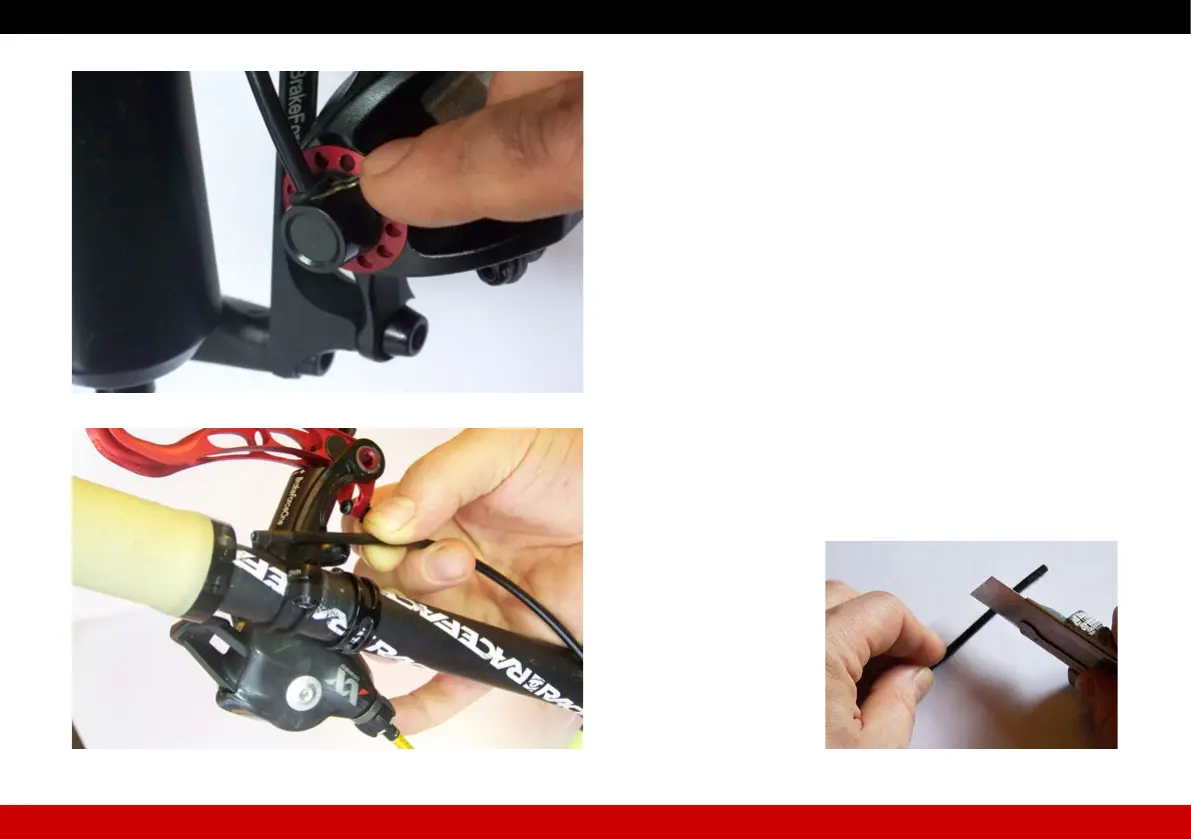
) Hold hose next to the connector at the estimated length (pic. 11)
and check for enough hose length by turning the handlebar to both
directions about 150°-180°. Adjust hose length if necessary.
) The hose of the front brake should to get a smooth radius for the brake
hose to the next xing point whilst the fork is rebound. Avoid extreme
bending or crippling of the brake hose.
) Mark the hose at the described point.
Hold cloth under marked point before cutting the hose – uid can leak
out of the cut off end.
) Cut hose at the marked spot with hose cutter (pic. 12).
) Hose should be pushed in as far as possible.
) Bleed the brake afterwards (– see bleeding/lling, page 29).
) Pull lever rmly and hold.
) Make sure that there is no uid leaking out of the system.
) Make sure that pads didn’t get into contact with uids. Change dirty
pads as soon as possible.
) If necessary set lever at a suitable position (– see tting of lever,
page 21).
Picture 10
Picture 11
Picture 12