FRONT AXLE
KUKJE MACHINERY CO., LTD.
60
4. CHECKING, DISASSEMBLING AND SERVICING
< Clearance between differential case and
differential pinion >
1. Measure the differential pinion boss O.D. with an
outside micrometer.
2. Measure the differential case bore I.D. with a
cylinder gauge, calculate the clearance.
3. If the clearance exceeds the allowable limit,
replace faulty parts.
Factory spec.
0.032 to 0.068 mm
0.00126 to 0.00268 in.
Clearance between
differential case and
differential pinion
Allowable
limit
0.2 mm
0.0079 in.
Differential case
bore I.D.
Factory spec.
15.000 to 15.018 mm
0.59055 to 0.59126 in.
Differential
pinion O.D.
Factory spec.
14.950 to 14.968 mm
0.58858 to 0.58929 in.
< Backlash between 10T bevel gear and 16T bevel
gear >
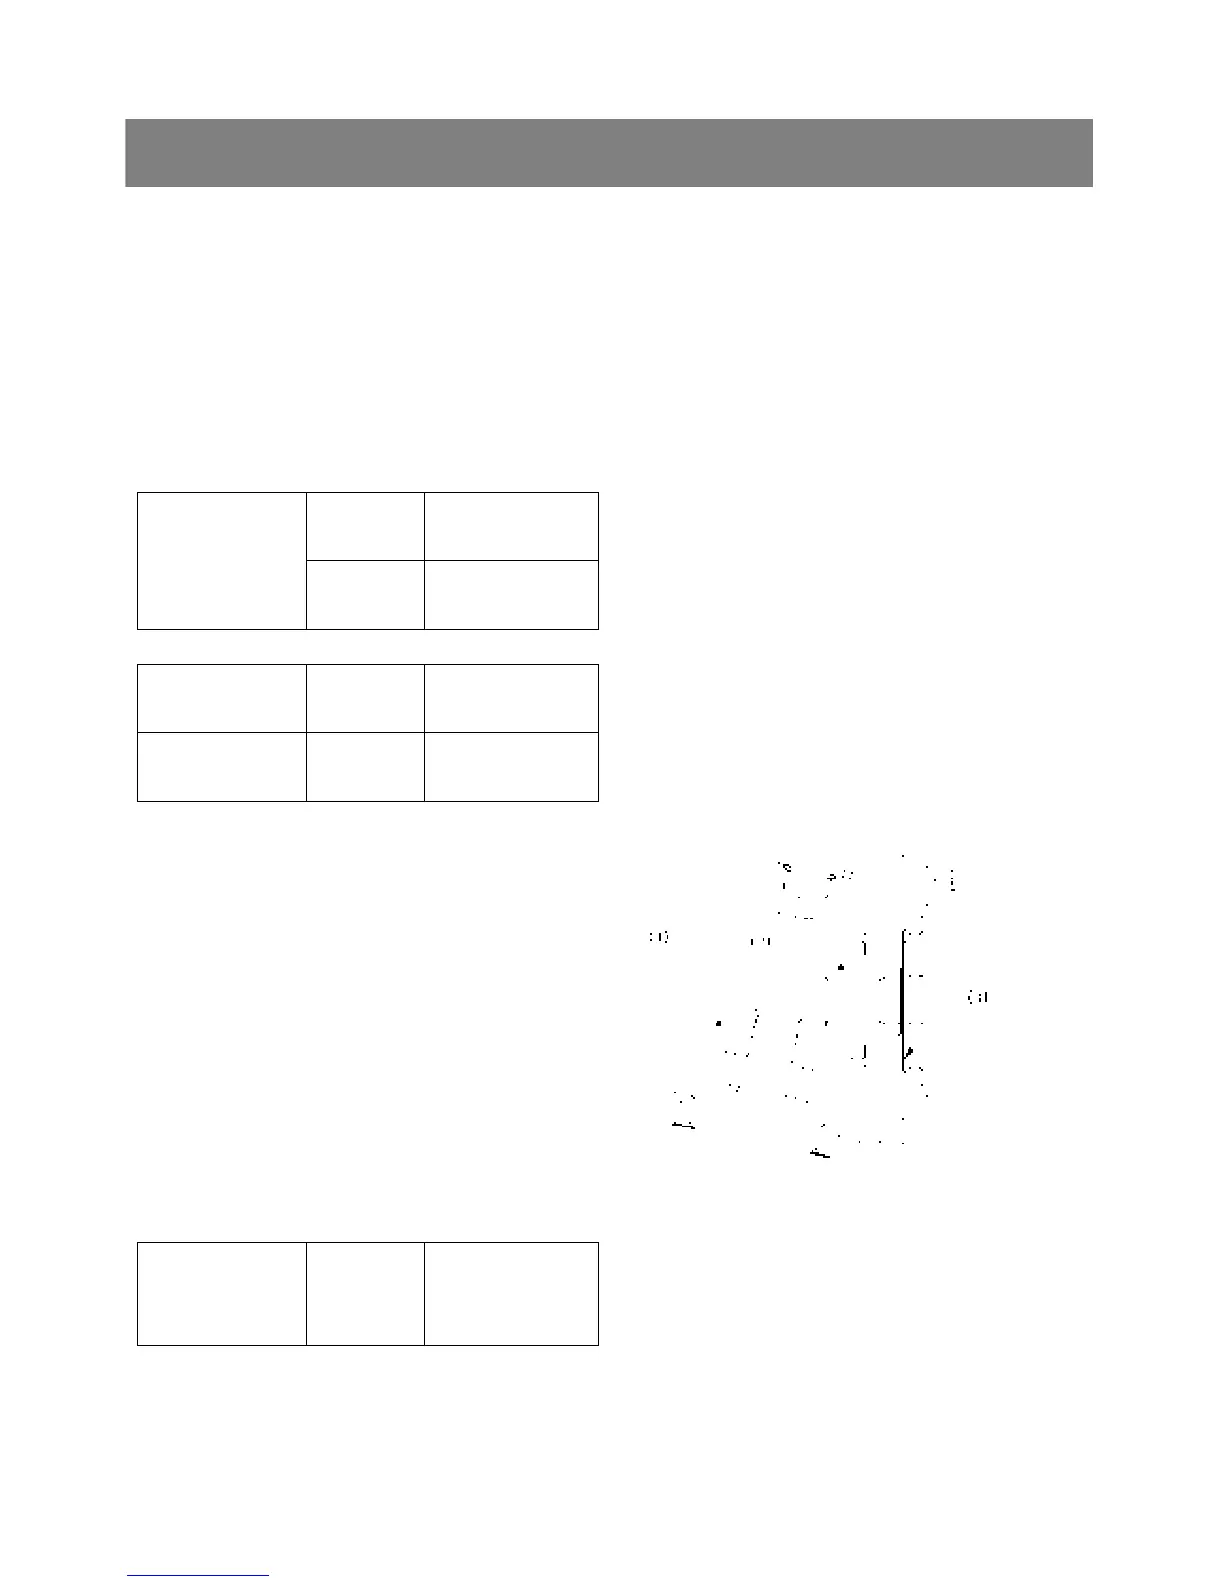
1. Stick a strip of fuse to three sports on the 16T
bevel gear(1) with grease.
2. Fix the front axle case, bevel gear case and front
gear case.
3. Turn the axle.
4. Remove the bevel gear case from front axle case
and measure the thickness of the fuses with an
outside micrometer.
5. If the backlash is not with in the factory
specifications, adjust with shim(3).
Backlash between
10T bevel gear and
16T bevel gear
Factory spec.
0.1 to 0.3 mm
0.2 0.004 to 0.012 in.
9 Tooth contact : More than 35%
9 Thickness of adjusting shims (3) :
0.8mm(0.031in.), 1.0mm(0.039in.),
1.2mm(0.047in.), 1.4mm(0.055in.)
*. PART NAME
1) 16T Bevel gear 2) 10T Bevel gear
3) Shim
 Loading...