TRANSMISSION
KUKJE MACHINERY CO., LTD.
74
5. CHECKING, DISASSEMBLING AND SERVICING
◈ Important
¾ Measure quickly so that the high pressure
relief valve is not be in operation more than
10 seconds.
◎ High relief pressure
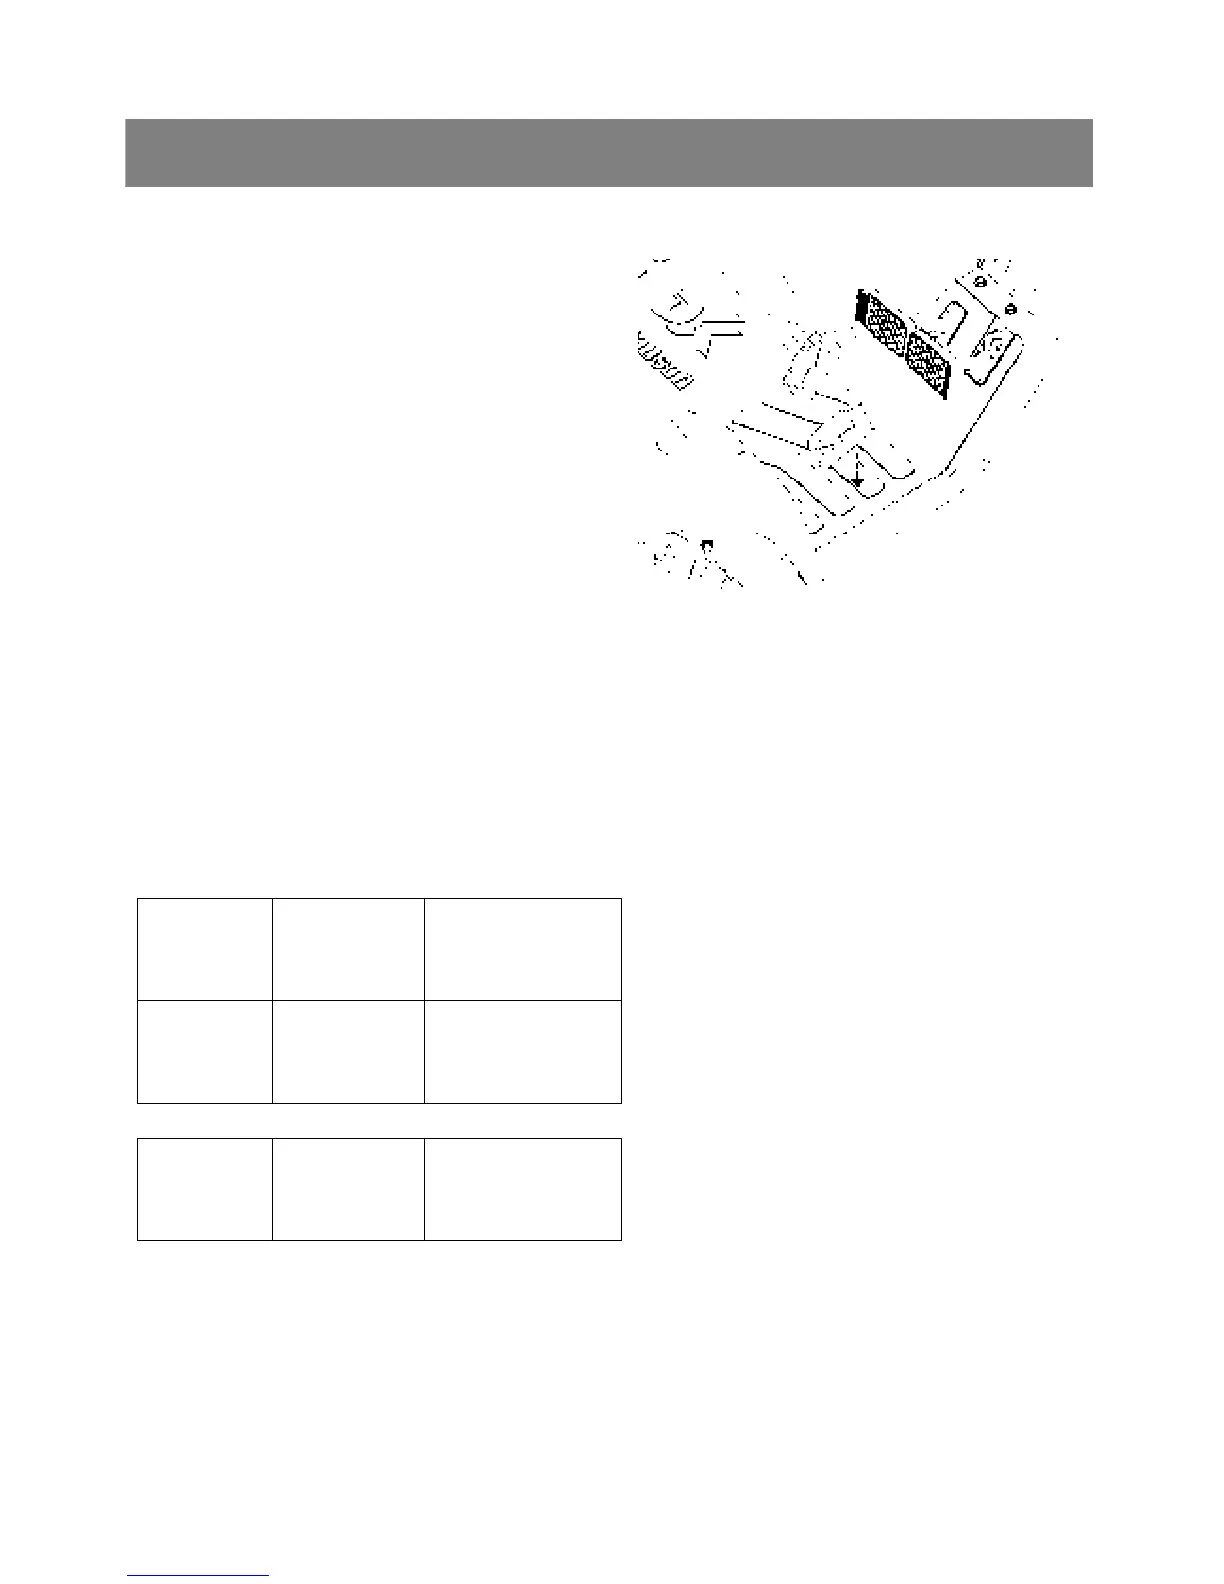
1. Remove the neutral valve assembly forward(1),
then install the assembled HST adaptor (Tool for
pressure test) to its neutral valve port.
2. Install the cable and high pressure gauge to HST
adaptor (Tool for pressure test).
3. Change the range gear shift lever to High
position.
4. Start the engine and run it at the maximum speed.
5. Depress the speed control pedal forward and read
the high pressure gauge to measure the forward
high relief pressure.
6. Stop the engine. Change the installation of HST
adaptor (Tool for pressure test) and pressure
gauge from forward neutral valve port to reverse.
7. Start engine and repeat above method(4 and 5) to
measure the reverse high relief pressure.
8. If the measurement is not same as factory
specification, check the high pressure relief valve
and related hydraulic components.
Charge relief
pressure
Factory spec.
(Oil temperature
at 50℃, 122℉)
392.0 to 490.0 kPa
4.0 to 5.0 kgf/㎠
56.9 to 71.1 psi
High relief
pressure
Factory spec.
(Oil temperature
at 50℃, 122℉)
30.9 to 31.9 kPa
315.0 to 325 kgf/㎠
4480 to 4622 psi
Tightening
Torq ue
Neural valve
cap screw
58.8 to 68.6 kPa
6.0 to 7.0 kgf/㎠
43.4 to 50.6 psi
▶ NOTE
1. High pressure gauge is 40 ㎫ (400 kgf/㎠,
5800 psi) full scale.
2. Low pressure gauge is 2 ㎫ (20 kgf/㎠, 290
psi) full scale.
3. When reinstalling the neutral valve, take care
not to damage the O-ring.