9
Getting started
k Record your warranty online by
visiting brewart.com/register
k BrewArt BeerDroid and BrewFlo
come with a 12 month Limited
Replacement Warranty.
k We recommend that you register
your hardware items for warranty.
k To view full Terms and Conditions
of Sale, including Limited
Replacement Warranty details
go to brewart.com/register
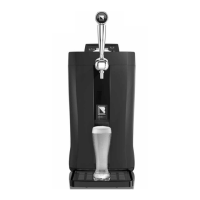
k Position your BrewFlo on a
clean flat surface in a dry area
away from direct sunlight
or other heat sources.
k Ensure all vents are free of
obstructions and your BrewFlo is
at least 10cm away from walls and
other objects – see Diagram A.
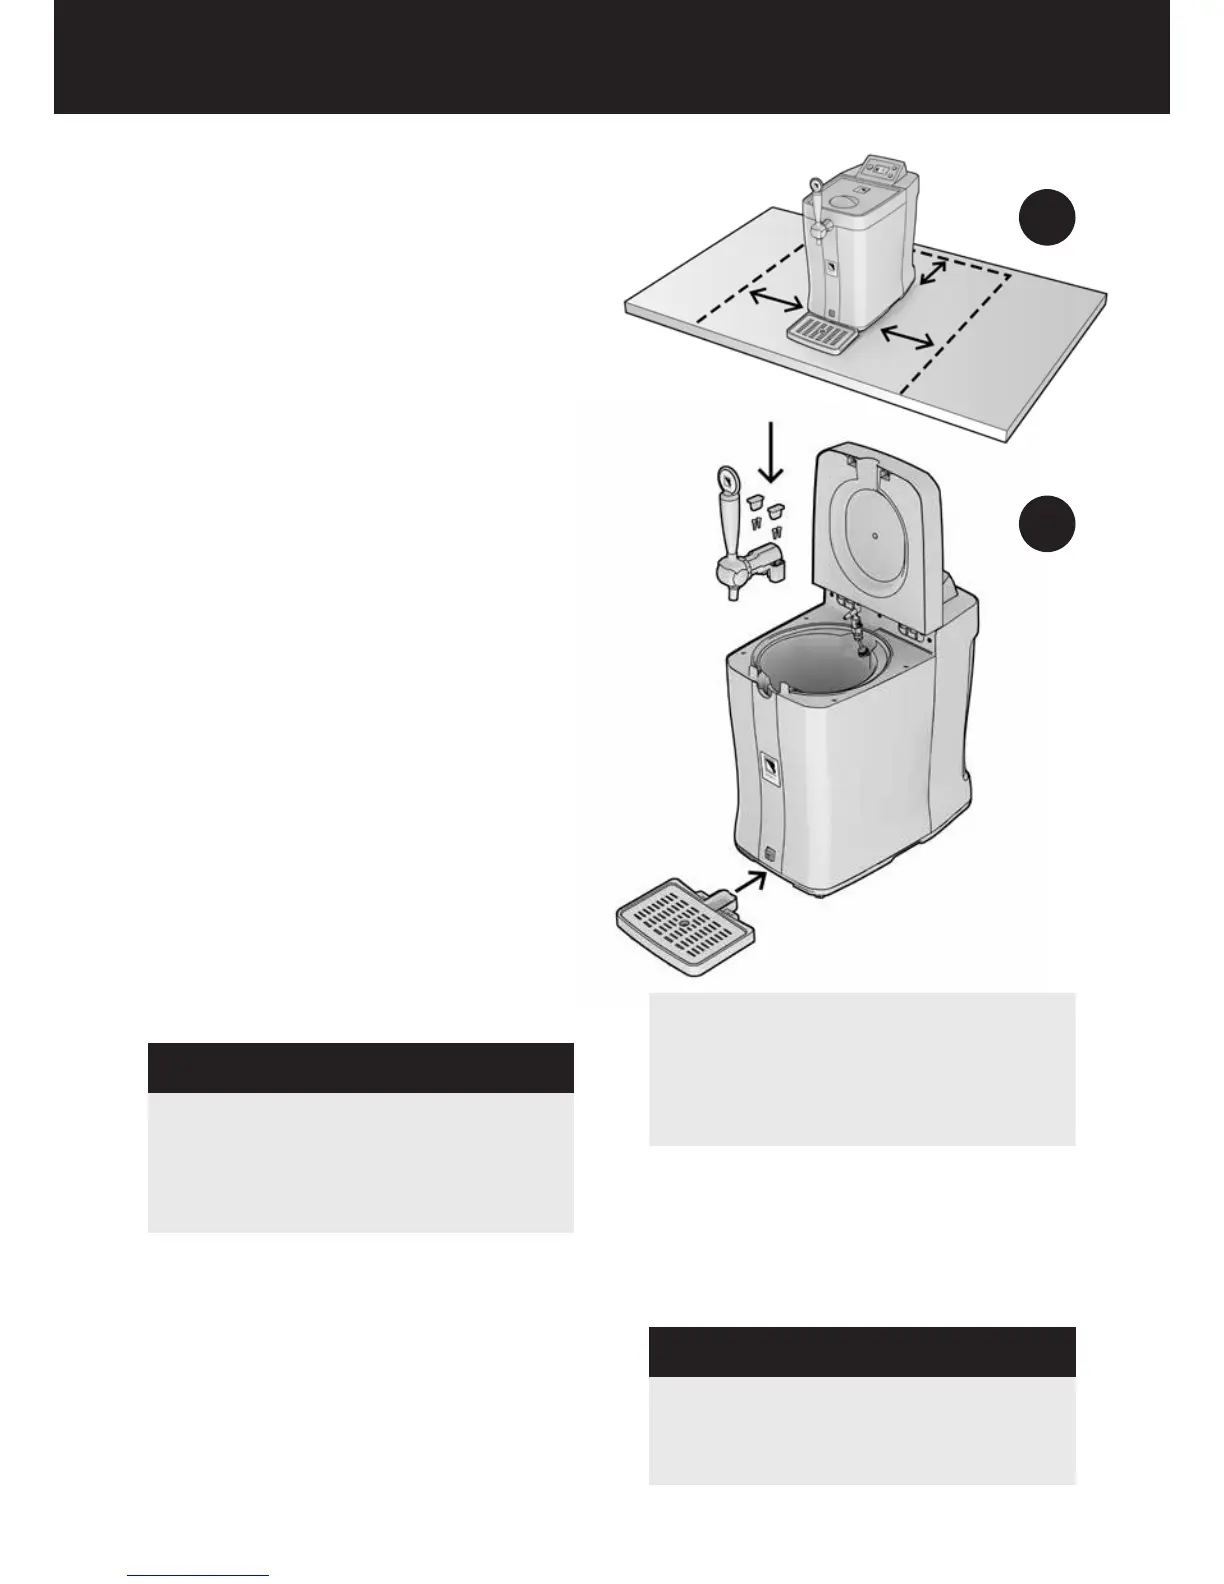
Assembly
WARNING
DO NOT tilt or lay BrewFlo on its
back or side as this can cause
damage to the compressor.
k Open your BrewFlo lid
k Fit the beer font into your BrewFlo
and, using the screws, secure
it in place – see Diagram B.
B
Note
Use a magnetic screwdriver to
make inserting screws easier.
k Insert plugs into the recesses
to either side of the font.
k Insert the drip tray by sliding it
into the base of your BrewFlo.
WARNING
Do not move your BrewArt
BrewFlo during operation.
A