1.2.4 FROST ELIMINATION COVER – FIG 3
1.2.5 INSTALLATION OF THE MICROTOME (and REMOVAL)
WARNING - The microtome weighs approximately 15kg. Ensure that adequate precautions are
taken to prevent injury, i.e. back strain, when lifting and moving. The use of an industrial,
personal lifting belt is highly recommended.
Remove the shipping stay as follows:
1 Loosen the specimen clamp and knife clamp screws FIG 4(5).
2 Slide out the shipping stay and the packaging.
3 Retain the stay for possible future use and dispose of the packaging.
Now install the microtome:
1 With your right hand under the front of the microtome and your left hand under the rear left
side, carefully lift the microtome into the chamber.
2 Locate it on the four studs in the chamber. Look for the reflection of the holes in the base of
the microtome to locate the front two studs - the rear ones will follow.
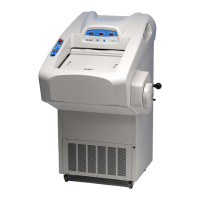
3 Loosen the two recessed grub screws in the coupling on the Drive shaft projecting from the
right chamber wall.
4 Slide the coupling onto the corresponding shaft on the microtome, ensuring that the left
screw is exactly over the dimple in the microtome shaft. Tighten the left screw.
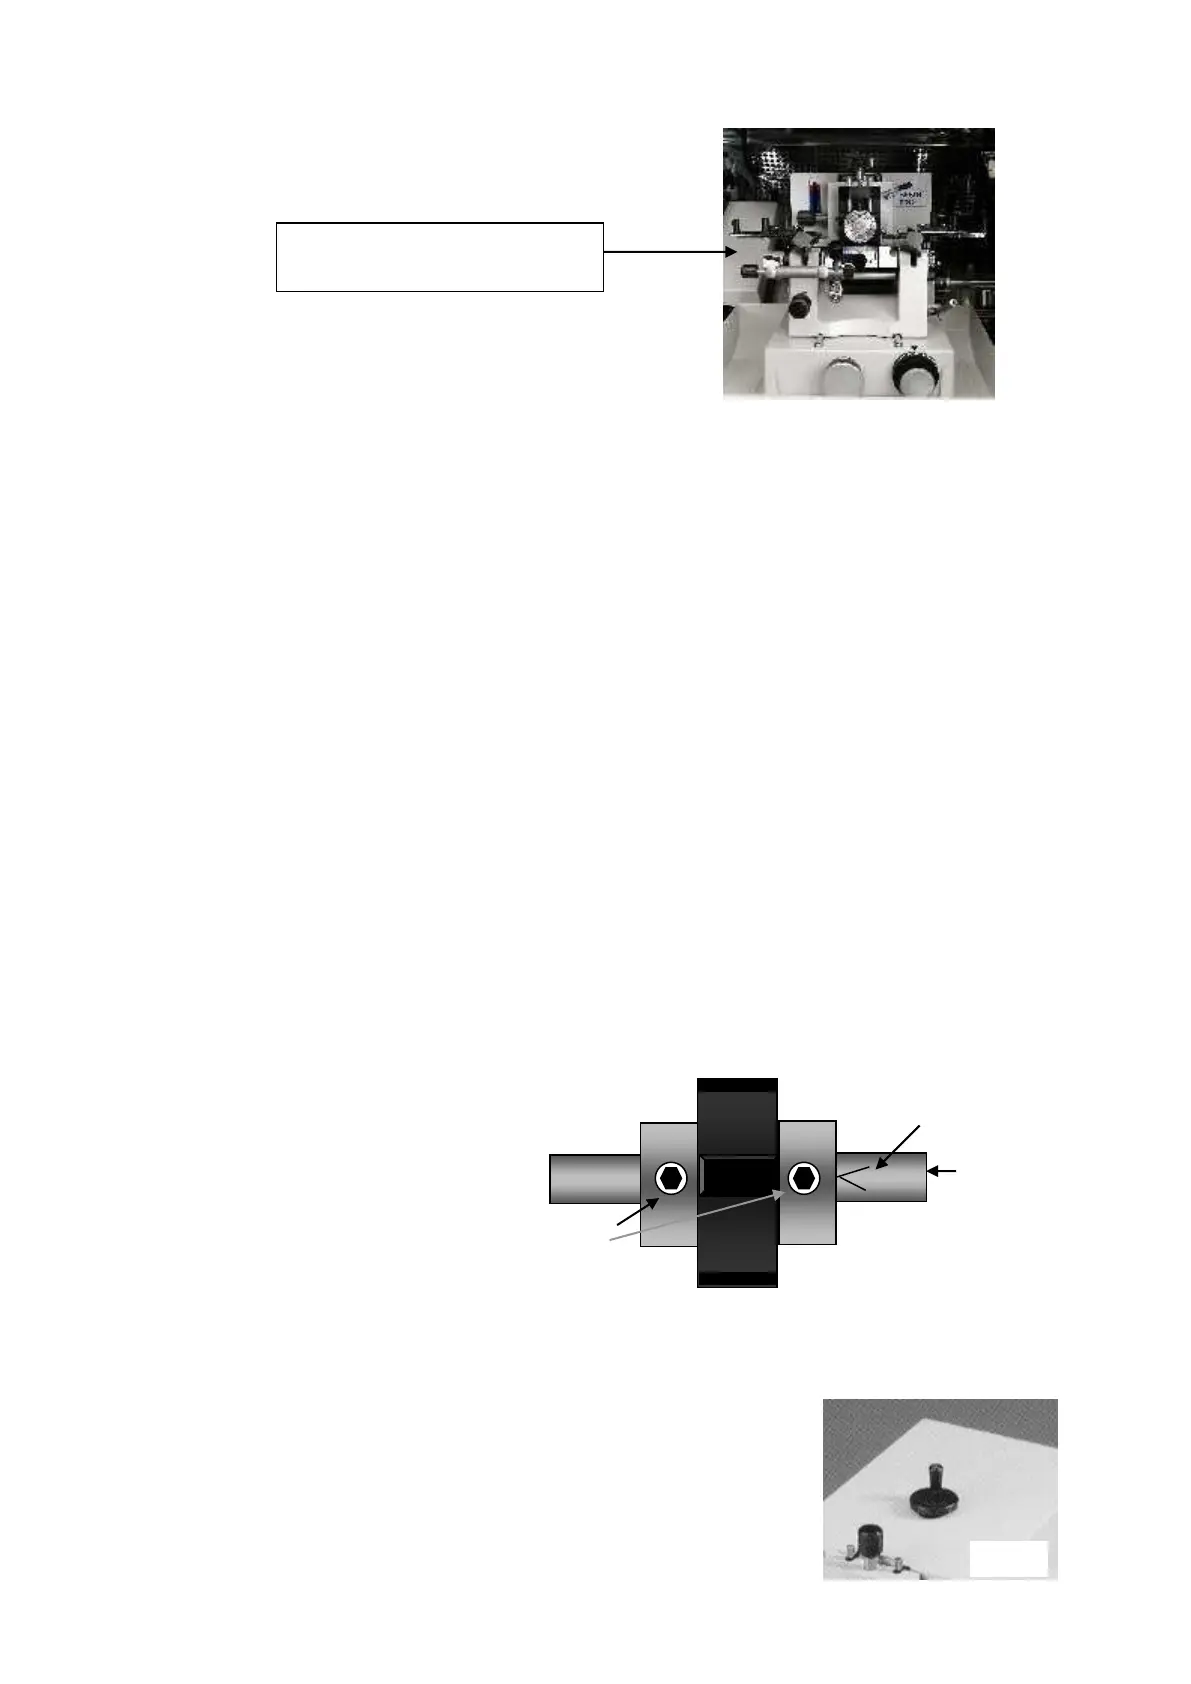
5 Now rotate the handwheel until the arrow head (<) points to the right screw as shown below
(Fig 4), then tighten the screw
Check that the coupling has been correctly fitted by rotating the handwheel, the specimen arm
should rise as the handwheel’s knob moves upwards, and should be at the bottom of the stroke
when the handwheel knob is at its lowest position.
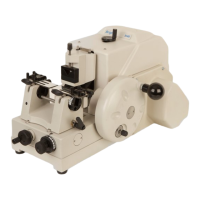
6 Install the rewind control knob on the top of the microtome. Please
note that this knob must be removed prior to lifting the microtome
out of the chamber.