OTF 5000/HS/LS-001/2/3/4 Iss 4 June 2012
24
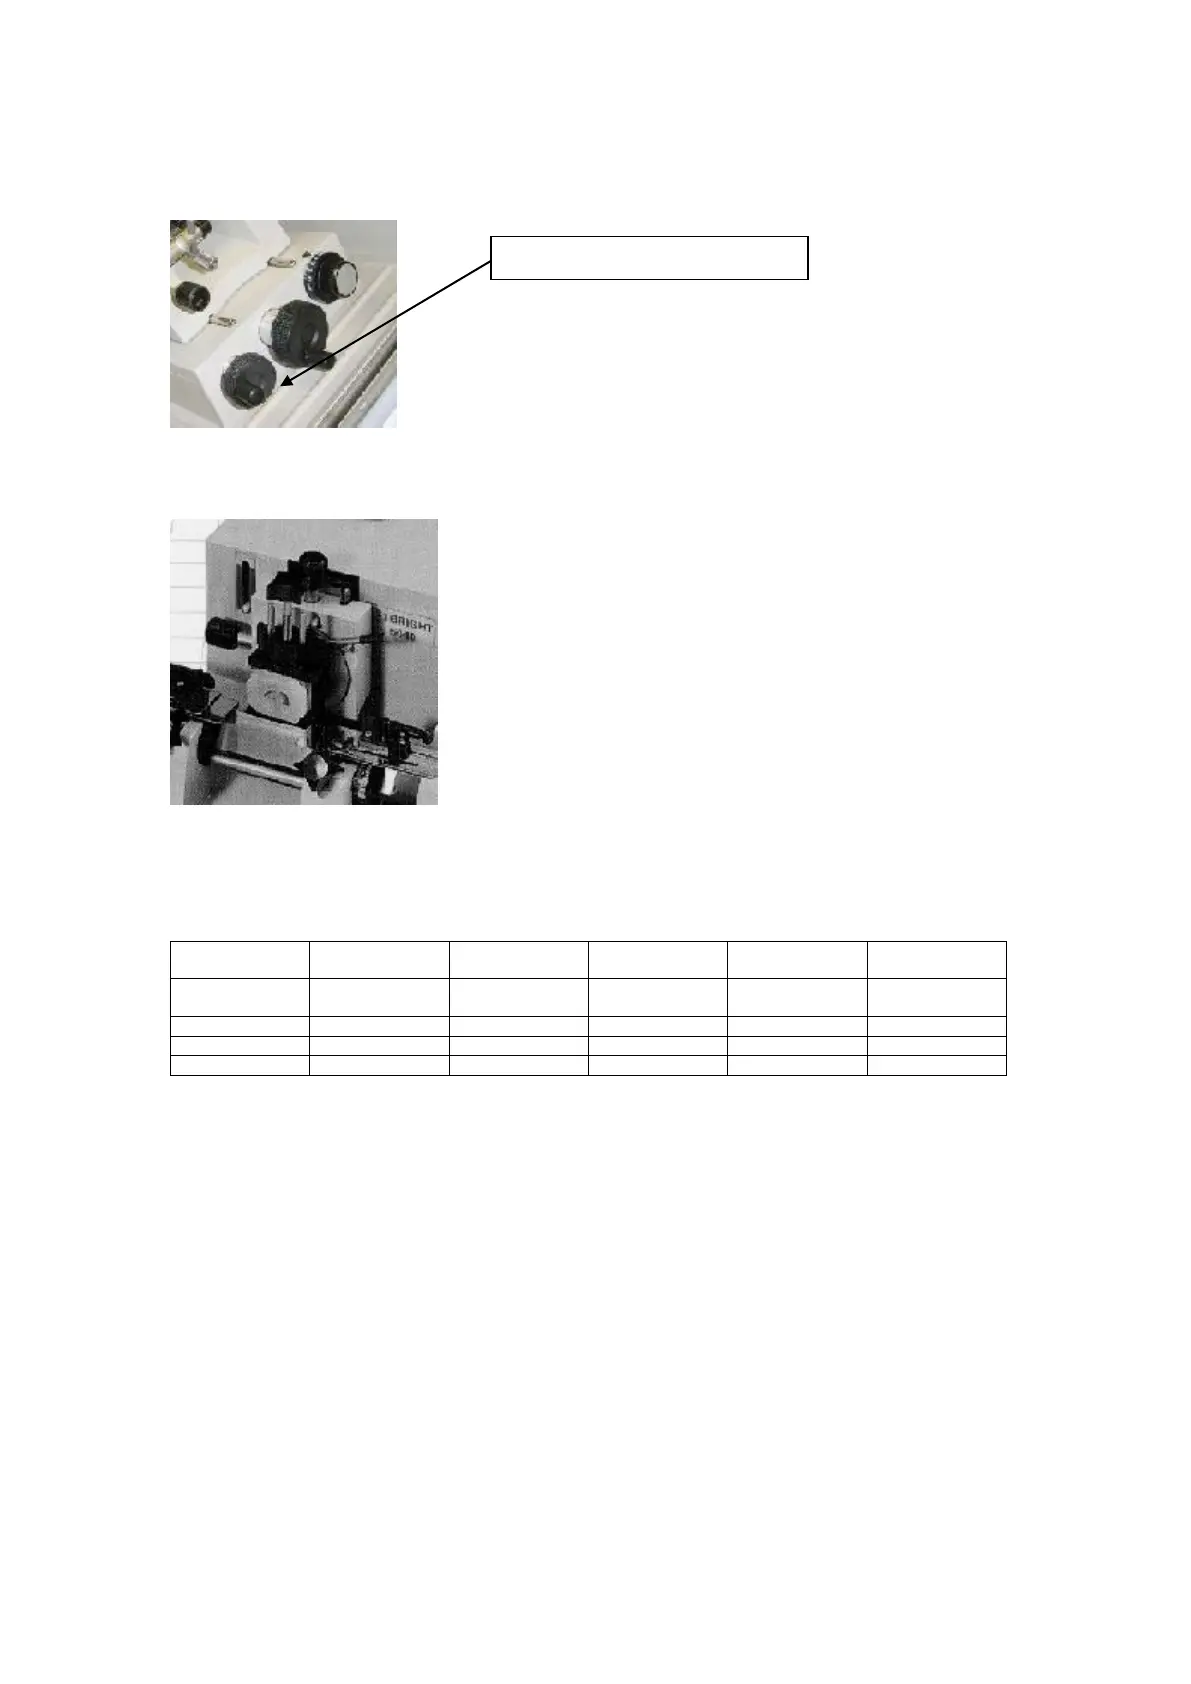
2.4.3.1 /LHS - LEFT HAND SIDE ADVANCE/REWIND CONTROL (where
applicable)
The operation is exactly the same as for the Advance/Rewind
control on the top of the microtome. Please note that this option is
not available with Motorised Advance/Rewind
2.4.4 SPECIMEN HOLDER
The standard vice, consisting of a V-block and upper moveable
jaw, accepts a variety of circular and square specimen holders.
Where specimen orientation (50539 or 50627) is fitted,
orientation is achieved by first releasing the locking lever then
moving the specimen (using the screw mechanisms if fitted).
Re-lock the lever before section cutting.
2.5 ALTERNATIVE FEED SCREWS
The 5040 microtome is usually fitted with a feed screw which gives a thickness range of 0.5µm
to 30µm. A range of other feed screws are available and are easily interchangeable by the user.
As the scale fitted to the microtome is only relevant to the originaly fitted feed screw, a table is
supplied with the new feed screw to give an appropriate conversion to the feed screw fitted.
Note: MAR = Motorised Advance/Rewind
To change a feed screw:
1 Remove the microtome knife (refer to section 2.2.2).
2 Rewind microtome until the pointer is in mid range on the feed indicator on cover.
3 Remove the microtome from the chamber, the reverse of the installation procedure (see
section 1.2.5).
4 Remove the microtome cover by removing the two screws at the side. Loosen the two top
blind clamp screws until the top blind comes free, then remove cover.
5 With the front of the microtome nearest to you, use your right hand to hold the top arm
and the hinge segment (just below the top arm).