6
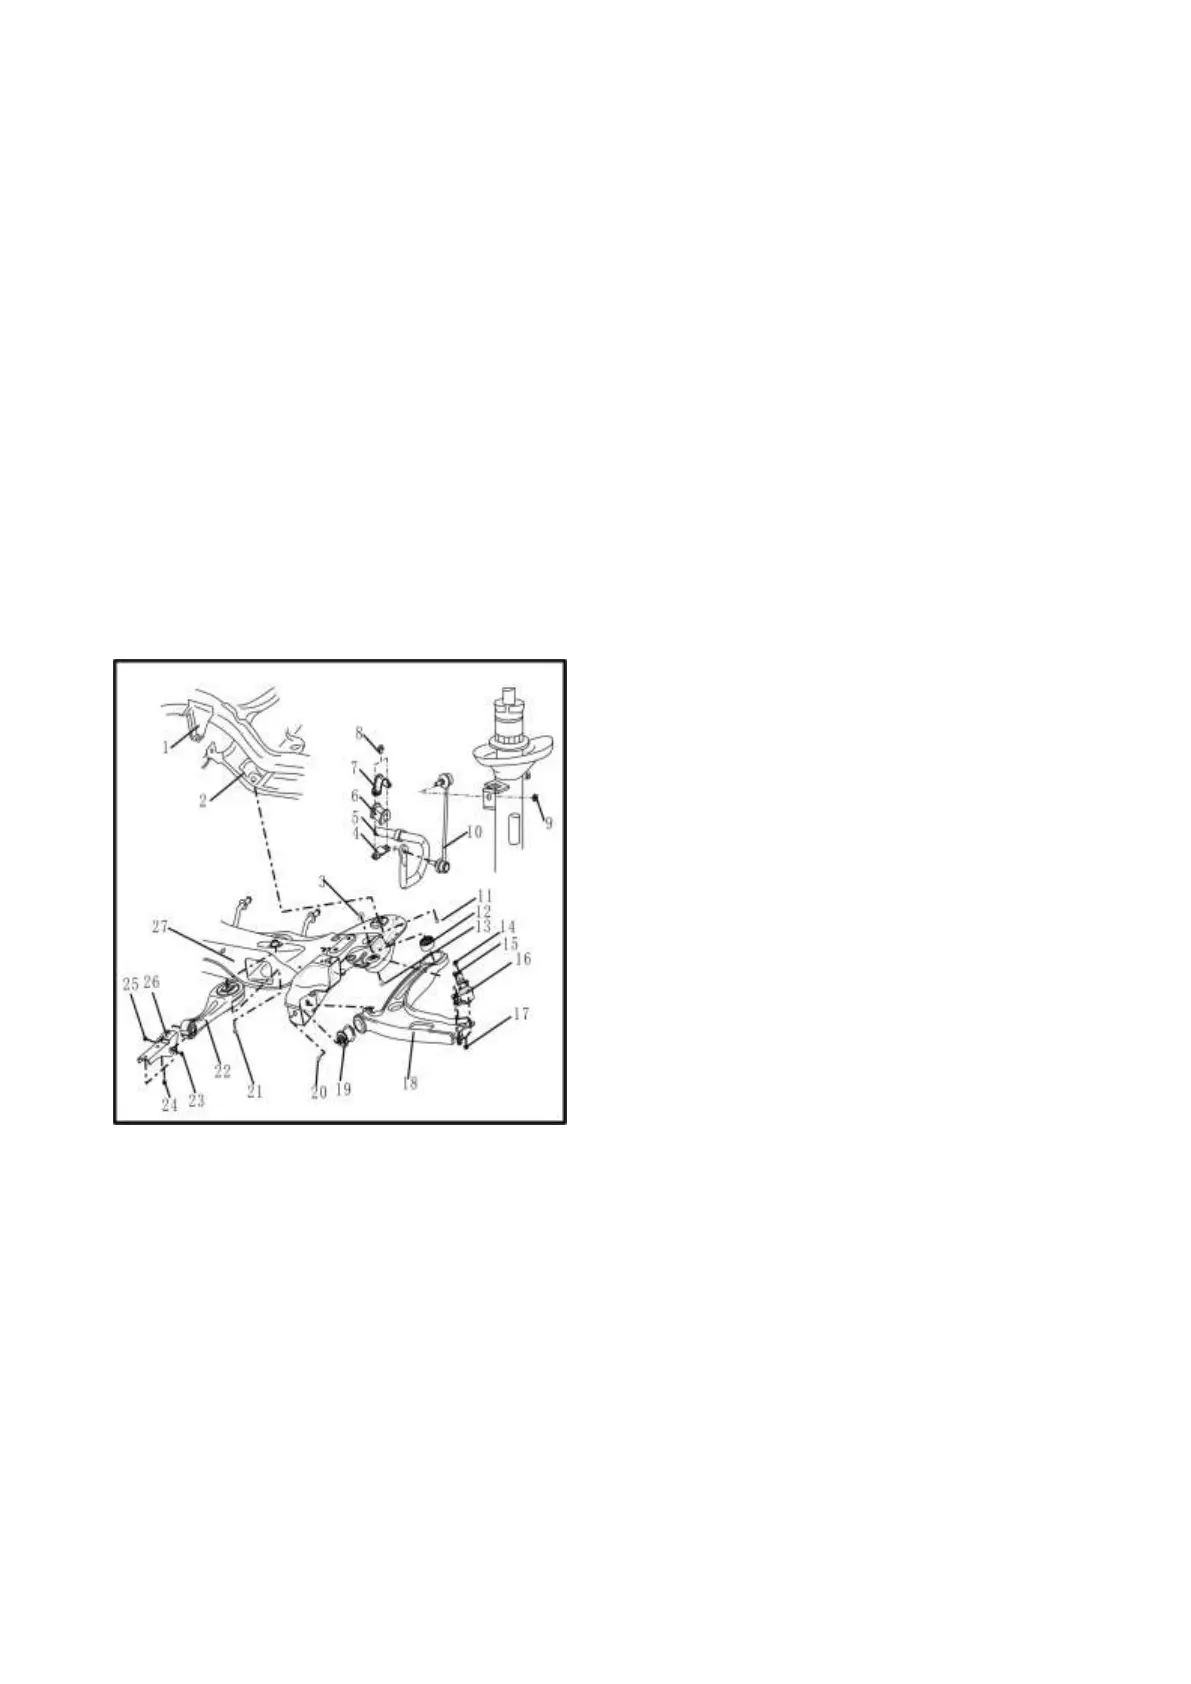
4 – Lower clip of rear stabilizer bar
5 – Front stabilizer bar assembly
◆ Front suspension beam assembly shall be
lowered during dismantling and assembling
6 - Socket for mounting front stabilizer bar
7 - Upper clip of rear stabilizer bar
8 - Hexagon flange bolt M10×1.25×18
◆ Tightening torque: 56-70Nm
◆ Replace it after each diamantling
9 – Locknut with non-metallic inserts M10×1.25
◆ Tightening torque: 42-54Nm
◆ Replace it after each diamantling
10 – Stabilizer bar – connecting rod assembly
11 – Hexagon flange bolt with flat washer
◆ Tightening torque: 140-150Nm
◆ Replace it after each diamantling
12 – Rocker arm rear sleeve assembly
◆ Mounting position → see page 11
◆ Push in and push out
13 - Hexagon flange bolt M12×1.25×70
◆ Tightening torque: 90-100Nm
◆ Replace it after each diamantling
14 - locknut M12×1.5
◆ Tightening torque: 43-47Nm
◆ VReplace it after each diamantling
15 - Hexagon flange bolt M8×1.25×2
◆ Replace it after each diamantling
16 - Left rocker arm spherical hinge assembly
◆ Check → page 9
◆ Dismantling and assembling → page 9
17 - Hexagon flange nut M8
◆ Tightening torque: 33-36Nm
◆ Replace it after each diamantling
18 – Left rocker arm assembly
19 – Rocker arm front sleeve assembly