134
EMBROIDERY — — — — — — — — — — — — — — — — — — — — — — — — — — — — — — — — — — — — — — — — — — — — —
Embroidering
After the preparations are done, you can try embroidering. An example of the steps for an embroidery
pattern will be given here.
Embroidering a pattern
Embroidery patterns are embroidered with a change
of thread after each color.
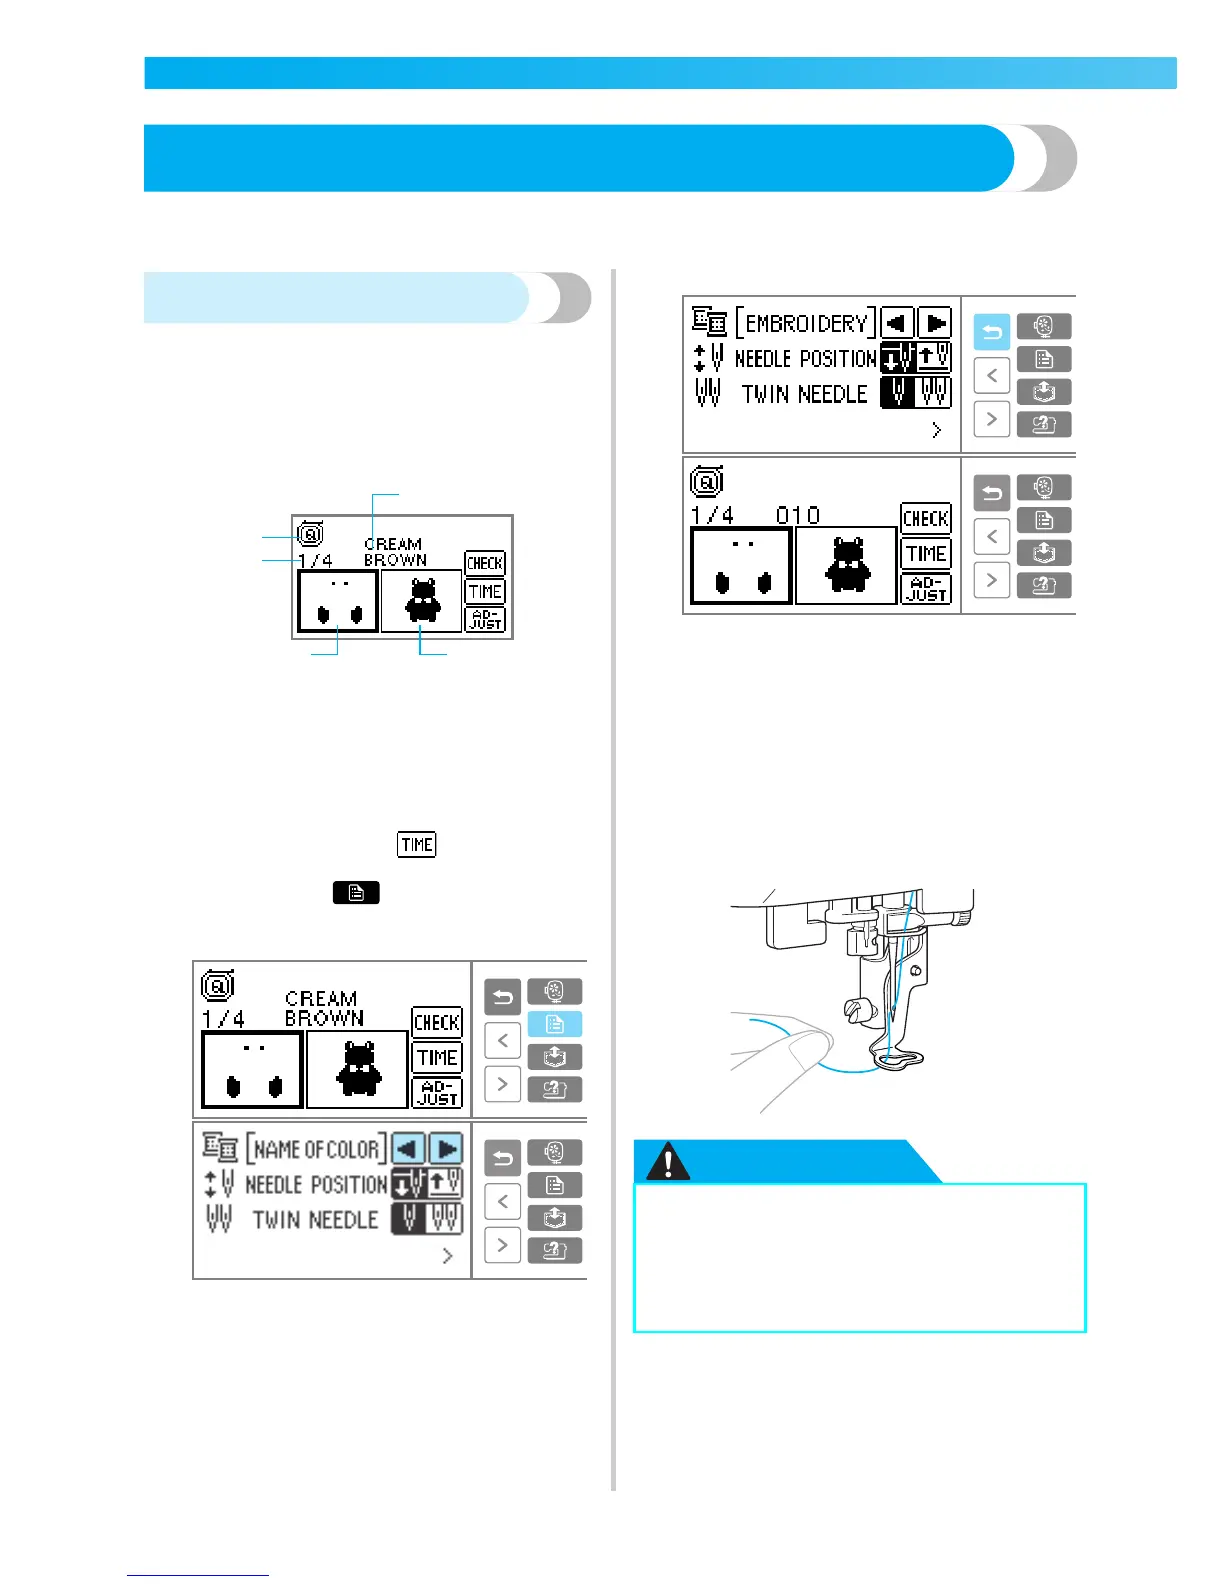
a
Prepare embroidery thread of the color shown
on the LCD.
a Embroidery foot "Q" (recommended presser foot)
b Current color step/Number of colors in design
c Current name of color
d Current color part
e Next color part
• Typical color names, embroidery thread/
country thread color number, needle count ,
and time to sew (after is pressed) can be
displayed on the LCD. When switching the
display, press (Settings key) to change
it. Refer to "LCD (liquid crystal display)
operation" (page 129).
Example: Embroidery thread number selected
b
Set the embroidery thread in the thread
cassette, and thread the needle.
• Refer to "Loading the spool into the thread
cassette" (page 22) and "Threading the
needle" (page 25).
c
Pass the thread through the embroidery foot
hole, and hold it gently in your left hand.
Give the thread a little slack.
CAUTION
4
5
3
1
2
● If the thread is pulled too tight, the needle
may break or bend.
● Do not let hands or objects hit the
carriage while sewing. The pattern may
misalign.