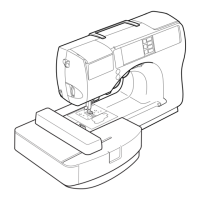
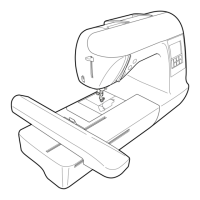
Replacing the Needle 35
1
— — — — — — — — — — — — — — — — — — — — — — — — — — — — — — — — — — — — — — — — — — — — — — — — — — — —
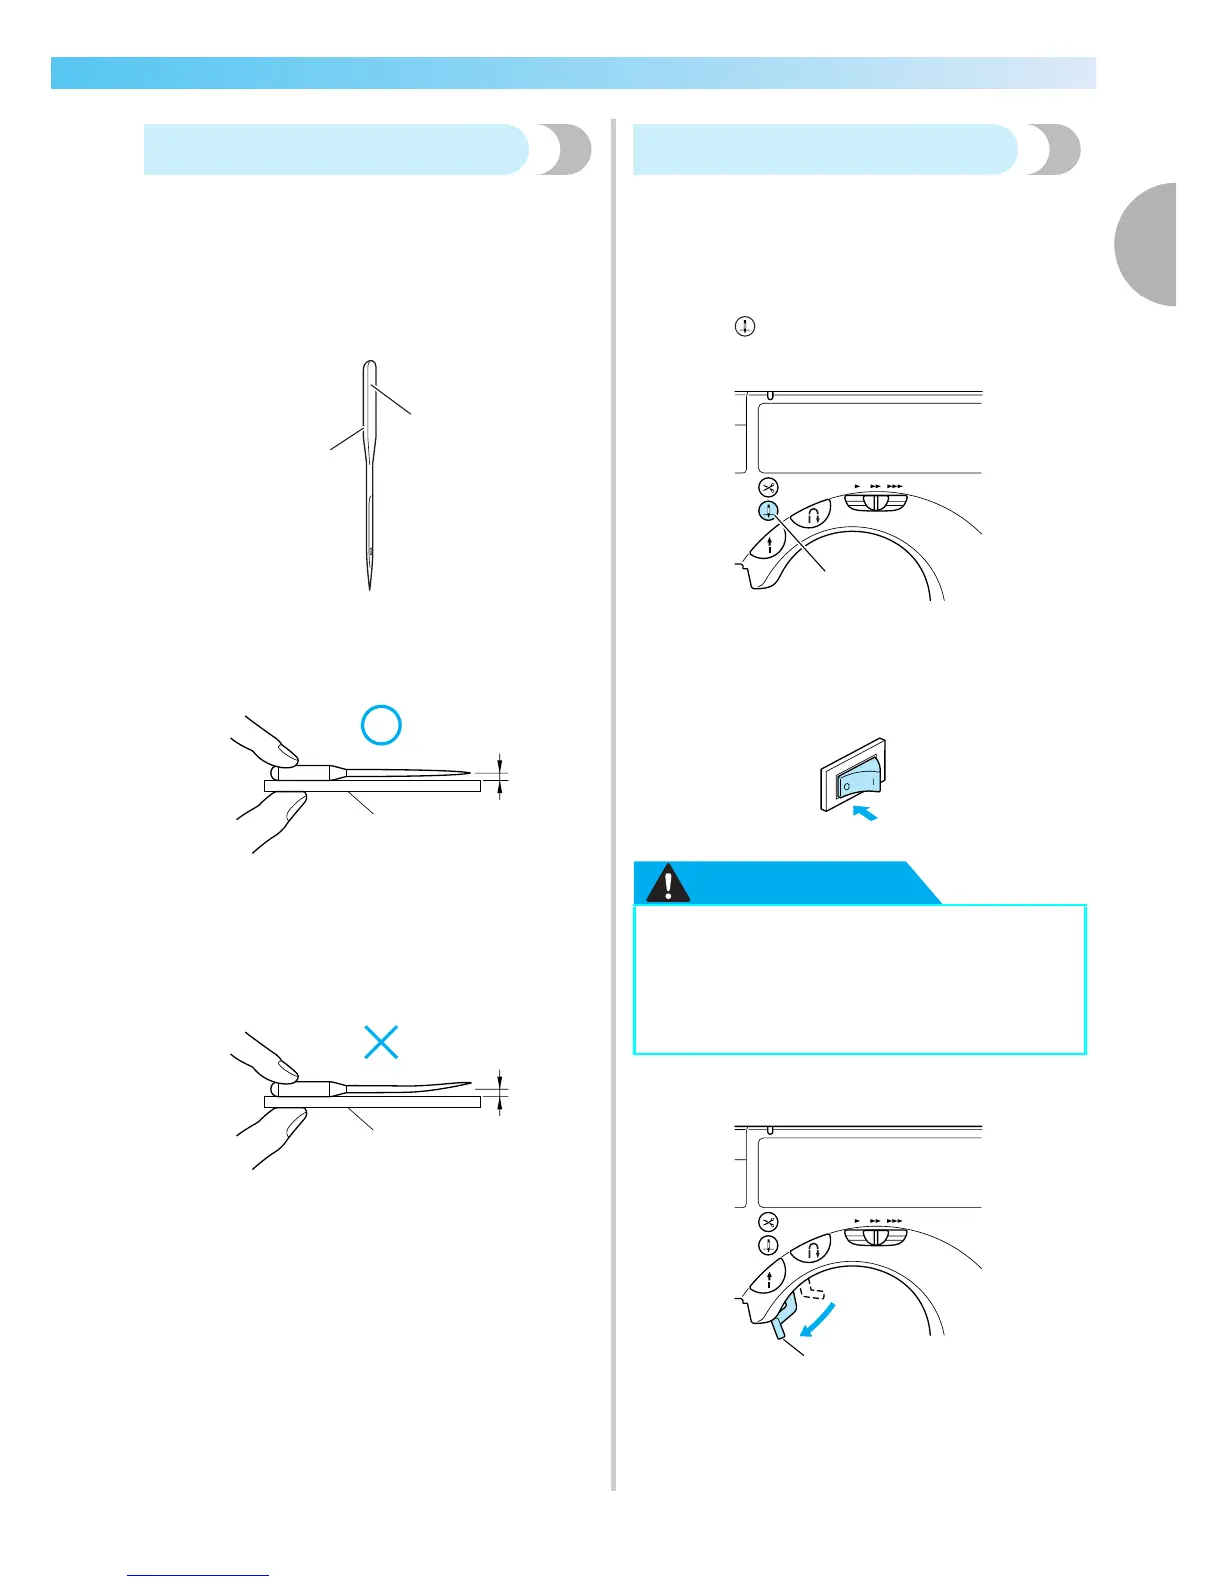
Checking the needle
Sewing with a bent needle is extremely dangerous
since the needle may break while the machine is
being operated.
Before using the needle, place the flat side of the
needle on a flat surface and check that the distance
between the needle and the flat surface is even.
a Flat side
b Needle type marking
■ Correct needle
a Flat surface
■ Incorrect needle
If the distance between the needle and the flat
surface is not even, the needle is bent. Do not use
a bent needle.
a Flat surface
Replacing the needle
Replace the needle as described below. Use the
screwdriver and a needle that has been determined to
be straight according to the instructions in "Checking
the needle".
a
Press (Needle position button) once or
twice to raise the needle.
a Needle position button
b
Turn off the sewing machine.
CAUTION
c
Lower the presser foot lever.
a Presser foot lever
1
2
1
1
● Before replacing the needle, be sure to
turn off the sewing machine, otherwise
injuries may occur if the start/stop button
is accidentally pressed and the machine
starts sewing.
1
1