Do you have a question about the Brother DCP7010 and is the answer not in the manual?
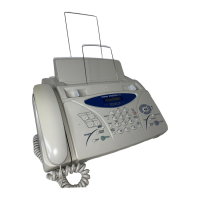
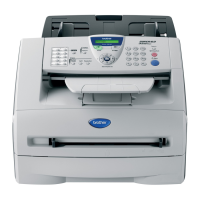
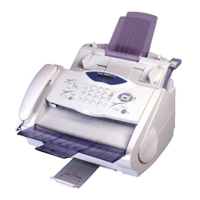
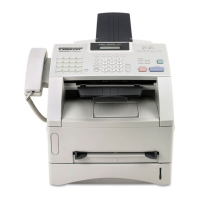
Describes the physical layout and components of the machine's front and rear views.
Details the functions and layout of the MFC's control panel buttons and display.
Lists and illustrates the major internal components of the equipment.
Provides general specifications including memory, ADF, paper tray, printer type, power, dimensions, weight, noise, temp, and humidity.
Details paper types, sizes, weight, caliper, and moisture content for tray and manual feed.
A comparative table of specifications for different models (MFC7420/7820N and DCP series).
Provides a block diagram showing the main sections and their connections, including host computer and interfaces.
Illustrates the mechanical parts of the printing mechanism, including rollers, gears, and actuators.
Details the charging, exposure, developing, transfer, and fixing stages of the printing mechanism.
Provides a step-by-step procedure for transferring fax data to another machine before repair.
Covers essential safety precautions and general procedures before starting disassembly.
Procedure for removing the ADF unit and scanner unit, including connector disconnection.
Steps to disconnect harnesses, remove screws, and detach the fixing unit.
Details on disconnecting connectors and removing the main PCB, with notes on post-replacement adjustments.
Details lubrication points and specific lubricants for gears and rollers in mechanical components.
Lists essential steps after replacing the main PCB, including loading data, initializing EEPROM, and setting serial numbers.
Outlines the procedure for inputting adjusted values after replacing the laser scanner unit.
Explains the procedure to access the machine's maintenance mode for various models.
Lists all available maintenance mode functions with their corresponding codes and reference pages.
Initializes EEPROM parameters to factory default values for maintenance and customization.
Allows modification and printing of firmware switch settings to customize machine behavior.
Checks the operational status of the machine's various sensors.
Displays error messages and codes shown on the LCD for equipment and communication errors.
Lists common equipment error messages and their corresponding causes and recommended actions.
Provides general precautions and initial checks before troubleshooting complex issues.
Offers systematic troubleshooting steps for common problems like paper feeding and image defects.
Explains the format and location of serial number labels on the machine and laser unit.
Provides instructions for updating firmware via parallel or USB interface.
Explains how to customize EEPROM settings for language and function preferences.
Details selector settings for dial pulse generation, break time, and inter-digit pause.
Covers selectors for setting modem speed range and V.34 mode options.
Explains selectors for masking symbol rates to limit transmission speed range in V.34 mode.
Shows the main PCB and its connections to various components and interfaces.
Provides the circuit diagram for the NCU PCB for MFC7420 in US/Canada.
Presents the circuit diagram for the 100V Power Supply PCB for US/Canada models.
| Printing Technology | Laser |
|---|---|
| Black print speed | 20 ppm |
| Max. black printing resolution | 2400 x 600 dpi |
| Maximum paper size | A4 |
| Input paper capacity | 250 sheets |
| Copier Speed | 20 cpm |
| Media Types | Envelopes, Labels, Plain paper, Transparencies |
| Monthly Duty Cycle | 10, 000 pages |
| Connectivity | USB |
| Functions | Copy, Print |