X Changing Label Width
X Changing Label Length
NOTE
• After the label is printed, cut along the printed
dots (:) with scissors so that the label length
matches what is displayed on the LCD.
• If a specific label length has been selected,
also appears in the LCD.
• By pressing the Space key, [Auto] is displayed.
• To change setting back to default, press the
Space key.
• After pressing , "Accepted" is displayed for
approximately one second.
X To Clear
NOTE
•
After pressing , "Accepted" is displayed for
approximately one second.
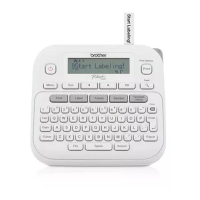
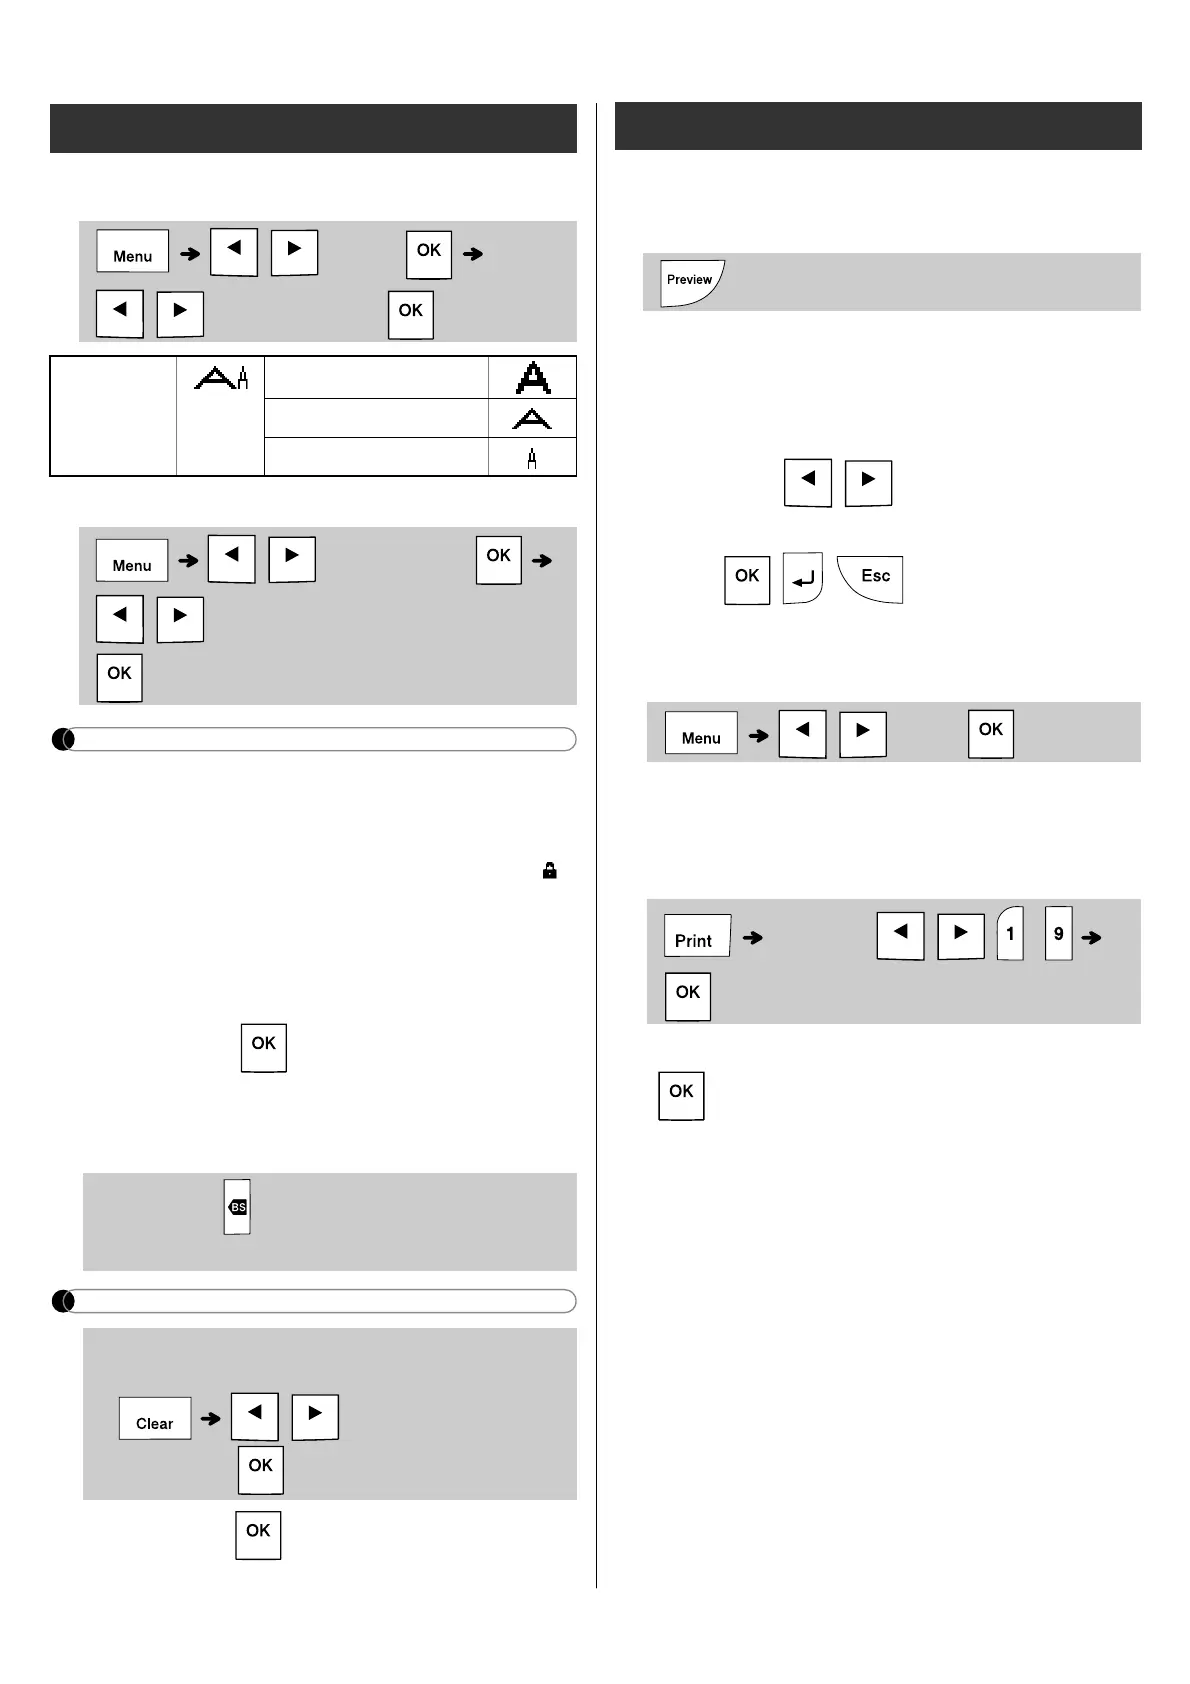
X Preview
You can preview the text before printing.
• Pressing the Preview key displays a generated
image of the label, and may differ from the
actual label when printed.
• When the LCD cannot display all the text at
once, press / to display the hidden
text.
•Press // to leave the preview
mode.
X Feeding (Tape Feed)
• This function feeds approximately 1" (25mm) of
blank tape.
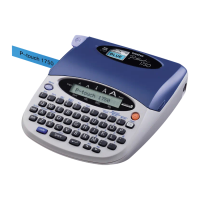
X Printing
• If you need only one copy of the label, press
without selecting the number of copies.
• You can print up to 9 copies of each label.
• The number of copies can also be specified by
pressing a number key.
• To cut the label, push in the tape cutter lever on
the upper-right corner of the label maker after
the message "Please Cut" is displayed. "Please
Cut" is displayed on the screen for two seconds.
• To prevent damage to the tape, do not touch the
cutter lever while the message "Please Wait" is
displayed.
• To remove the backing, fold the label
lengthwise with the text facing inward, to
expose the inside edges of the backing. Peel off
the backing one piece at a time and apply.
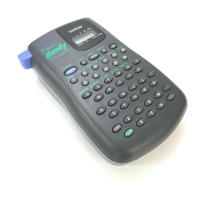
Entering Text (continued)
/ [Width]
/ [Normal/x2/x1/2]
Width Normal
× 2
× 1/2
/ [Label Length]
/ [Auto/1.2"-12.0" (30-300 mm)]
By pressing , the letters are deleted one by
one.
• You can also delete all text and settings or
text only by pressing
/ [Text&Format]/
[Text Only]
Printing Labels
/ [Feed]
[Copies: ] // -
 Loading...