Attaching the Embroidery Foot 147
4
— — — — — — — — — — — — — — — — — — — — — — — — — — — — — — — — — — — — — — — — — — — — — — — — — — — —
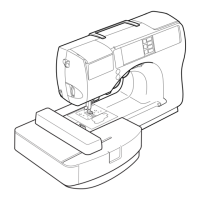
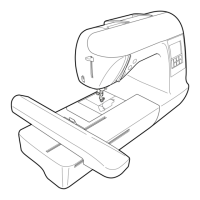
Attaching the Embroidery Foot
This section describes how to attach the embroidery foot.
Attaching the embroidery foot
Attach the embroidery foot when embroidering. Have
the included embroidery foot “Q” and a screwdriver
ready.
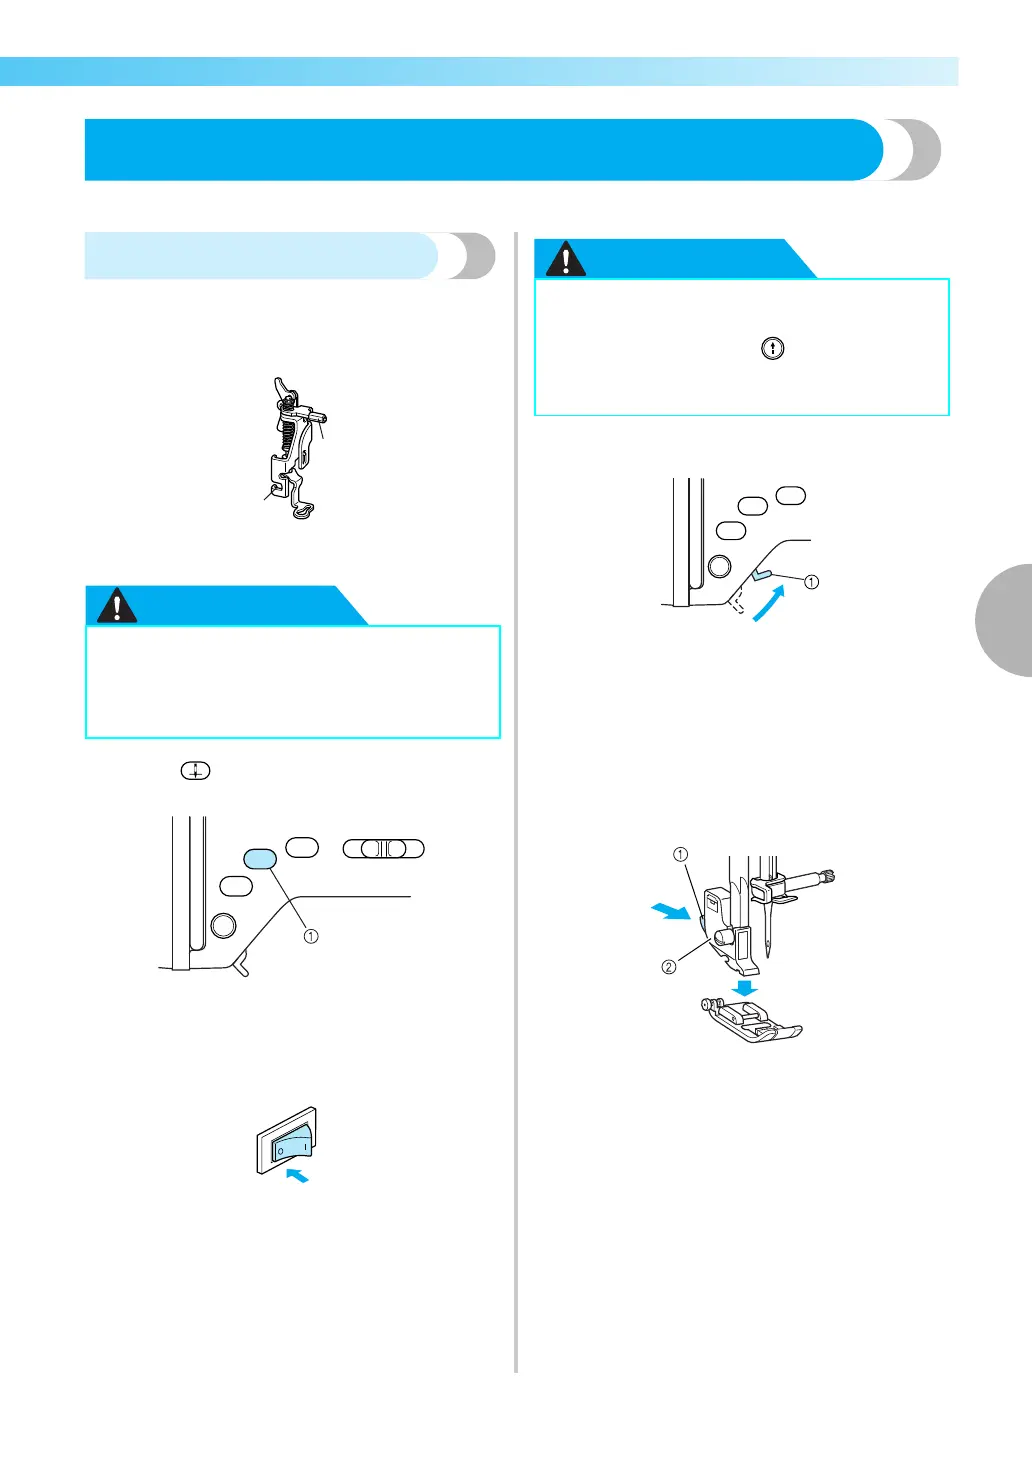
a Embroidery foot bar
b Caught by the presser foot holder screw
a
Press (“Needle Position” button) once or
twice to raise the needle.
a “Needle Position” button
X The needle goes up.
b
Turn off the sewing machine.
c
Raise the presser foot lever.
a Presser foot lever
X The presser foot is raised.
• At the time of purchase, the presser foot lever
is up.
d
Press and hold the black button on the back of
the presser foot holder to detach the presser
foot.
a Black button
b Presser foot holder
● Always use the embroidery foot “Q”
when embroidering. If the wrong presser
foot is used, the needle may hit the
presser foot and break or bend.
● Before replacing the presser foot, be sure
to turn off the sewing machine, otherwise
injuries may occur if (“Start/Stop”
button) is accidentally pressed and the
machine starts sewing.