ADJUSTMENTS
MINTEX METAL MAT.
There are no replacement parts in the Metal Mat.
Replace as a complete assembly.
IMPORTANT
To improve the service life of the Metal Mat, and the
Sprockets, correct alignment is essential. Care must
be taken to ensure that the Drive Shaft and Idler
Assemblies are correctly aligned, parallel to each
other, and square to the Conveyor Frame.
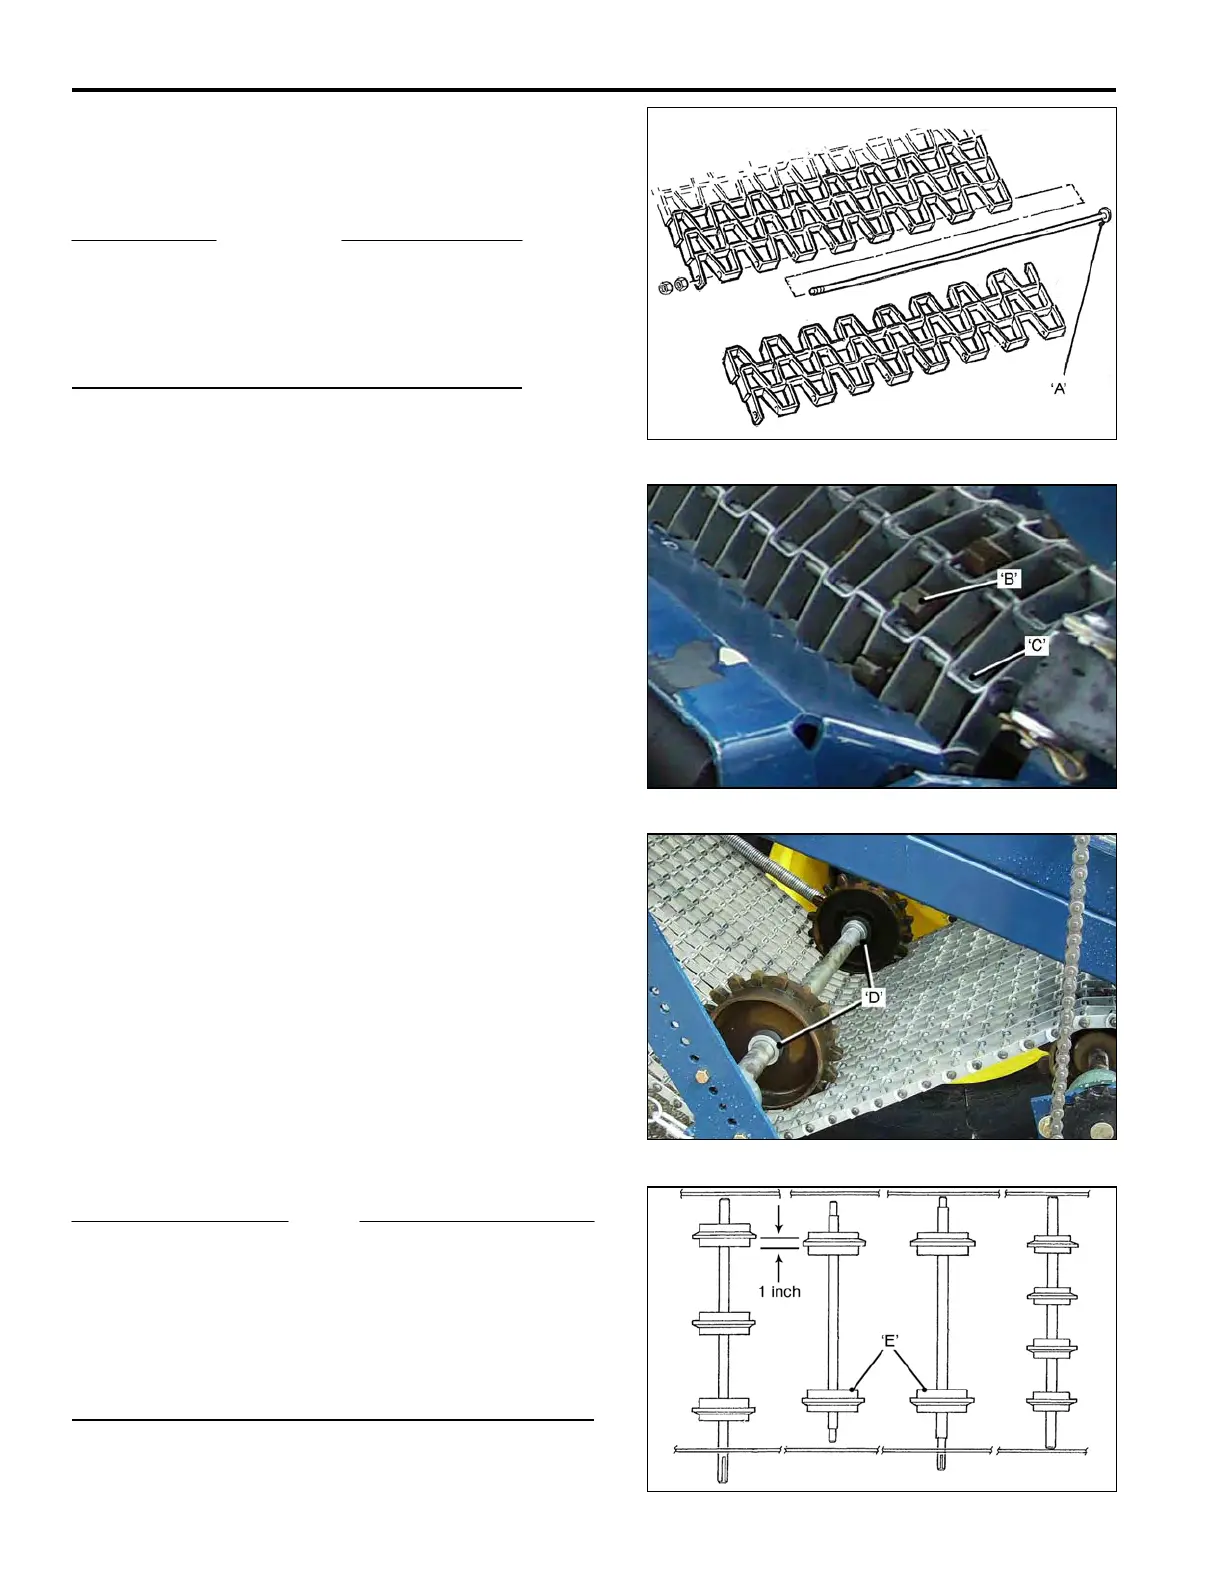
To remove the Metal Mat:
• Release the Idler Tension Springs. ( Same as
Rubber Mat, see page 3-14).
• Locate and remove the Mat Connector ‘A’.
• Lift the Mat off the Sprockets and remove it
from the frame.
Reverse the procedure to install a new Mat.
The Mat must be installed so that:
• The formed links point opposite to the direction
of mat travel.
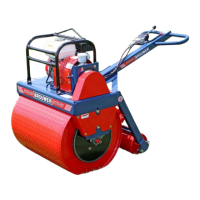
• The Drive Sprockets ‘B’, ‘push’ against the Mat
Cross Rods ‘C’.
• The Idler Sprockets, are ‘pushed’ by the
Cross Rods.
When installing new Drive Sprockets:
• Slide the Sprockets onto the Shafts and Keys,
with the Set Screws ‘loose’.
• Fit the Mat with the Sprockets spaced evenly, and
positioned so that the teeth are ‘centered’ in the
mat mesh, then tighten the Set Screws.
If installing new Mat Tension/Idler Sprockets:
• Bolt the Idler Shaft and new Sprockets into place,
with the Sprocket Lock Collars ’D’, ‘Loose’.
• Position the Sprockets evenly and ‘centered’ in
the mat mesh.
• To ensure that the Idler Sprockets ‘E’, are ‘driven’
by the Cross Rods, in particular the 4 inch Roller
Drive Sprockets, they must be positioned 1 inch
inboard of the Driving Sprockets.
NOTE
It is possible that the Metal Mat may ‘stretch’, sufficient to
require it to be shortened. It may be damaged by stones,
or sticks, and need damaged links removing or replacing.
• Remove the Mat Connector.
• To remove Mat Links, grind one end off the Cross
Rods, from the number of links being removed.
• Reconnect the Mat with the Mat Connector.
3-16