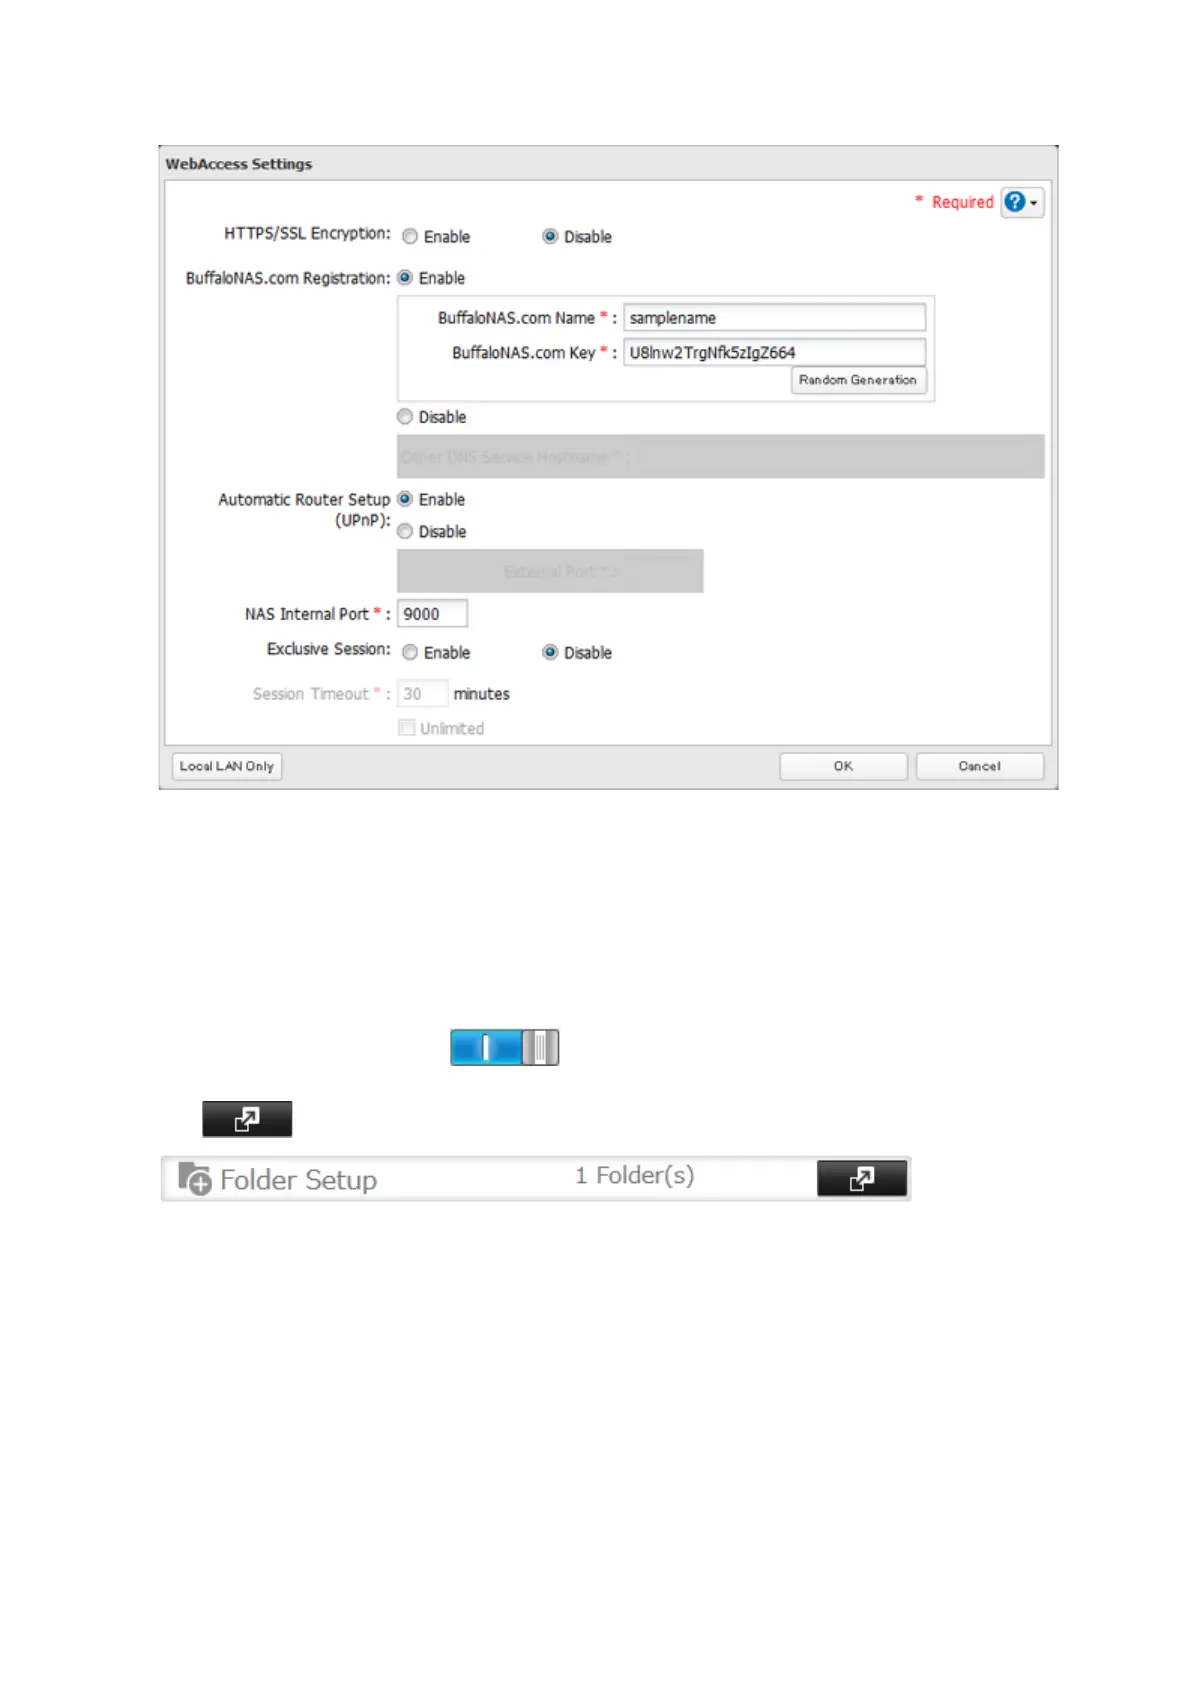
4 Configure the desired settings, then click OK.
• You may use the default BuffaloNAS.com registration, or select "Disable" to use a different DNS server.
• Choose a "BuffaloNAS.com Name" and "BuffaloNAS.com Key" for your WebAccess account. Names and keys
may contain 3 to 20 alphanumeric characters, underscores (_), and hyphens (-).
• If "Exclusive Session" is enabled, users cannot log multiple computers into WebAccess. Only the last login
will be active.
• Enter a time in minutes (1 to 120, or "Unlimited") before inactive users are logged out of WebAccess.
5 Click OK.
6 Move the WebAccess switch to the position to enable WebAccess.
7 Click to the right of "Folder Setup".
8 Select a shared folder to publish.
Notes:
• For best results, create a new dedicated share for WebAccess.
• When accessing shared folders through WebAccess from a remote location, a username and password may be
required for certain operations. For best results, create a user account with permissions on the WebAccess share
before using WebAccess.
9 Click the Advanced Settings tab.
10 Under "LAN Protocol Support", check "WebAccess" and click OK.
57