Page 33
SERVICE (cont.)
SOLENOID VALVE (Inlet)
!
C
A
UT
I
O
N
H
OT WAT
E
R
.
MINUTES
BUNN-O-MATIC
P/N 2620- 120 VAC
.
MINUTES
BUNN-
O-MATIC
P
/N 2620- 120 VAC
ST
ART ON
/ WARM
ER
SEL
ECTO
R
READ
Y
READ
Y
ON
/ WARMER
STAR
T
SEL
ECT
OR
1
1
⁄
2
ga
l
1
gal
1⁄2
gal
CAUT
I
ON:
W
ARME
RS AN D
S
URFACES
AR
E HOT
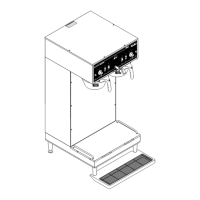
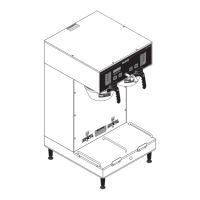
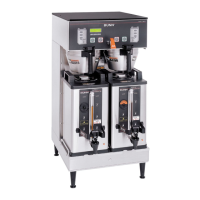
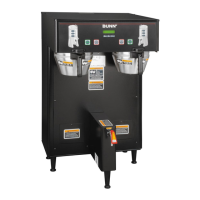
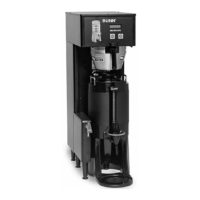
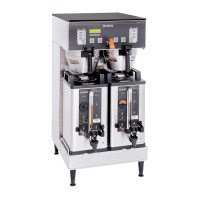
Location:
The solenoid valve is located inside the lower right
front of Dual brewers and inside the hood on the upper
component bracket on Single brewers.
Test Procedure:
1. Disconnect the brewer from the power source.
2. Remove both wires from the solenoid valve coil
terminals.
3. With a voltmeter, check the voltage across the
removed wires:
a.) Violet and white on120, 120/208 and 120/240
volt three wire electro/mechanical models.
b.) Violet and red on 200, 230 and 240 volt elec-
tro/ mechanical models.
c.) White/blue and white on 120/208 volt and
120/240 volt electronic models.
d.) White/blue and red on 200 volt and 240 volt
electronic models.
Connect the brewer to the power source. The
indication must be:
a.) 120 volts ac for two wire 120 volt models, three
wire 120/208 volt models and three wire 120/240
volt models.
b.) 200 to 240 volts ac for 200V or 240V two wire
models.
4. Disconnect the brewer from the power source.
If voltage is present as described, proceed to #5.
If voltage is not present as described, refer to the Wiring
Diagrams and check brewer wiring harness.
5. Check for continuity across the solenoid valve coil
terminals.
If continuity is present as described, reconnect the
wires and proceed to #6.
If continuity is not present as described, replace the
solenoid valve.
6. Check the solenoid valve for coil action. Connect
the brewer to the power source. Listen carefully
in the vicinity of the solenoid valve for a "clicking"
sound after approximately 1 second, as the coil
magnet attracts.
7. Disconnect the brewer from the power source.
If the sound is heard as described and water will not
pass through the solenoid valve, there may be a block-
age in the water line before or after the solenoid valve,
or the solenoid valve may require inspection for wear,
and removal of waterborne particles.
If the sound is not heard as described, replace the
solenoid valve.
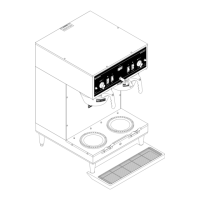
Removal and Replacement:
1. Remove all wires from the solenoid valve coil.
2. Turn off the water supply to the brewer.
3. Disconnect the water lines to and from the solenoid
valve.
4. SINGLE BREWERS: Remove the two #10-32 slotted
head screws and lockwashers holding the solenoid
valve to the upper component bracket.
DUAL BREWERS: Remove the two #8-32 slotted
head screws holding the solenoid valve and mount-
ing bracket to the brewer trunk. Remove the two
P796
FIG. 36 SOLENOID VALVE
P2230
TL5
TL4
TL3
TL2
TL1
J2
J1
S
ET L
OCK
LOCK
SET
1
2
3
4
5
.5
MINUTES
BUNN-O-MATIC
P/N 2620- 120 VAC
41976 031709
 Loading...