10 10
4 Replacing Assembly Units
4.2 Replacing the Rollers and the Dispense Edge
7c4 5 7a 8 7b 9 9 9 101010
1 2 3
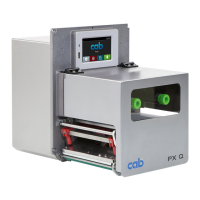
Figure 5 Replacing the rollers and the dispense edge
1. Unlock the levers (1,3) to lift the printhead and the pinch roller. Open the locking system (8) and swing it down.
2. Loosen the screws (11) and the washers (10) and remove the ball bearings (9) from the bearing plate (2).
3. Pull out the rollers (7) and/or the dispense edge (6).
4. Insert new rollers (7) and push them onto the hexagonal ends of the concerning axles (5) while turning slightly.
5. Insert the dispense edge (6) through the bearing plate (2) into the notch (4).
6. Insert the ball bearings (9) into the bearing plate (2) and secure them with the screws (11) and the washers (10).

 Loading...