CalAmp | LMU-30xx/CVF-3030 & OBD-II Extender Cable Install
Guide
MBUD-0268v1.4 Page 3
3 LMU-30XX/CVF-3030 & OBD-II EXTENDER CABLE OVERVIEW
The LMU-30xx/CVF-3030 features a small size, superior GPS design, OBD-II interface, and a 3-axis
accelerometer. These features enable the LMU-30xx/CVF-3030 to access vehicle diagnostic interface
data, track vehicle speed and location, and operational information.
Typically, the LMU-30xx/CVF-3030 connects directly into the vehicle’s OBD-II port and requires no
additional connections. For protected installations, the LMU-30xx/CVF-3030 is installed under the dash,
and then is connected to an OBD-II Extender Cable (P/N 144301) that plugs directly into the vehicle’s
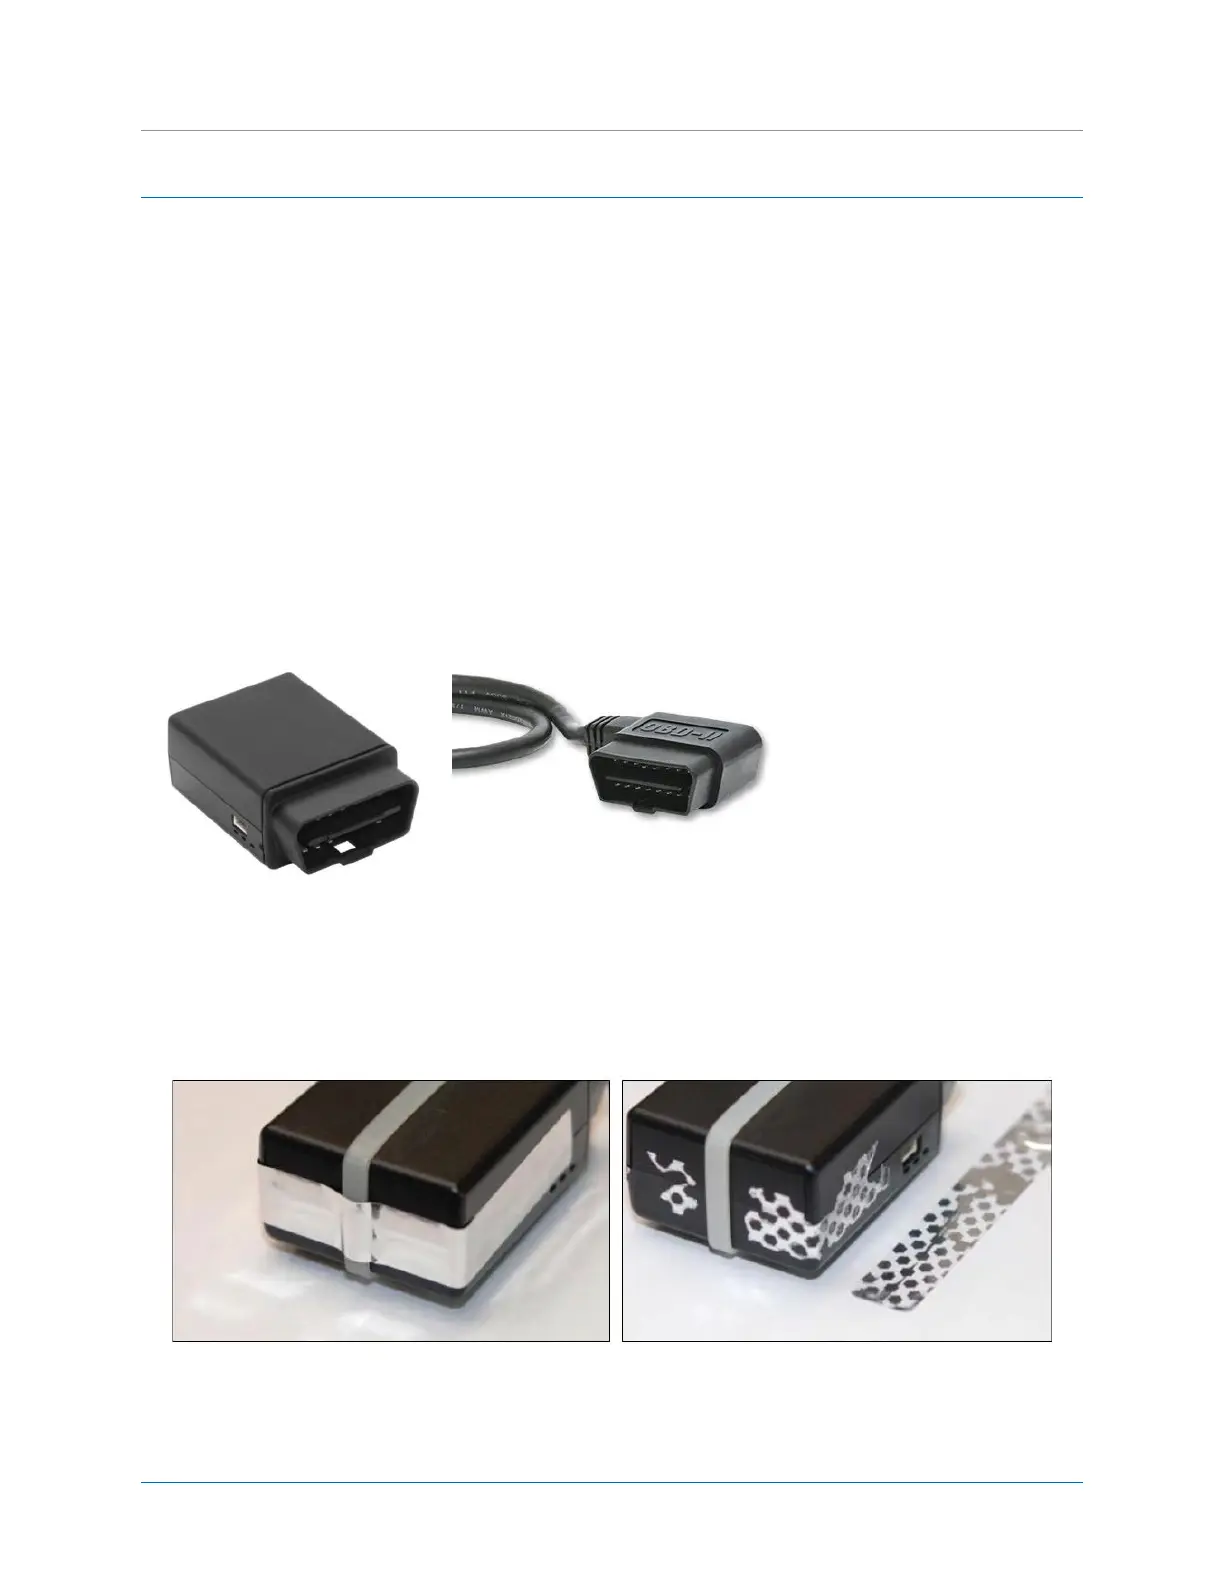
OBD-II port. This installation couples a zip-tie secured around the device with a tamper seal applied to
protect against accidental interference and to deter intentional tampering. When the tamper seal is
removed, the seal self-destructs to indicate removal and leaves behind a dot-pattern residue on the
device.
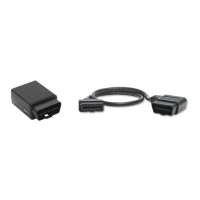
Connects to vehicle’s’ OBD-II port
Connects to LMU-30xx/CVF-3030
device
Figure 3: Tamper Tape Applied and Removed
Figure 2: OBD-II Extender Cable - (6ft, P/N 144301 or 2ft, P/N144302)
Figure 1: LMU-30xx/CVF-3030
 Loading...