Proprietary*Information:*Not*for*use*or*disclosure*except*by*written*agreement*with*Calix.*
"!#$%&'(!)%%!*&+,-.!*/./01/2(!
Installing+the+Fibe r +M a n a g e m e n t+S y s te m +
The Calix E7-20 chassis includes a fiber-management comb that you can install to neatly
dress and secure all fibers/cables appropriately.
Install E7-20 fiber-management comb as described below.
C0!%-./#$$!/D4!Q%647)N#-#L4N4-/!I0N6!
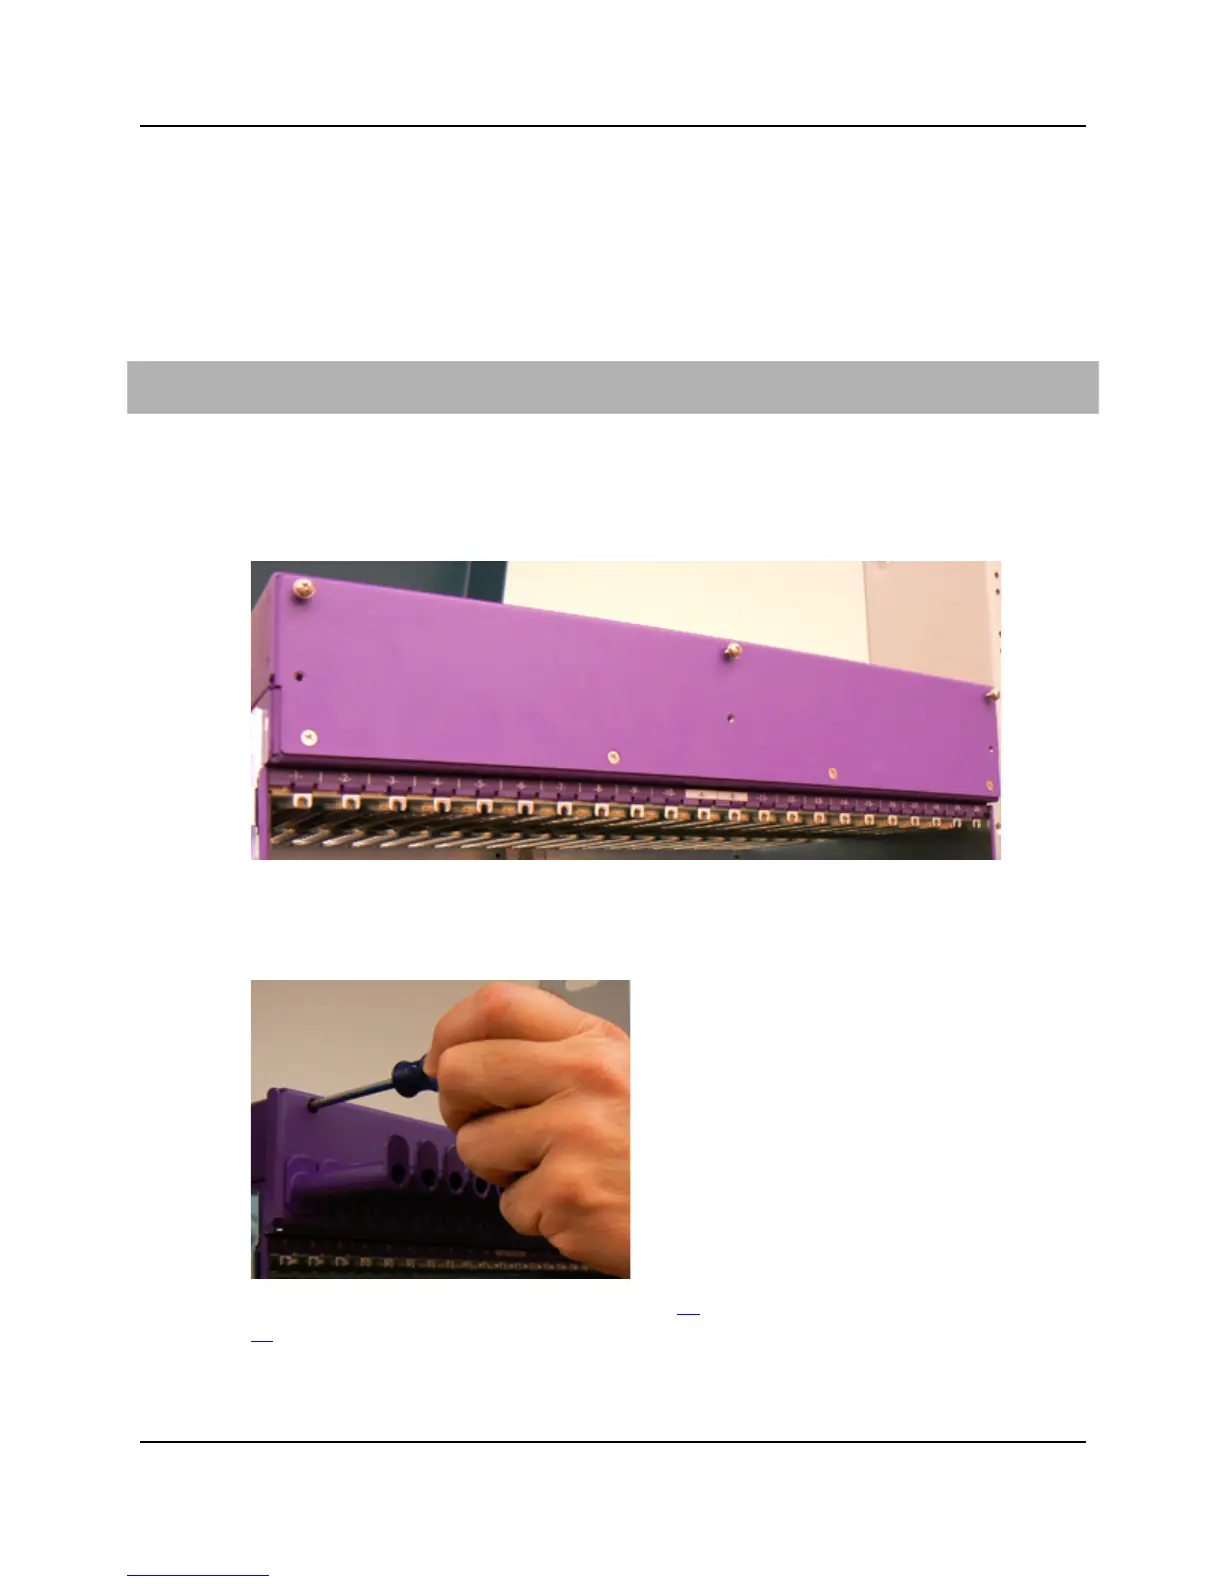
9A! Unpack the E7-20 fiber-management comb from its packaging.
*A! Attach three screws to the top of the chassis front, leaving a gap between the screw head
and the chassis. The set of three holes located just below the attached screws are not
:A! From the back of the comb assembly, insert the three screws through the keyhole slots
on the comb, sliding the comb assembly down and into place.
<A! Tighten the three screws to secure the comb assembly to the chassis.
To install fibers, see Connecting Fibers (on page 43) and Fiber Handling Techniques (on page