19
Fill the Spa
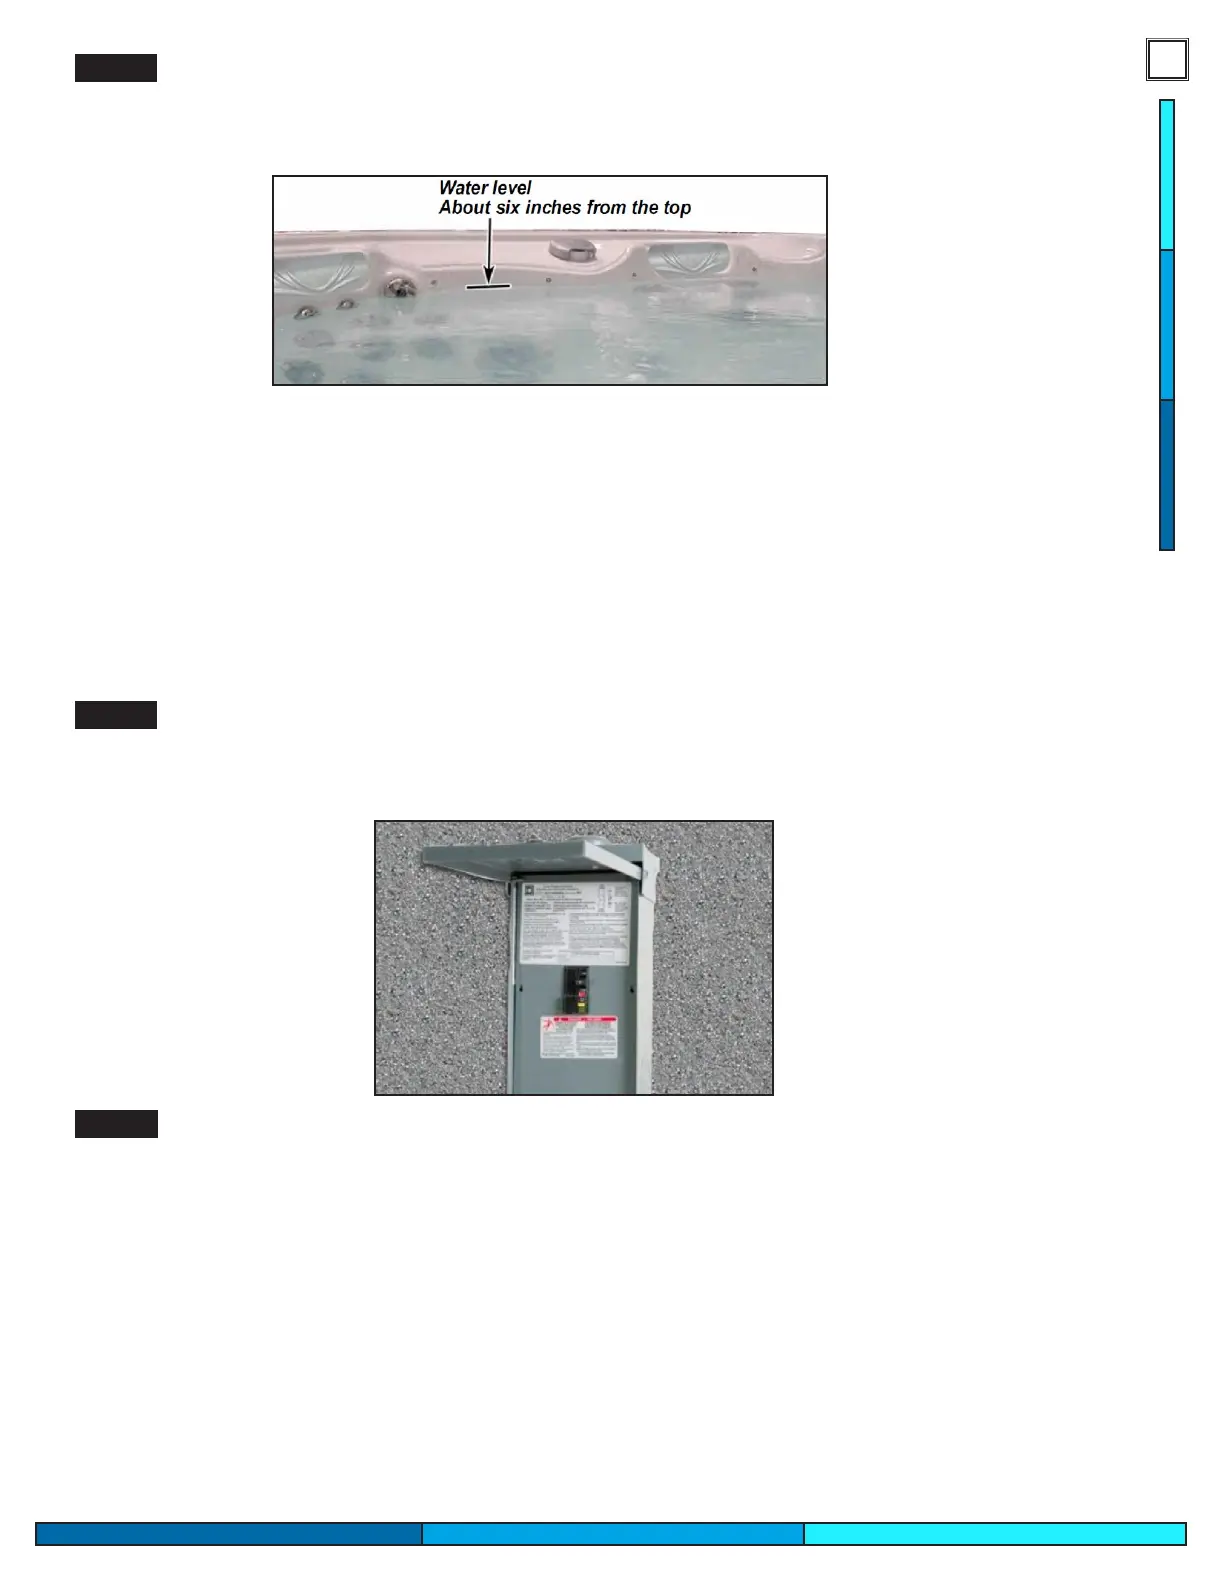
Place the water hose inside the lter canister. Fill your spa with regular tap water about six inches from
the top. If the water level is too low or too high, your spa will not operate correctly.
Step 3.
NOTE: Never ll with soft water.
Soft water made through some home ltration systems make it impossible to maintain proper water
chemistry, and may cause water foaming. This can damage the nish of the spa and void your warranty.
You may ll your spa with well water, but only if the following preconditions are followed.
1. Purchase and use a pre-lter that can attach to the end of a hose. This pre-lter is absolutely neces-
sary in order to remove reactive metals and other dissolved solids that are found in well water.
2. Perform a Total Dissolved Solids (TDS) and metals test, this can be performed by a qualied person
after lling up the spa, before initial use. Most Dealers and pool supply stores can perform this test.
When the spa is lled to the correct level, turn on the power at the GFCI breaker (ensure that the 120V
spas are connected to their dedicated proper electrical outlet.)
Power Your SpaStep 4.
Prime the Main PumpStep 5.
The system will enter priming mode when powered up for the rst time. Priming Mode will scroll
through the display on the control panel. In this mode all devices including pumps and lights are oper-
able, you may press the jet buttons on and o to help prime the pumps. After a few minutes the system
will exit priming mode.