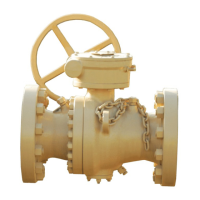
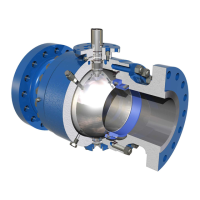
ENGINEERED & PROCESS VALVES
01/2011 / IOM-TK-TMBV-01
17
Installation, Operation and Maintenance Manual
SEAT SEALANT
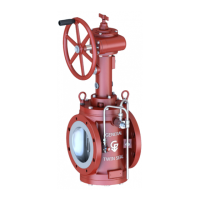
Lubrication guns may be air operated or manually operated depending on the customer’s preference.
Either type of lubrication gun should be capable of injecting lubricant or sealant above the maximum
line pressure of the valve and should be supplied with a giant button head adapter.
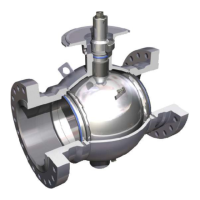
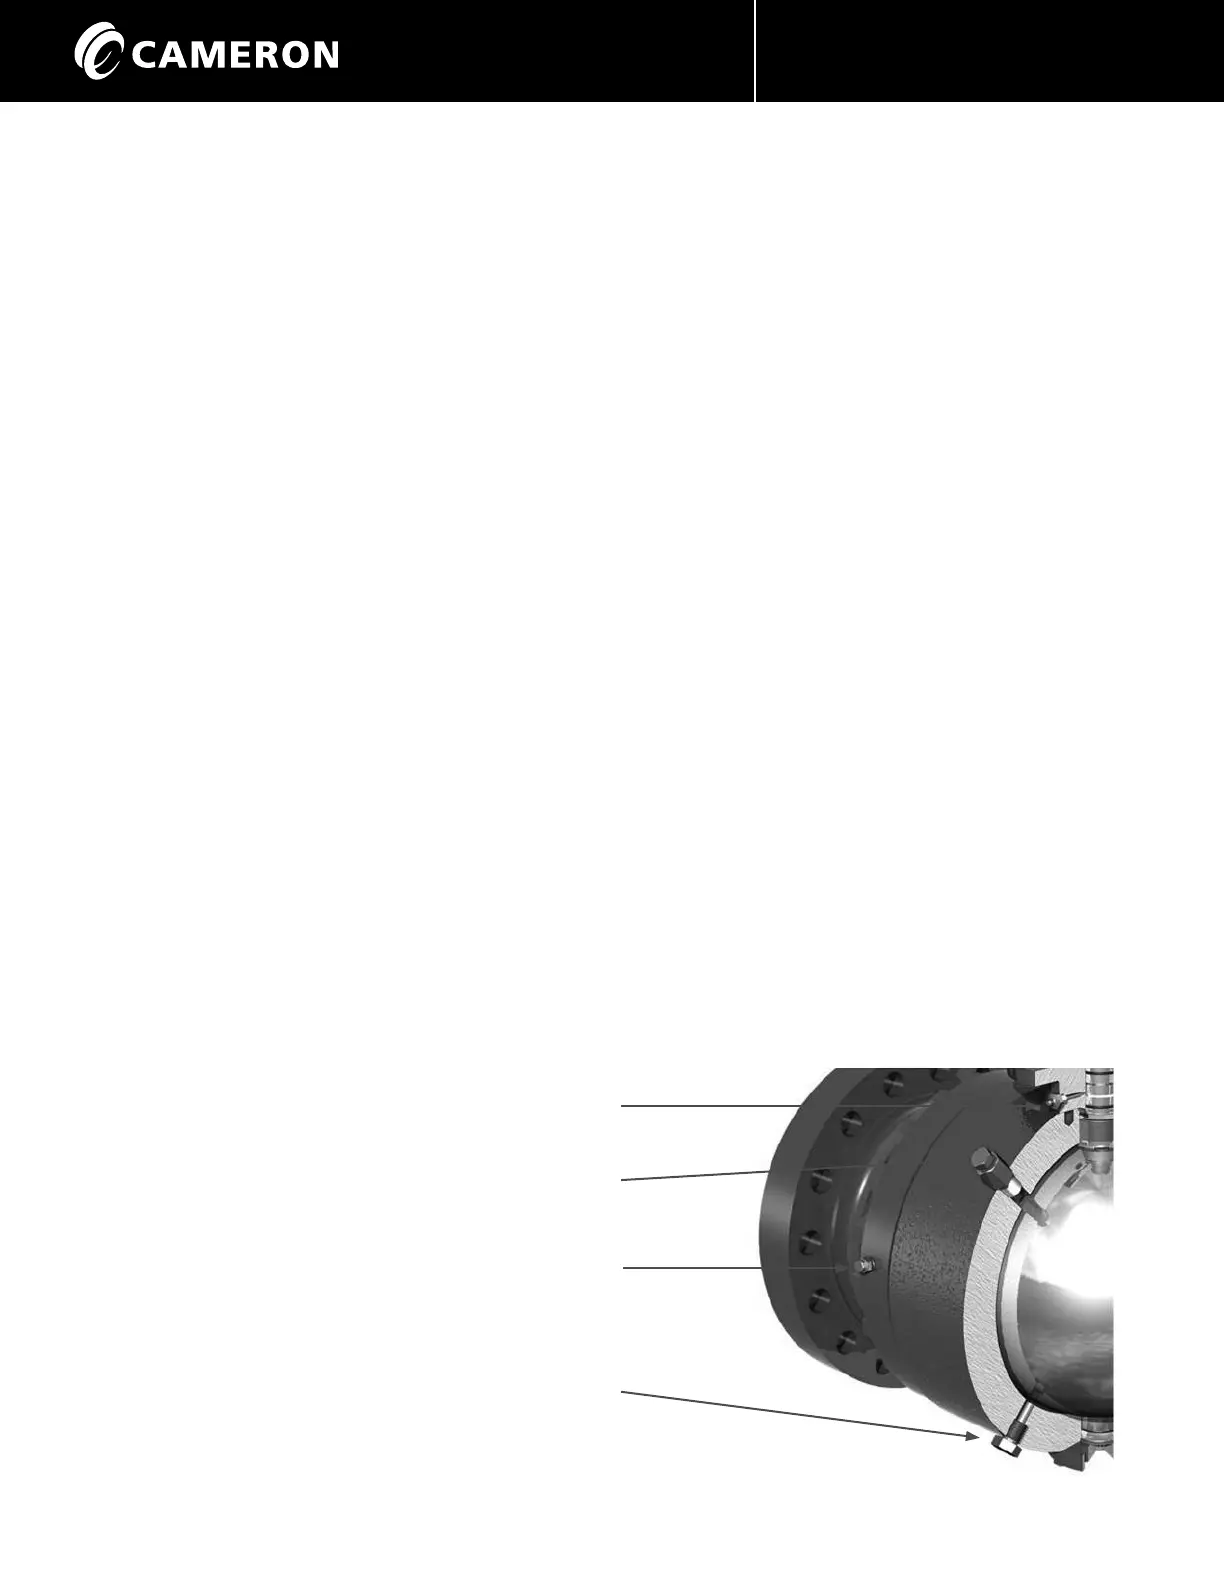
TK Valves are generally designed with auxiliary sealant fittings that are used to inject sealant directly to
the ball sealing area. This is sometimes necessary in preventing damage to the seats by flushing debris
away from the seats and in the event of a damaged seat caused by debris in the line. Auxiliary sealant
fittings should not be removed if there is pressure in the line and should never be coated or
painted over.
Metal seated designed valves do not incorporate a sealant injection fitting as standard.
Grease the seats in the following manner:
1. For 4” valves and smaller:
a. Open the valve to the fully open position
b. Inject grease through the single giant button-head located on the valve body. As
grease is injected the body cavity area around the ball is filled with grease. The
amount of grease will vary from 2 ounces for 1 1/2” valves up to 10 ounces for a
4” valve. No damage can result from over greasing.
c. Stroke the valve several times to distribute the grease to the surface of the ball.
Then return the valve to the desired position, either fully open or fully closed.
2. For 6” valves and larger:
a. Close the valve fully and inject each of the 4 giant button head grease fittings
with two ounces (8-10 strokes of a manual grease gun) of lubricant.
b. Open the valve to the fully open-position and then inject each of the 4 giant
button-heads as in step A above.
c. Cycle the valve to the closed position to further distribute the grease to the
surface of the ball. When sealant injecting, repeat steps A-C several times to
fully distribute the sealant. Always make your last injection of the sealant in the
closed position.
d. Place the valve in the position desired, either fully open or fully closed. Always
avoid leaving the valve in an intermediate position for long periods.
Types of Fittings:
1/8” NPT Vented Grease Fitting
Bleed Valve
3/4” HEX HEAD x 1” NPT
With Venting Port
Giant Button Head Seat Sealant Fitting
With or Without Vented Cap
¼” NPT with Internal Check Valve
(Only for Soft Seated Valves)
Pipe Plug
1/2”, 3/4”, or 1” NPT