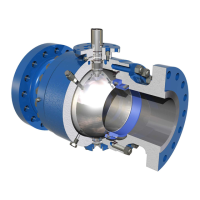
ENGINEERED & PROCESS VALVES
20
01/2011 / IOM-TK-TMBV-01
Installation, Operation and Maintenance Manual
REASSEMBLY
1. Make sure that all components are thoroughly clean prior to installation.
2. Slide thrust washer onto the stem and install O-rings.
3. Install stem bushing into the valve body. Do not use a hard-face hammer. The bonnet hub can
be used to recess bushing to proper depth.
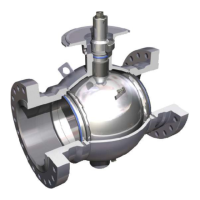
4. Install the thrust disc and trunnion bushing into the ball trunnion bore.
Do not use a hard-face hammer.
5. Install coil springs (wave springs where fitted) in seat assemblies where appropriate. Hold coil
springs in place by weaving rubber bands from spring to spring.
Note: Some 3” and 4” valves use wave springs in place of coil springs. In this case, install wave
springs prior to installing seats.
Note: 1.5” and 2” valves use belleville springs. In this case, install belleville springs prior to
installing seat holders. The outside of the belleville spring bears on the seat holder.
6. Replace each fire safe seal for all fire safe certified valves.
Two-Piece Seat Supported (non-trunnion)
7. Taking care not to damage the seat sealing surface, install one seat in the body and one
seat in the closure.
8. Install stem into the bonnet.
9. Install the bonnet and stem assembly onto the body.
10. Rotate the stem to the closed position to accept the ball.
11. Install the ball into the body cavity.
12. Install the closure onto the body.
Two-Piece Trunnion Supported
7. Taking care not to damage the seat sealing surface, install one seat in the body and one
seat in the closure.
8. Line up the stem and trunnion bore, place the ball into the body cavity. Insert the
trunnion into the ball to hold the ball in place. Do not drive trunnion completely in at this time.
9. Ensure the ball is aligned with the stem bore and insert the stem.
10. At this time the trunnion can be completely installed.
11. Install the bonnet onto the body.
12. Install the closure onto the body.