Printheads
Replacing the Printhead
Follow the steps below to replace the Printhead . Failure to follow this procedure may cause ink leak from
the Printhead , which may cause stains.
Note
• Prepare a new Ink T ank when ink levels are low .
• Y our hands may become dirty during Printhead replacement. Use the gloves provided with the new
Printhead for replacement.
• Choose On in Auto Print to have the printer automatically adjust the Printhead alignment after
replacement of the Printhead . ( → P .49)
1. If the roll is not ejected because of the cutting method selected, cut it manually and remove it.
( → P .421)
2. Clean inside the T op Cover . ( → P .640)
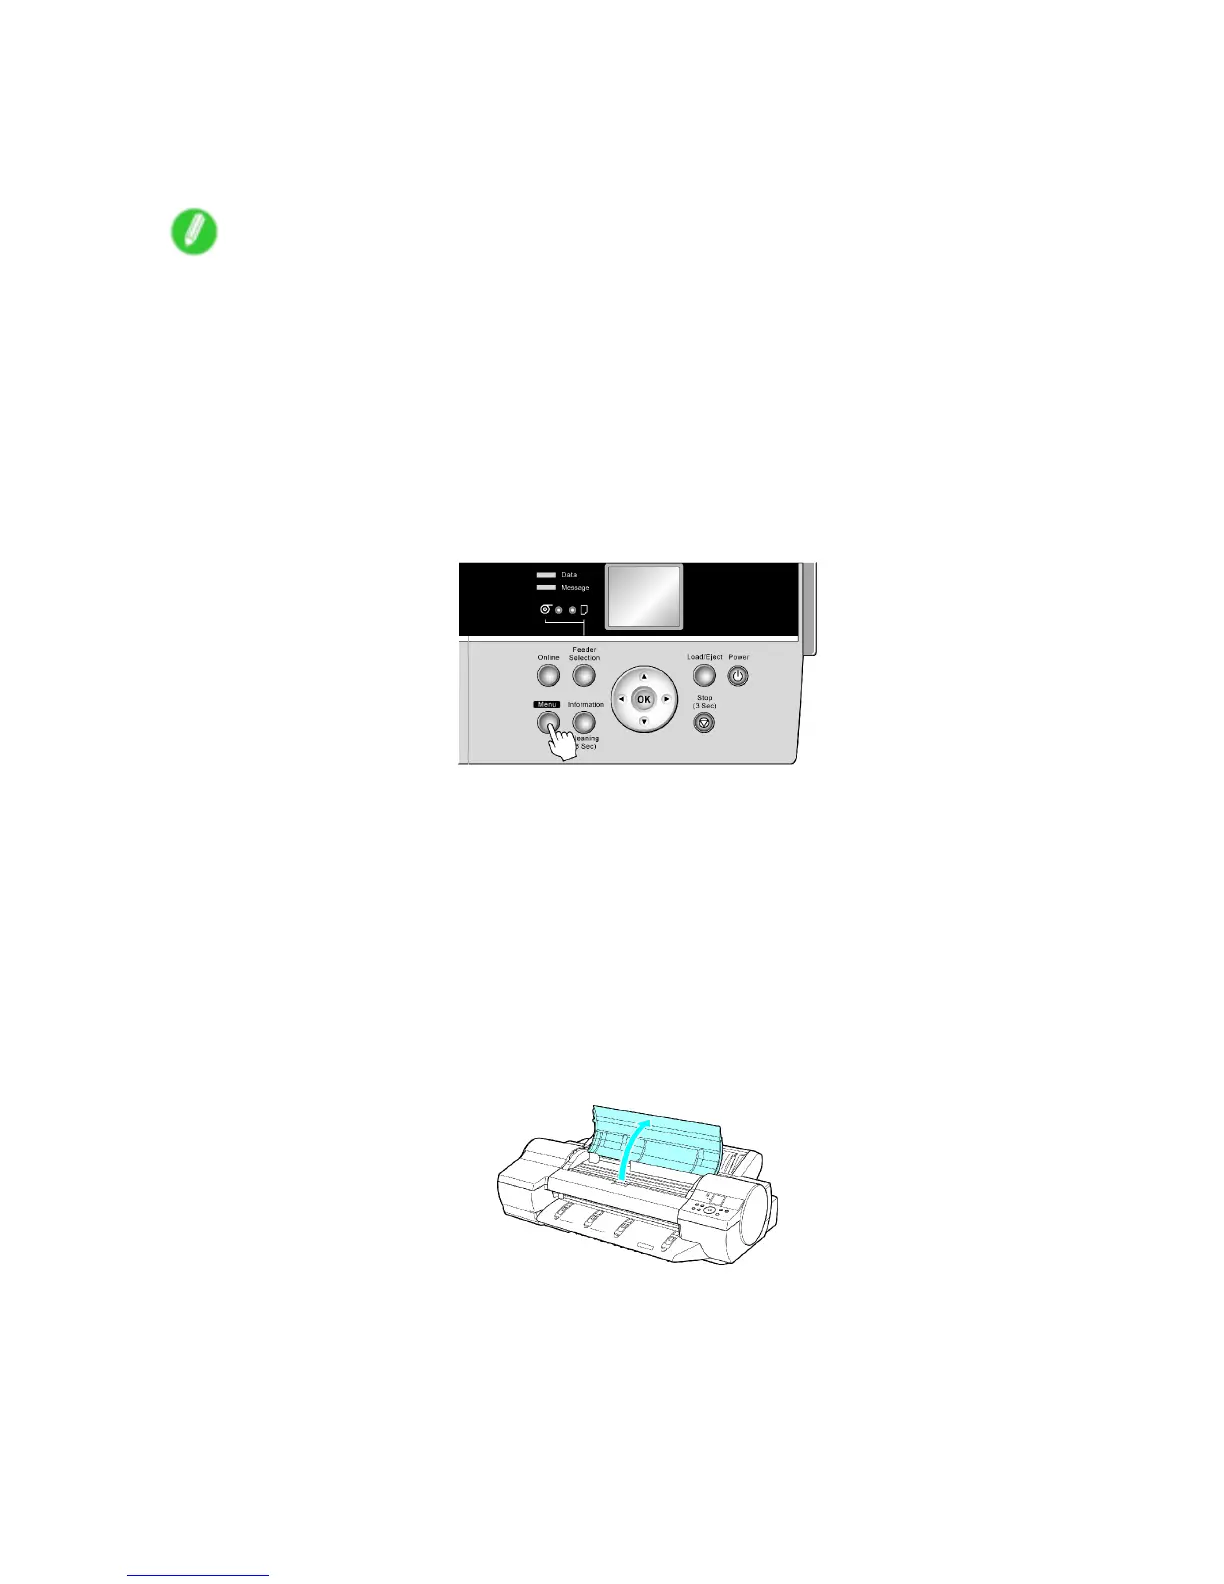
3. Press the Menu button to display MAIN MENU .
4. Press ▲ or ▼ to select Maintenance , and then press the ► button.
5. Press ▲ or ▼ to select Replace P .head , and then press the ► button.
6. Press ▲ or ▼ to select the Printhead for replacement, and then press the ► button.
7. Press ▲ or ▼ to select Y es , and then press the OK button.
Select Printhead L to replace the Printhead L or select Printhead R to replace the Printhead
R . Be sure to specify the correct printhead.
Ink is now lled.
After about three minutes, a message is shown on the Display Screen instructing you to open
the T op Cover .
8. Open the T op Cover .
Instructions are now shown on the Display Screen regarding Printhead replacement.
626 Maintenance

 Loading...