BT2 user manual - H-5911-9004-02-B Page | 15
5 Boretrak2 deployments – a typical project in the field
The procedure outlined below is a ‘quick start guide’ to using a Boretrak2 in the field.
The methodology is based around a borehole survey on a quarry. The project includes importing design holes into
the Carlson Boretrak project. The alignment jig is orientated during the survey by physically aligning it between
pre-surveyed holes. The project is run on a Windows tablet.
5.1 Preparing for the survey
Before your survey, ensure that the correct deployment device for your project has been determined. This will be
based on the inclination and length of the holes to be surveyed. In the case below, the holes are all near vertically
downwards and so the standard steel cable is used.
Ensure that all batteries – in your tablet & in the Boretrak2 probe – are fully charged before starting a project.
Place the rechargeable batteries into the Boretrak2 nose cone and screw the nose cone securely onto the probe.
The Boretrak2 is now ON.
The probe LEDs start by showing solid yellow while the power is stabilising. They progress to flashing blue if there
has been no Bluetooth connection, or flashing red if there has been a Bluetooth connection.
On your tablet, ensure Bluetooth is turned ON and that the Boretrak2 probe is already paired with the tablet (see
section 9.5).
5.2 Setting up Carlson Boretrak
5.2.1 New project
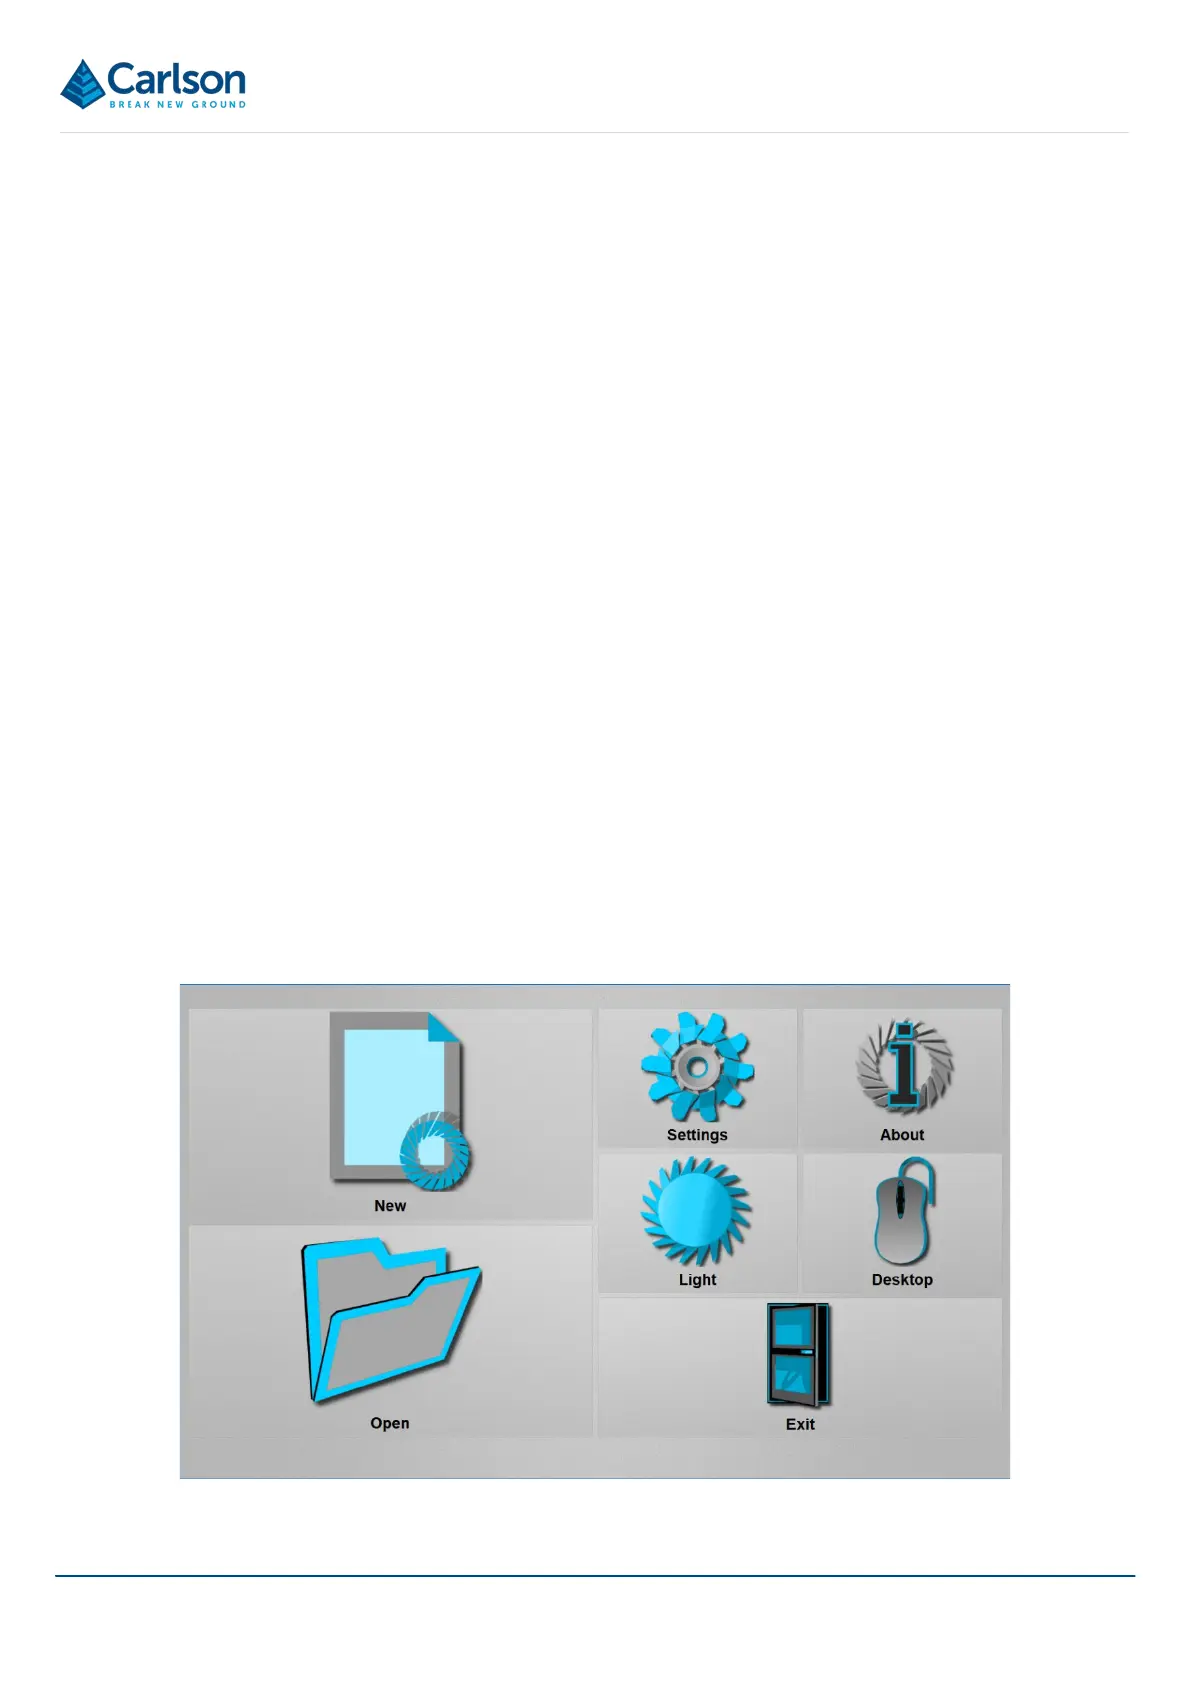
Open Carlson Boretrak software. Tap New to start a new project.
Figure 3 Touch mode Home screen