Install Sensors
SPACE TEMPERATURE SENSOR INSTALLATION --
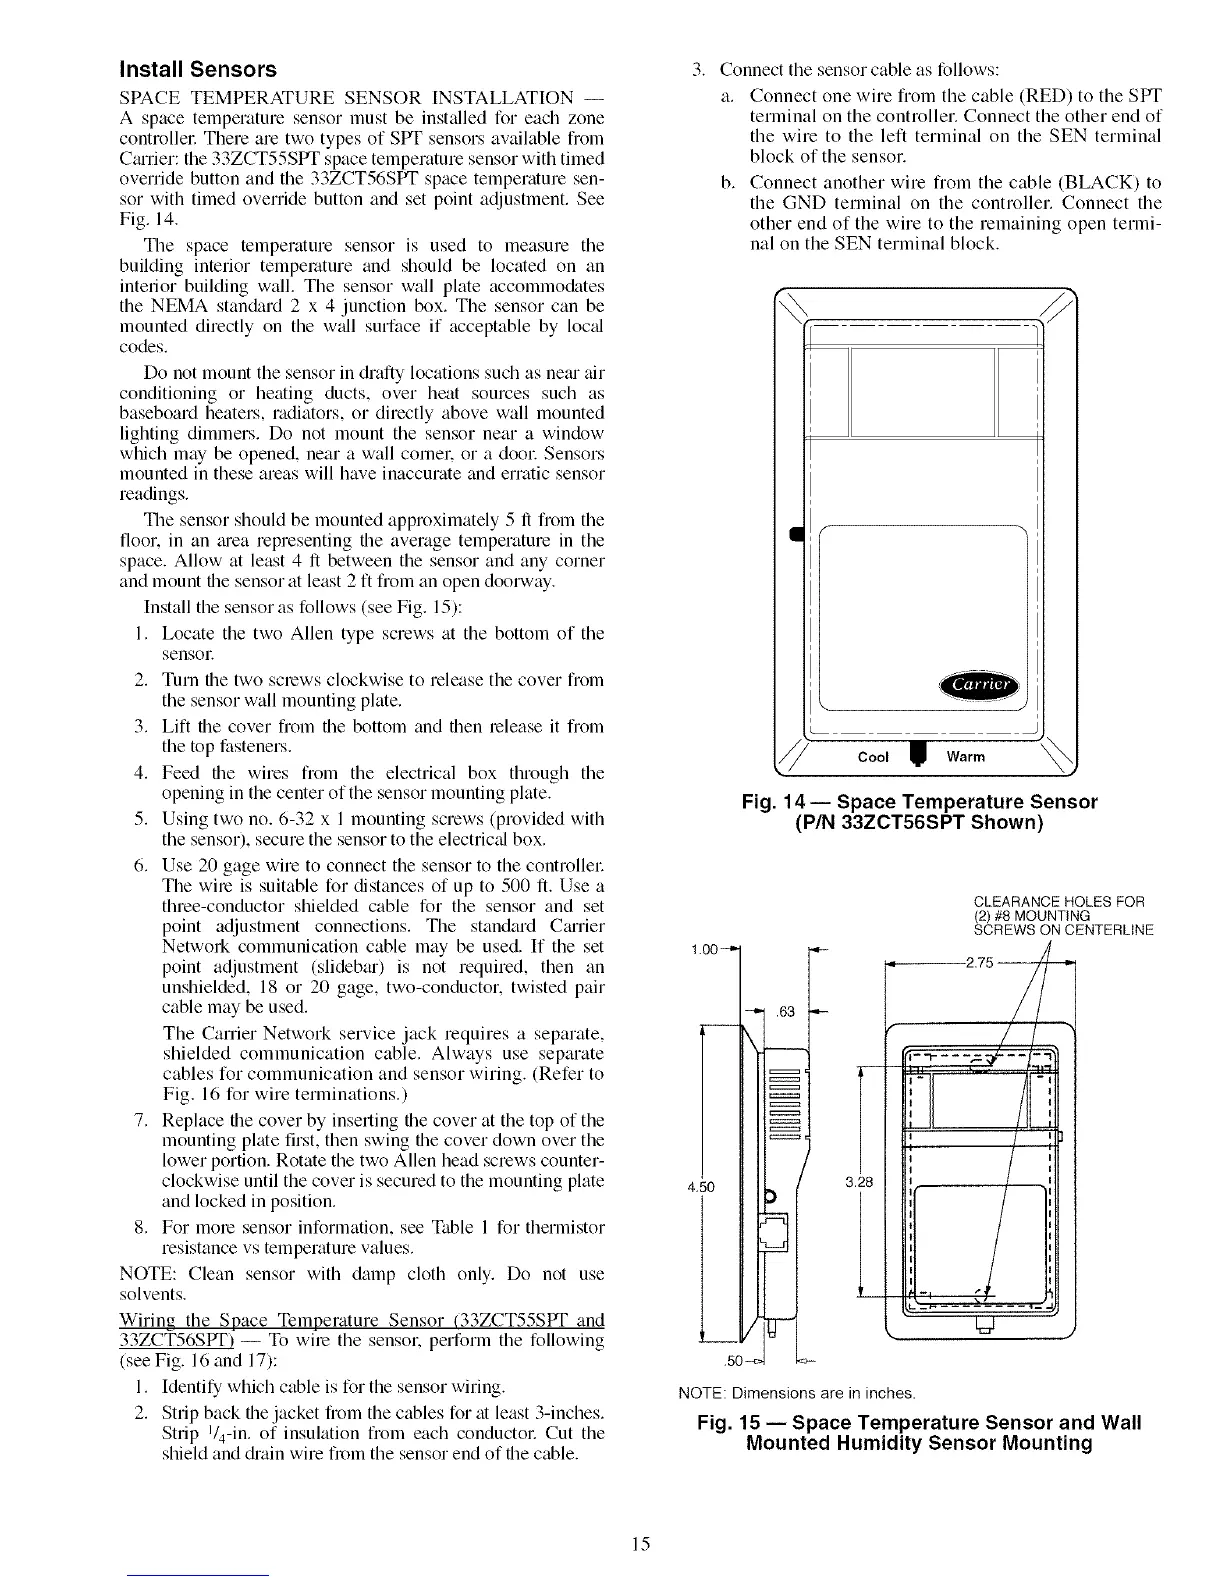
A space temperature sensor must be inst_dled for each zone
controllel: There are two types of SPT sensors available from
Cmrier: the 33ZCT55SPT space temperature sensor with timed
override button and the 33ZCT56SPT space temperature sen-
sor with timed override button and set point adjustment. See
Fig. 14.
The space temperature sensor is used to measure the
building interior temperature and should be located on an
interior building wall. The sensor wall plate accommo(kttes
the NEMA stan&u'd 2 x 4 junction box. The sensor can be
mounted directly on the w_fll surface if acceptable by loc_d
codes.
Do not mount the sensor in drafty locations such as ne_u" air
conditioning or heating ducts, over heat sources such as
baseboard heaters, radiators, or directly above wall mounted
lighting dimmers. Do not mount the sensor near a window
which may be opened, near a wall cornel: or a dooc Sensors
mounted in these areas will have inaccurate and erratic sensor
readings.
The sensor should be mounted approximately 5 1l from the
floor, in an tuea representing the average temperature in the
space. Allow at least 4 fi between the sensor and any corner
and mount the sensor at least 2 ft from an open doorway.
Install the sensor as follows (see Fig. 15):
1. Locate the two Allen type screws at the bottom of the
sensoE
2. Turn the two screws clockwise to release the cover from
the sensor wall mounting plate.
3. Lift the cover from the bottom and then release it from
the top fasteners.
4. Feed the wires from the electrical box through the
opening in the center of the sensor mounting plate.
5. Using two no. 6-32 x 1 mounting screws (provided with
the sensor), secure the sensor to the electrical box.
6. Use 20 gage wire to connect the sensor to the controllel:
The wire is suitable for distances of up to 500 ft. Use a
throe-conductor shielded cable for the sensor and set
point adjustment connections. The standard C_urier
Network communication cable may be used. If the set
point adjustment (slideb_u) is not required, then an
unshielded, 18 or 20 gage, two-conductor, twisted pair
cable may be used.
The Carrier Network service jack requires a separate,
shielded communication cable. Always use separate
cables for communication and sensor wiring. (Refer to
Fig. 16 for wire terminations.)
7. Replace the cover by inserting the cover at the top of the
mounting plate first, then swing the cover down over the
lower portion. Rotate the two Allen head screws counter-
clockwise until the cover is secured to the mounting plate
and locked in position.
8. For morn sensor information, see Table 1 for thermistor
resistance vs temperature values.
NOTE: Clean sensor with damp cloth only. Do not use
solvents.
Wiring the Space Temperature Sensor (33ZCT55SPT and
33ZCT56SPT) -- To wire the sensol: perform the following
(see Fig. 16 and 17):
1. Identify which cable is for the sensor wiring.
2. Strip back the jacket flom the cables for at least 3-inches.
Strip I/4-in. of insulation fiom each conductol: Cut the
shield and diain wire fl__)m the sensor end of the cable.
Connect the sensor cable as follows:
a. Connect one wire from the cable (RED) to the SPT
terminal on the controller. Connect the other end of
the wire to the left terminal on the SEN terminal
block of the sensor.
b. Connect another wire from the cable (BLACK) to
the GND terminal on the controller. Connect the
other end of the wire to the remaining open termi-
nal on the SEN terminal block.
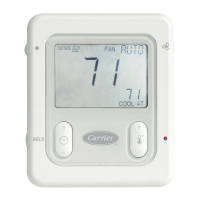
Cool I Warm \
Fig. 14 -- Space Temperature Sensor
(P/N 33ZCT56SPT Shown)
4,50
V
3.28
CLEARANCE HOLES FOR
(2) #8 MOUNTING
SCREWS ON CENTERLINE
!li!i
I I
I I
I I
I I
I I
I I
I I
I I
!
LJ .,
NOTE: Dimensions are in inches.
Fig. 15 -- Space Temperature Sensor and Wall
Mounted Humidity Sensor Mounting
15
 Loading...