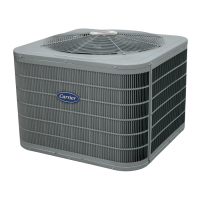
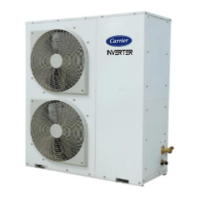
*Dimensions @ mm (*for reference only)
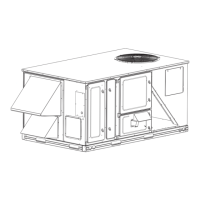
Be careful and follow below steps to carry / handle the indoor unit or outdoor unit and place:
1. Bring the unit closest to the location/position where it is to be installed and then open its wooden/
carton packing.
2. Use spreader bar at the top of the unit to avoid any damage. Cover the unit.
3. Place three equal size rollers under the base frames with a proper balance.
4. Before position the unit, confirm elevation for unit is on a solid base with an iron frame or concrete
curbs.
5. Pallet / Foundation must be flat, level and strong.
6. Insert the forks under the base frames and then lift the unit upright.
7. Drive Anchor/Grip Fast fasteners of 10mm and fix unit by threaded bolts, lock-washers and check
nuts. Level the unit to provide drain slope, and duct and pipe connections.
8. Make a suitable template, marking therein 10mm dia. Mark bolt holes in the ceiling and make
necessary holes with a masonry drilling machine.
9. Connect unit to supply air grille with 3” double canvas cloth or a small duct collar.
10. Supply air grille made of sheet metal must be provided as per standard design. If wooden grille
is provided, ensure adequate free area.
11. To facilitate filter removal and for service purposes e.g. motor removal etc., an access of
adequate gap (for its full length and a width of 1000mm) must be provided below the unit.
 Loading...