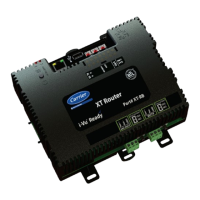
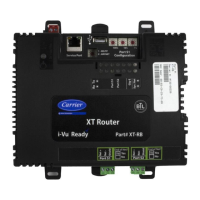
i-Vu® XT Router (drv_gen5) CARRIER CORPORATION ©2022
Installation and Start-up Guide 11 All rights reserved
To set the IP address
You must define the i-Vu® XT Router's IP addressing (IP address, subnet mask, and default gateway) in the
Service Port controller setup pages so that the router can communicate with the i-Vu Pro Server on the IP network.
Use one of the IP addressing schemes described below with the associated instructions that follow.
You do not use a DHCP server and the answer to any of the
following questions is yes. Will the i-Vu® system:
• Share a facility's existing IP data network?
• Have 254 or more devices with static IP addresses?
• Be connected to the Internet?
• Have at least one device located on the other side of an IP
router?
• Have any third-party IP devices?
NOTE Carefully plan your addressing scheme to avoid duplicating addresses. If third-party devices are integrated
into the system, make sure your addresses do not conflict with their addresses.
To set a DHCP IP address
1 On the Service Port controller setup, click , select Modstat from the drop-down list, find the router’s
Ethernet MAC address, and write it down.
2 On the Connections page, under the Gig-E Port tab > Primary BACnet/IP, select DHCP in the drop-down list
for Address Mode.
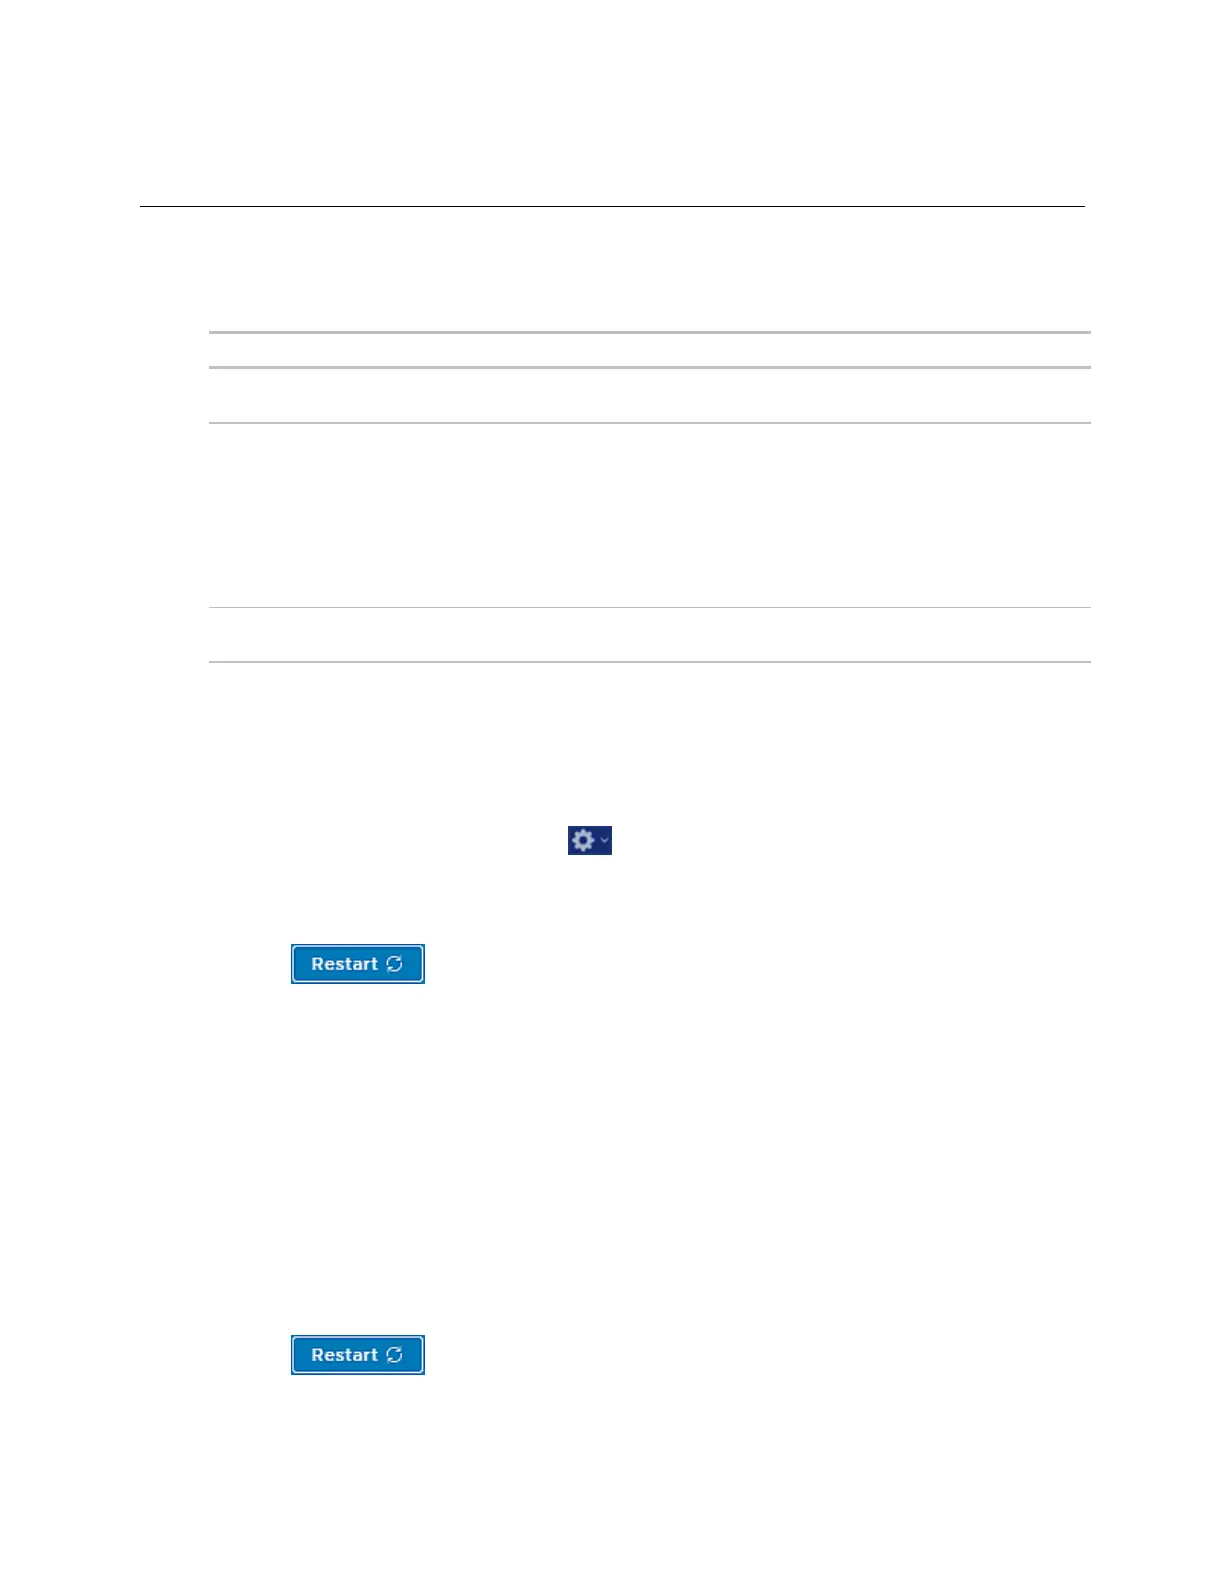
3 Click .
4 Write down the IP Address.
5 Give the DHCP network administrator the IP address and Ethernet MAC address and ask him to reserve that
IP address for the router so that it always receives the same IP address from the DHCP server.
To set a custom IP address
1 Obtain the IP address, subnet mask, and default gateway address for the router from the facility network
administrator.
2 On the Connections page, under the Gig-E Port tab > Primary BACnet/IP, select Custom Static in the drop-
down list for Address Mode.
3 Enter the IP Address, Subnet Mask, and Default Gateway addresses that the network administrator gave
you.
4 Click .
 Loading...