INDOOR UNIT INSTALLATION
• The piping can be connected to the four directions indicated by , , , . When the piping is connected
to the direction of , or , detach the knock-out either at the side or at the bottom of the unit. ( Fig. 3 )
Figure
3
Figure
4
22
1) Installing the Wall Hang Bracket
30cm
or more
10cm
or more
45cm
or more
PLUMB
REMOVE SCREW
• Install the wall hang bracket so that it is level. Use a plumb line if necessary. ( Figure. 4 )
• Be sure to leave the clearance spaces shown in Figure 1.
• Before installing the wall hang bracket, remove it from the unit by pushing up marks ( ) at the bottom of the body.
• Fasten the wall hang bracket to the wall with 5 or more self-tapping screws through the holes near the outer edge of the
bracket as shown in Figure 4.
• Install the wall hang bracket so that there is no gap between the bracket and the wall.
• Check that the wall hang bracket does not move to prevent noise during operation.
NOTE
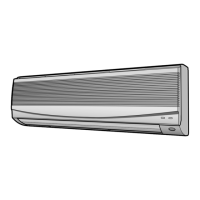
• In case of removing the unit
from the wall hang bracket
after installing it onto the wall,
remove by pushing up
MARKS ( ) at the bottom of
the body.
 Loading...
