55
E550 - E550 CR - E550 PM - E550 PM CR Automatic Single-Side Edgebander Rel. 1.1.1
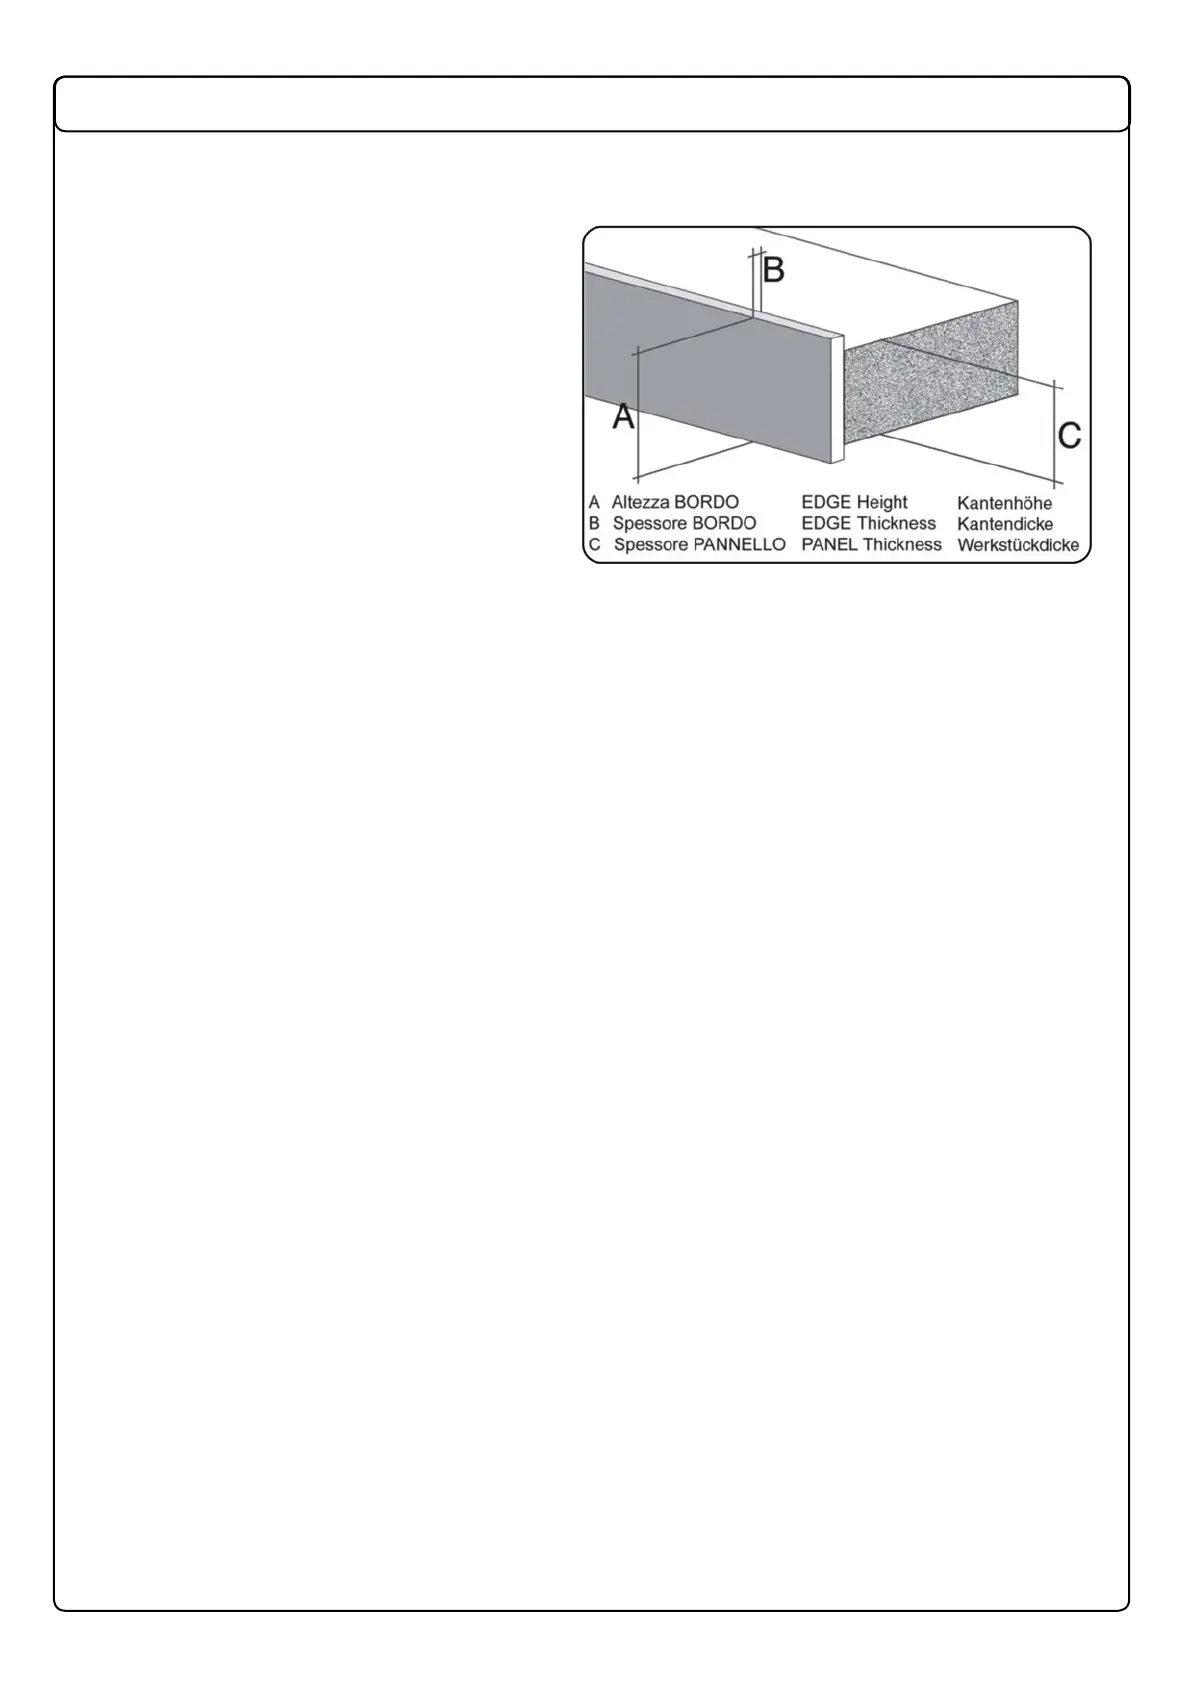
3.3 POSITIONING AND FEED FOR EDGES IN COILS/STRIPS
*Values for edge thickness are for edges that exceed panel height by no more than 4 mm.
It cannot however be excluded that for some types of wood at maximum thickness, the machine may need
to be tted with more powerful motors!
COILED EDGING TAPES FROM 0.4 MM TO 3 MM IN THICKNESS
The following operations must be carried out every time that coiled edging tape is used, or edges with a
different height or thickness.
Fit the edging coil onto the coil support cross:
- position 1 for thin edging coils that do not tend to unroll by themselves;
- position 2 for thick edging coils that tend to expand.
The coil turns with reduced friction due to the small rollers and horizontal rollers on the coil support.
Press button T until the LED lights up (shear activated), and the coil cutting shear can operate.
Move the edge forward between the pairs of small vertical rollers on ledge G.
Raise the vertical edge restraining guide (H) by turning knob P.
Move the edge beneath vertical guide H until it reaches the blade of the cutting shear after freeing the
passage by using lever E.
Use knob P to adjust vertical edge restraining guide H.
It is normally advisable to leave a play of 0.5 mm with respect to the edge.
Position the edge on the line of the backing plate of the coil cutting shear L (Fig. 3.3).
EDGING STRIPS FROM 0.4 TO 5 MM
The same instructions are applicable, with the following differences:
Press button T until the LED light is off (shear deactivated).
• Position the edge strip on ledge G.
• Lower bar H and check that the edge strip runs freely.
• Use knob P to adjust the vertical restrainment of the edge (a play of 0.5 mm with respect to the strip
is usually left).
• Position the strip on the cutting line of the coil cutting shear L.
The adjustment of the excess at the front or rear can be modied keeping the T button pressed for