20
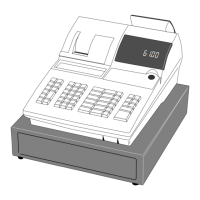
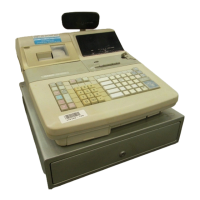
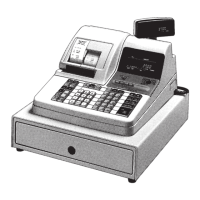
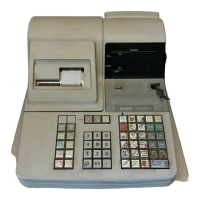
Introducing CE-6000
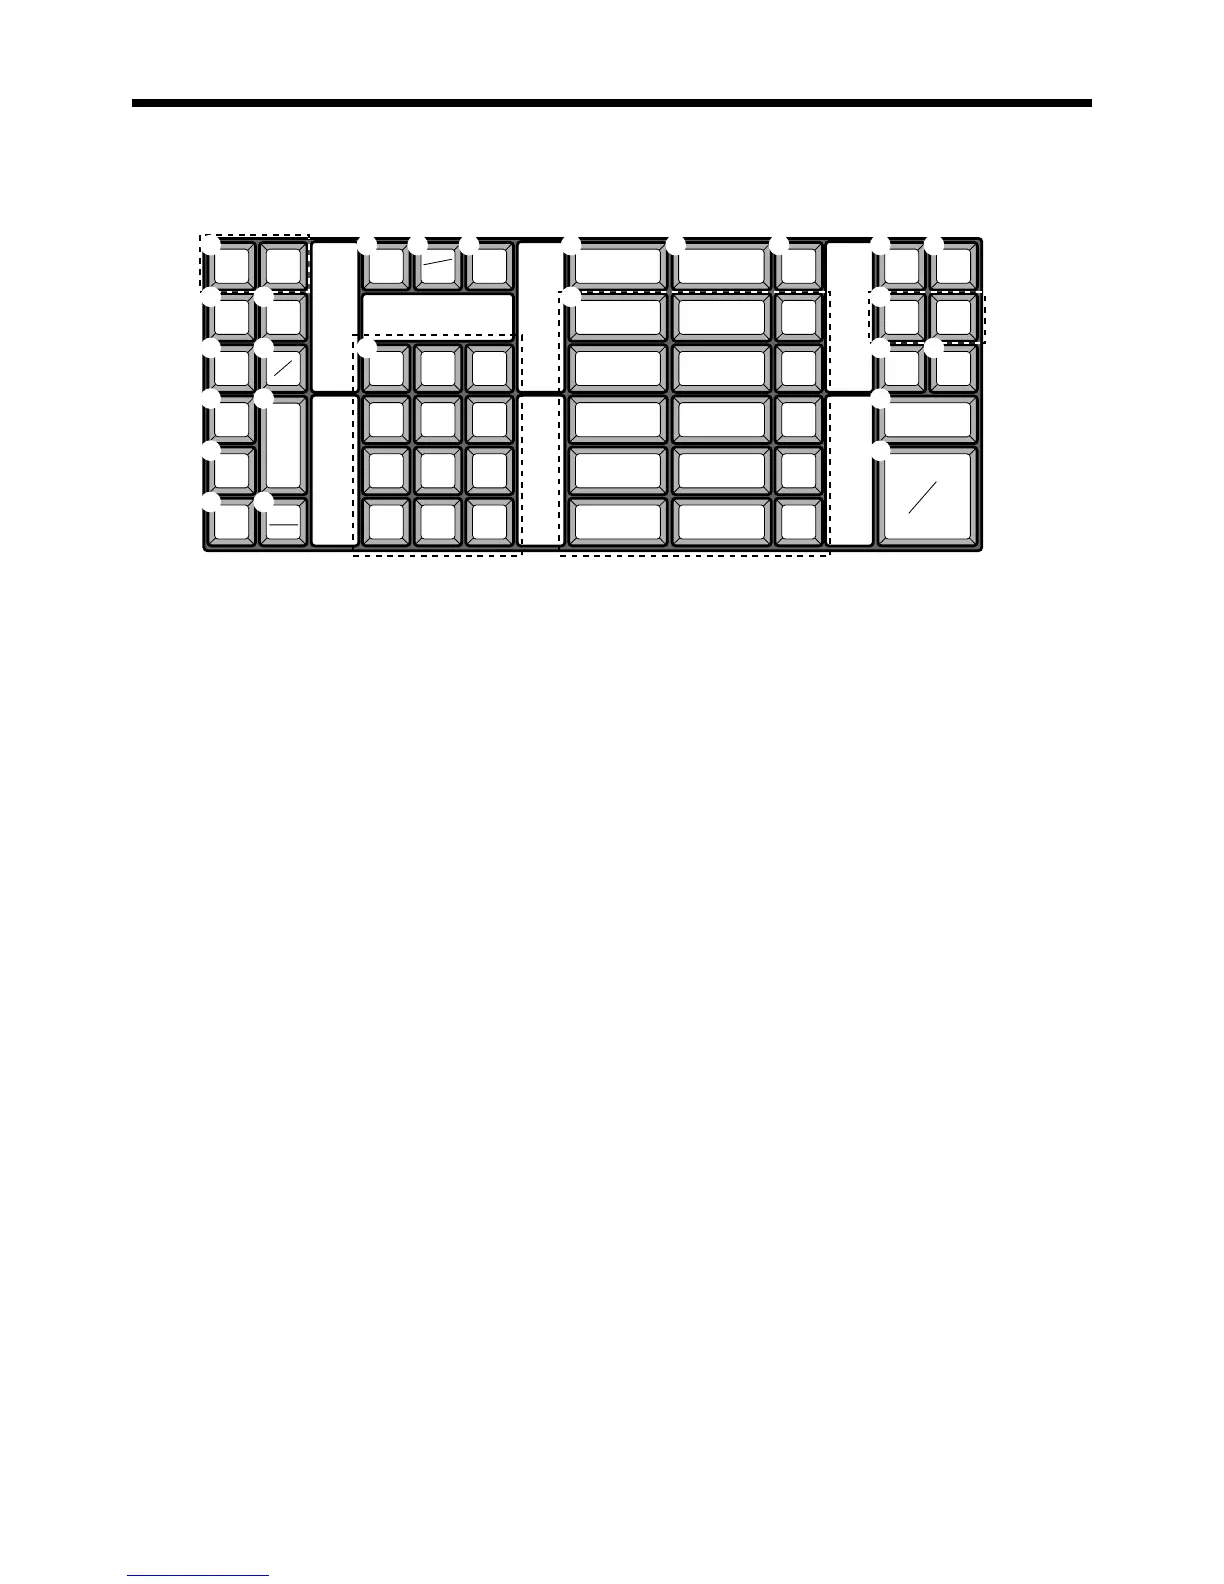
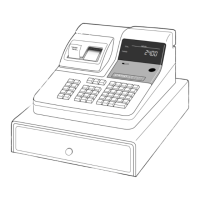
Keyboard
789
456
123
000•
51015
4914
3 8 13
2 7 12
16 11
JOURNAL
FEED
C
RECEIPT
FEED
RECEIPT
VALID
PLU
%
–
–
RF
ERR.
CORR
CANCEL
#
NS
X/FOR
DATE
TIME
CLK#
PRICE
T/S1
T/S2 RC PD
CR1 CR2
CH
CHK/
TEND
CA
AMT
TEND
RECEIPT
ON/OFF
SUBTOTAL
1
2
3
4
5
6
E G H
F
I
J
K
L
M
N
O
A C D
B
7
8
9
0
• Register Mode
1 Paper feed key f, j
Hold this key down to feed paper from the printer.
2 Post receipt key ;
Use this key to produce a post-finalization receipt.
3 Receipt on/off key Q
Use this key pressing two times to change the status
“receipt issue” or “no receipt.” In case of “receipt issue”,
the “RCT” indicator is lit.
4 Discount key p
Use this key to register discounts.
5 Minus key m
Use this key to input values for subtraction.
6 Refund key R
Use this key to input refund amounts and void certain
entries.
7 Validation key v
Use this key to validate transaction amounts on slip.
8 Non-add/No sale key N
Non-add key: To print reference number (to identify a
personal check, credit card, etc.) during a transaction, use
this key after some numerical entries.
No sale key: Use this key to open the drawer without
registering anything.
9 PLU key +
Use this key to input PLU numbers.
0 Error correction/Cancellation key e
Use this key to correct registration errors and to cancel
registration of entire transactions.
A Clear key C
Use this key to clear an entry that has not yet been
registered.
B Ten key pad 0, 1 ~ 9, -, ^
Use these keys to input numbers.
C Multiplication/For/Date/Time key x
Use this key to input a quantity for a multiplication
operation and registration of split sales of packaged
items. Between transactions, this key displays the current
time and date.
D Clerk number key o
Use this key to sign clerk on and off the register.
E Price key :
Use this key to register an amount to an open PLU when
a PLU is used as an open PLU.
F Department keys !, ", # ~ &
Use these keys to register items to departments.
G Tax status shift 1 key t
Use this key to change the Taxable 1 status of the next
item.
H Tax status shift 2 key T
Use this key to change the Taxable 2 status of the next
item.
I Received on account key r
Use this key following a numeric entry to register money
received for non-sale transactions.
www.cashregisters.net