Using the Song Sequencer
E-80
7.
After everything is the way you want, press the
R-16 (ENTER) button.
• If the destination track does not contain recorded data,
combination of the tracks starts immediately.
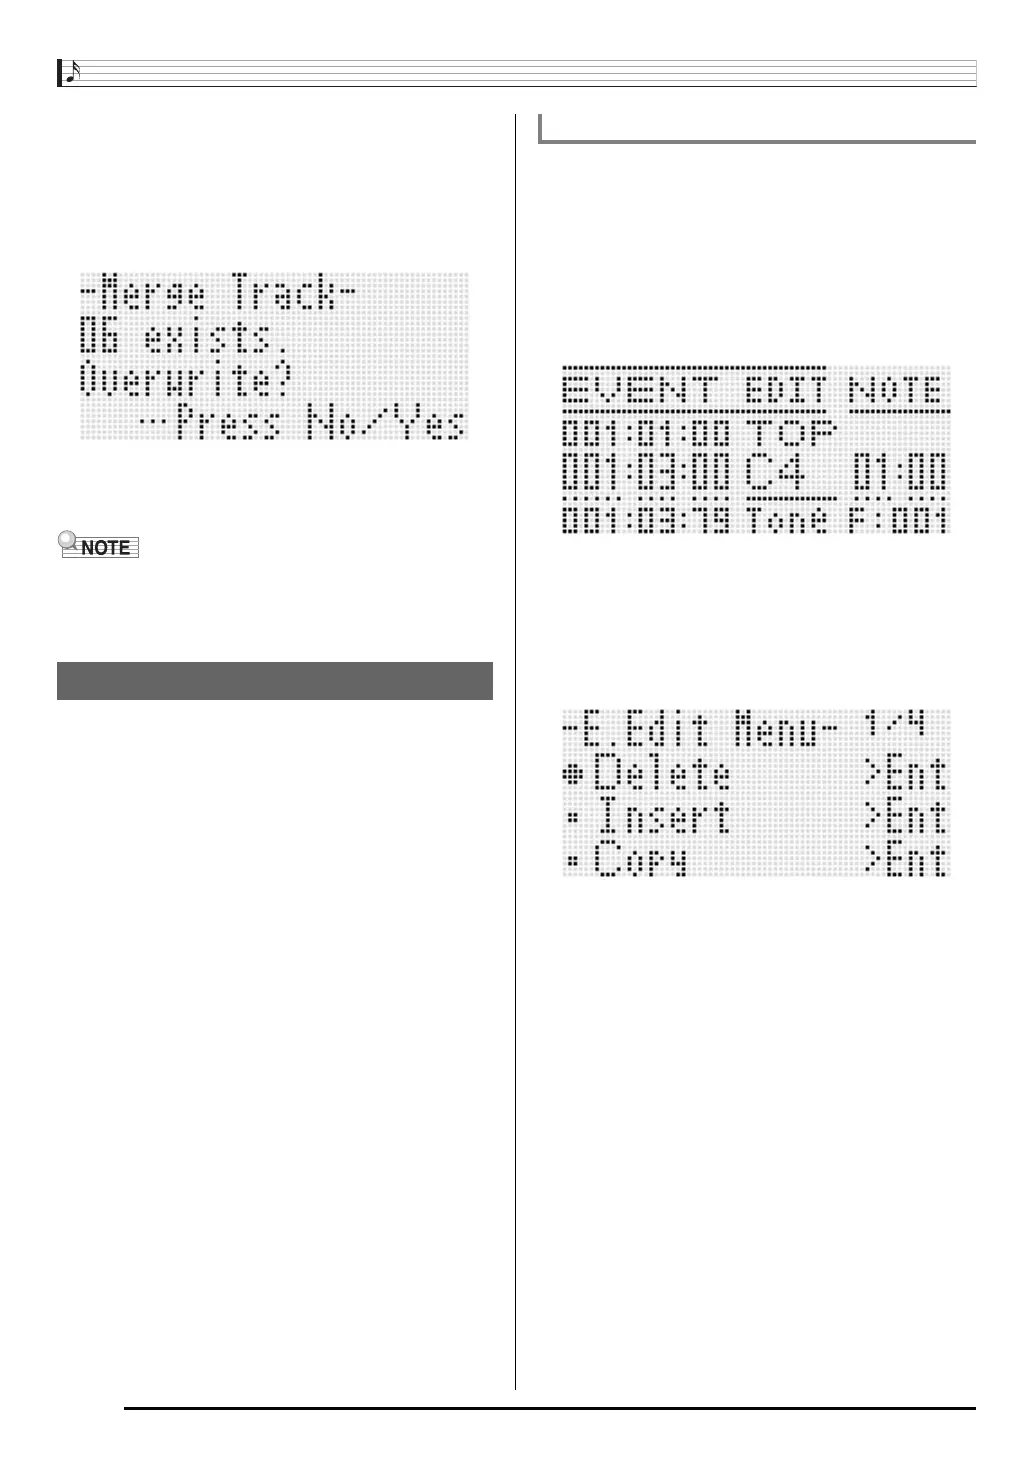
• If the destination track already contains recorded data,
the confirmation message shown below appears asking
if you want to overwrite the existing data.
Press the R-14 (YES) button to perform the process and
overwrite the existing track or the R-14 (NO) button to
cancel.
• Performing the above procedure does not clear the
contents of the two source tracks. If you no longer need the
content of a track, you can clear it using the procedure
under “To clear a single track” (page E-78).
The song sequencer records all Digital Keyboard operations
you perform while playing as “events”, which are the smallest
unit of data that makes up a song. Playing a single note on the
keyboard, for example, stores the following events: note start
measure, beat, and track, note pitch, note length, and note
intensity.
The following operations are supported during event editing.
• Deleting events
• Inserting events
• Copying events within a specific range to a desired location
• Quantizing
*
note events
• Deleting pitch bender events
• Adjusting note event velocity values
• Adjusting note event gate time values
• Selecting the type of events that appear on the Event Editor
screen (View Select)
• Inserting or deleting beat events
• Directly inputting note events (step input)
* Quantize is an operation that automatically adjusts the
note-on timing of a note event to match a reference note.
1.
Press the C-3 (SONG SEQUENCER) button to
enter the song sequencer mode.
2.
While holding down the R-13 (FUNCTION)
button, press the C-3 (EDIT) button to display
the editor menu.
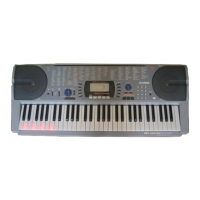
3.
Press the R-16 (ENTER) button.
• This displays the event editor screen shown below.
• For information about how to use the event editor
screen, see “Event Types and Screen Content” (page
E-81).
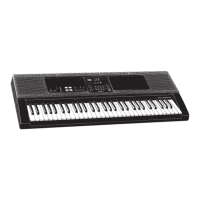
4.
While holding down the R-13 (FUNCTION)
button, press the C-13 (MENU) button.
• This displays the event editor menu shown below.
• Next, select the menu item that corresponds to the type
of operation you want to perform. Details about each
operation are provided in the procedures of this section.
Editing Events
To start an event editor operation