E-28
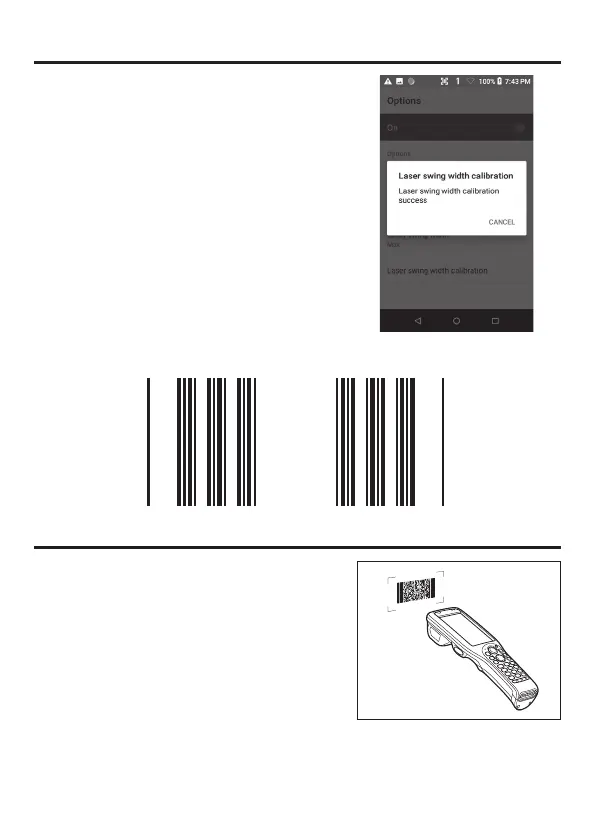
3. Press the trigger key to emit laser light, and align
the light with the barcode for adjusting emission
width.
• Align the laser light with the narrow bars on both
sides.
• The message appears as shown at right when
adjustment is completed. Press "CANCEL" to
fi nish.
• Repeat the setting if "Laser swing witdh calibration
failed" message appears.
■
Emission Width Adjustment Bar code
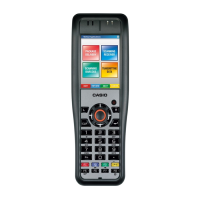
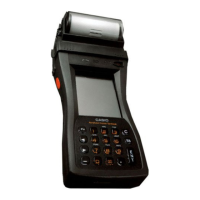
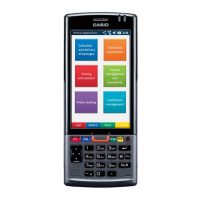
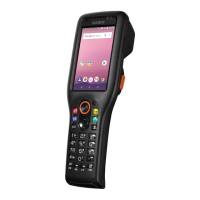
Using the Imager (DT-X400-20/C21/WC21/C31/WC31)
1. After turning on the power, position the barcode
reader close to a bar code and then press the
trigger key.
2. The laser emits light and scans the bar code.
If scanning is completed normally, Notifi cation
LED displays a green light.
Precautions for Use
• If you have problem not properly reading a code, change the angle and/or the
distance between the code and the terminal and try reading it again.
• The actual reading distance depends on the symbology and the resolution.
• Soiling on the barcode reader port may prevent successful reading. Should the
reader port become dirty, wipe it clean with a soft and dry cloth.
 Loading...