21
EN
Part 10 Confi guring the Printer Setup
The printer has a
SET UP
screen that you can use to confi gure a variety of
basic settings.
To confi gure the printer setup
1. Press
FUNC
and then .
2. Use and to select the
SET UP
item whose setting you want to
change, and then press
OK
.
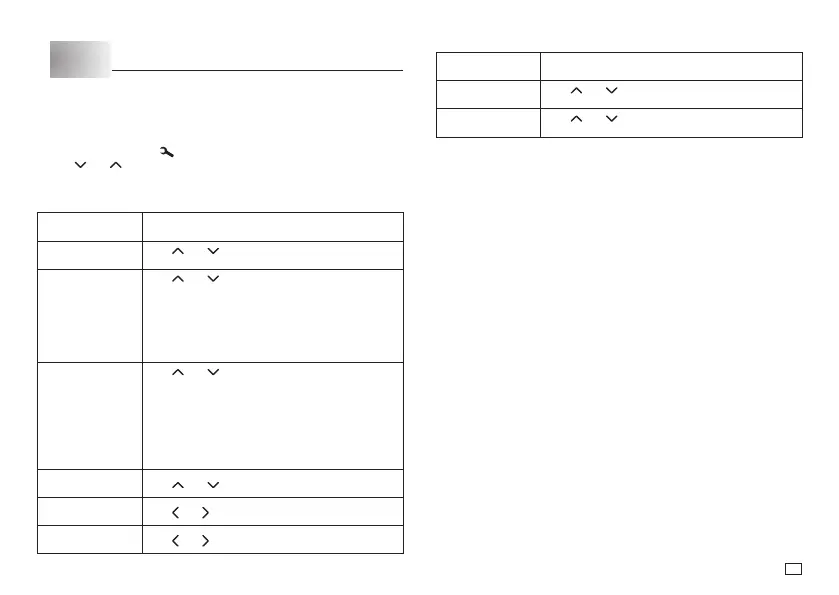
3. Use the cursor keys to change the currently selected setting.
When this setting
is selected:
Change its setting like this:
TAPE WIDTH
Use
and
to select the tape width setting you
want to use.
ALIGN
Use
and to select the text alignment setting
you want (
LEFT
,
CENTER
,
RIGHT
,
EQUAL
).
• LEFT: Aligns text fl ush left.
• CENTER: Centers text.
• RIGHT: Aligns text fl ush right.
• EQUAL: Equally spaces text to fi ll the entire space
available.
PITCH
Use
and to select the following settings for
the pitch (space between characters): “
NONE
”
(0 mm), “
NARROW
” (1 mm), or “
WIDE
” (2 mm).
Changing this setting also causes the tape length to
change accordingly.
• This setting cannot be changed when EQUAL is
selected for the ALIGN setting, and when FIX is
selected for the TAPE LENGTH setting.
DEFAULT FONT
Use
and
to select the font you want to use.
CONTRAST
Use
and to adjust the display contrast.
DENSITY
Use
and to adjust the print density setting.
When this setting
is selected:
Change its setting like this:
LANGUAGE
Use
and
to select the display language you
want to use.
cm/inch
Use
and
to select centimeters (cm) or inches
as the unit of measurement.
4. Press
OK
to apply the setting.