In the export window it is possible to:
• determine which frames will be saved
o pressing “Mark start” will set the current image as the first image to be saved
o pressing “Mark end” will set the current image as the last image to be saved
• choose whether the frames will be saved as separate files or as a video
• add a folder tag, if desirable
• view (and modify, if needed) the recording settings
5.2.11 Snapshot
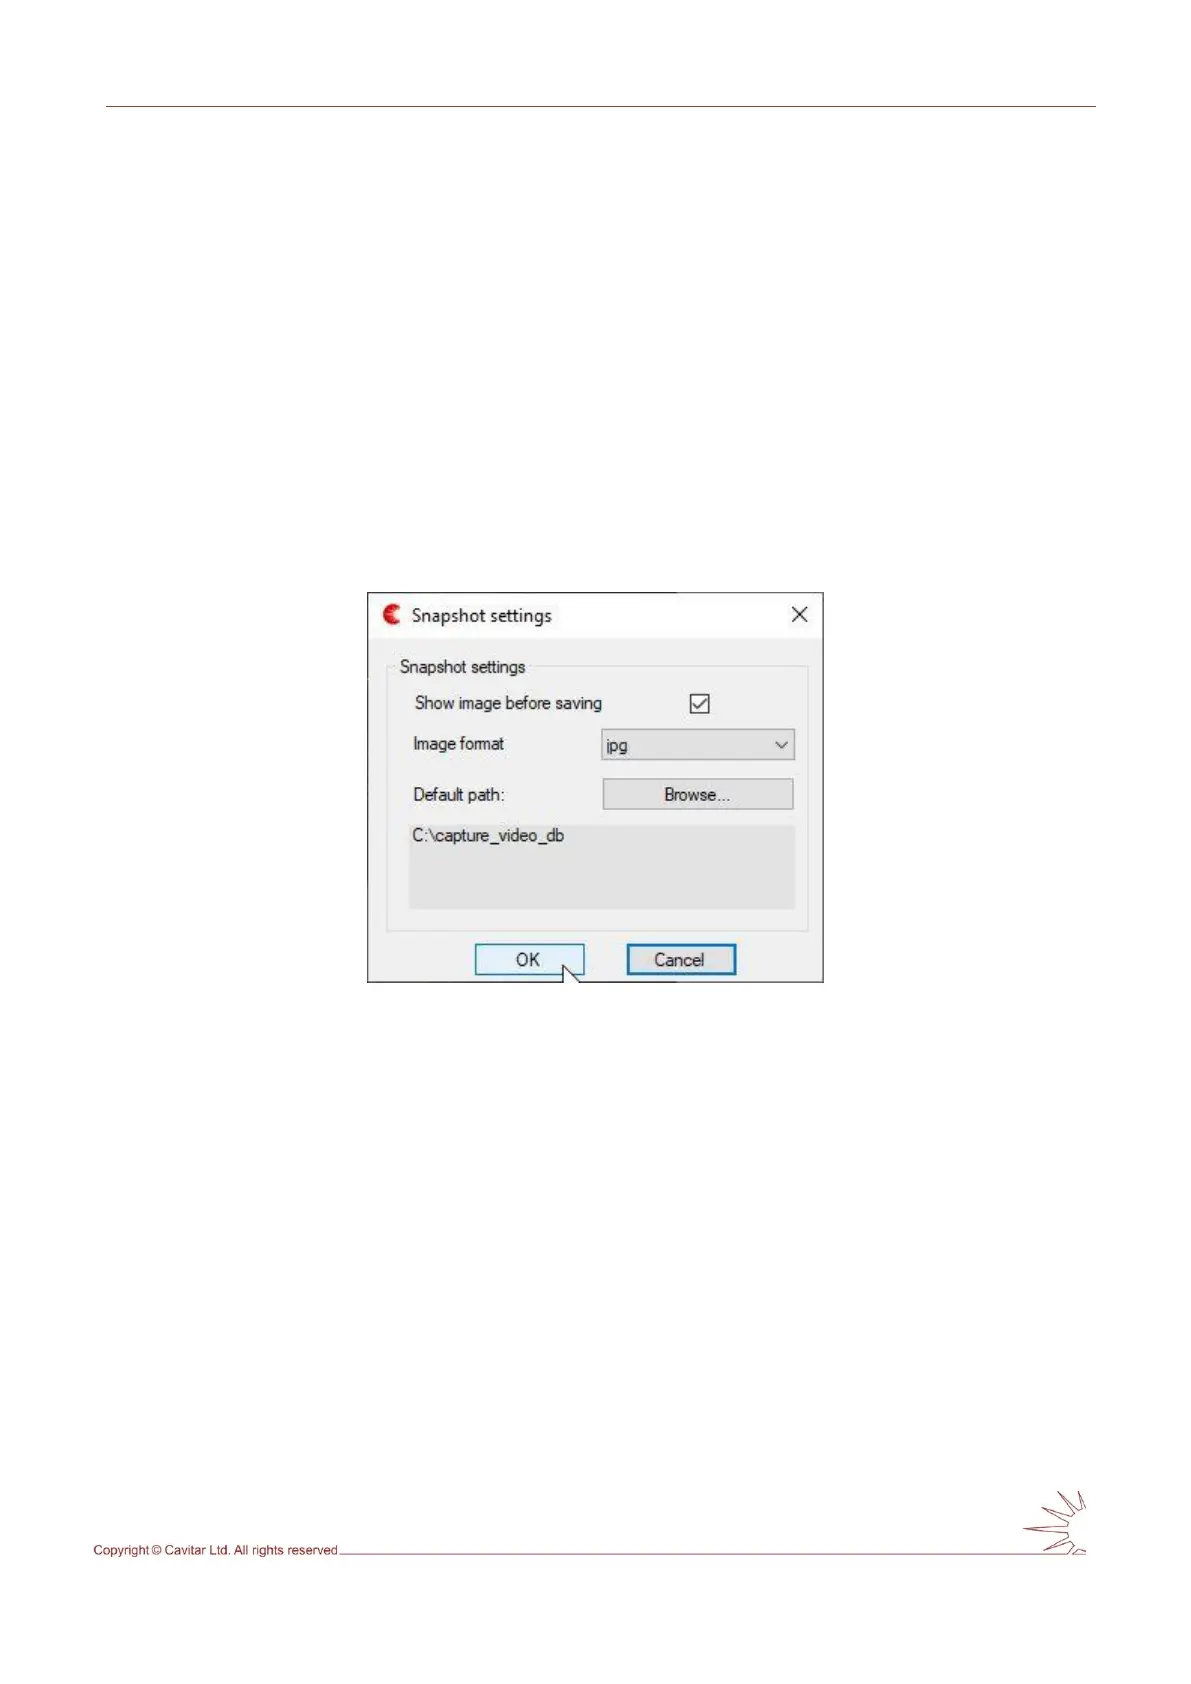
Snapshot means the capture of a single frame. Snapshot can be taken by pressing the
“Snapshot” button on the left-hand side of the “REC” button (see Fig. 5.10C). Before taking
snapshots it is good to set the snapshot settings by selecting “Snapshot…” from “Settings”
menu (see Fig. 5.25).
Fig. 5.25. Snapshot settings.
5.3 Starting and stopping laser illumination
Laser illumination will start when the conditions below are met:
• “CAM OK” led on the TWU is on (camera is powered)
• “Laser” is “enabled” in Camera settings Timing & sync window (“Settings menu” →
“Camera…”)
• “Start” button (Fig. 5.10A) has been pressed
To stop laser illumination (and continue image acquisition):
• Set “Laser” to “disabled” in Camera settings Timing & sync window (“Settings menu”
→ “Camera…”)
To stop laser illumination (and image acquisition):
• press “Stop” button (Fig 5.10A)
• press “CAM ON/OFF” button on the TWU or disconnect the power supply cable from
AC mains (this will switch off the entire system)