5. PERFORMING A 2D X-RAY EXAMINATION
The steps to follow to properly perform a 2D X-ray examination are:
1 – Turn on the system
2 – Select the X-ray examination on the touch screen display
3 – Prepare the X-ray examination
4 – Position the patient
5 – Perform the examination
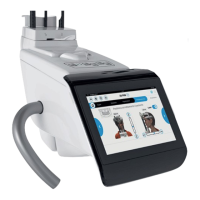
5.1. STARTING THE SYSTEM
Turn on the X-ray device by pressing the on/off button on the rear near the column base: the display lights up
and an acoustic signal is emitted. Wait until the progress bar indicates that system start is complete .
If the X-ray device is in standby (green LED flashing) press the CONFIRM button to reset the
functions.
Once properly started, the green LED stays on fixed.
5.2. SELECTING THE EXAMINATION FROM THE CONTROL CONSOLE
5.2.1. 2D EXAMINATIONS AVAILABLE
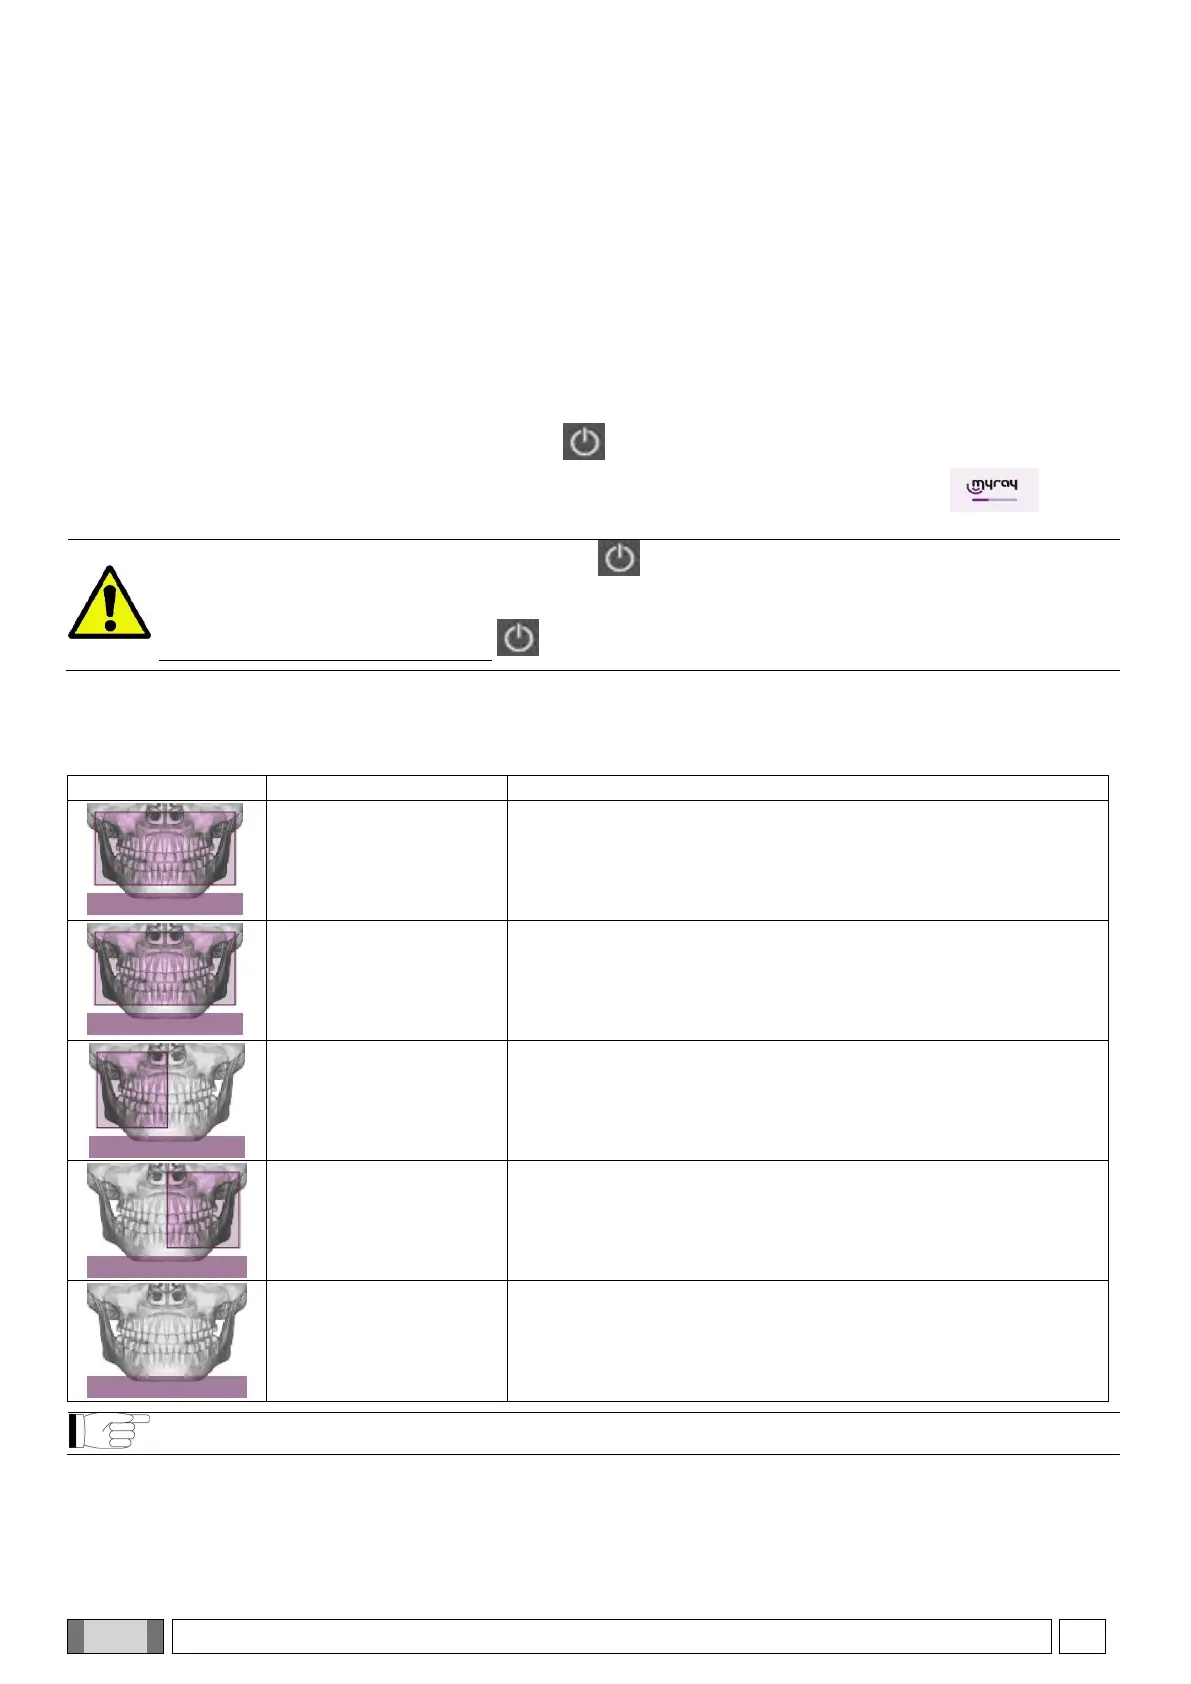
Panoramic examinations (PAN):
High-definition projection that shows the view of the entire dental
arch and the TMJ (temporomandibular joints).
Magnification 1,23
CHILD
Scanning Time:
12.2 s
Projection that shows the view of the entire dental arch and the
TMJ (temporomandibular joints); in the paediatric version it
adapts to the morphology of the child and lasts 12.2 s.
Magnification 1.23
RH HALF-PAN
Scanning time:
7.1 s
Like HD, limited to the right-hand side only.
Magnification 1.23
LH HALF-PAN
Scanning time:
7.1 s
Like HD, limited to the left-hand side only.
Magnification 1.23
QUICK
Scanning time:
6.3 s
Quick projection that shows the view of the entire dental arch
and the TMJ (temporomandibular joints)and lasts 6.3 s.
Magnification 1.23
The DTS function is not available for the PAN QUICK protocol.