12. INSPECTION AND MAINTENANCE
12.1. USER INSPECTION
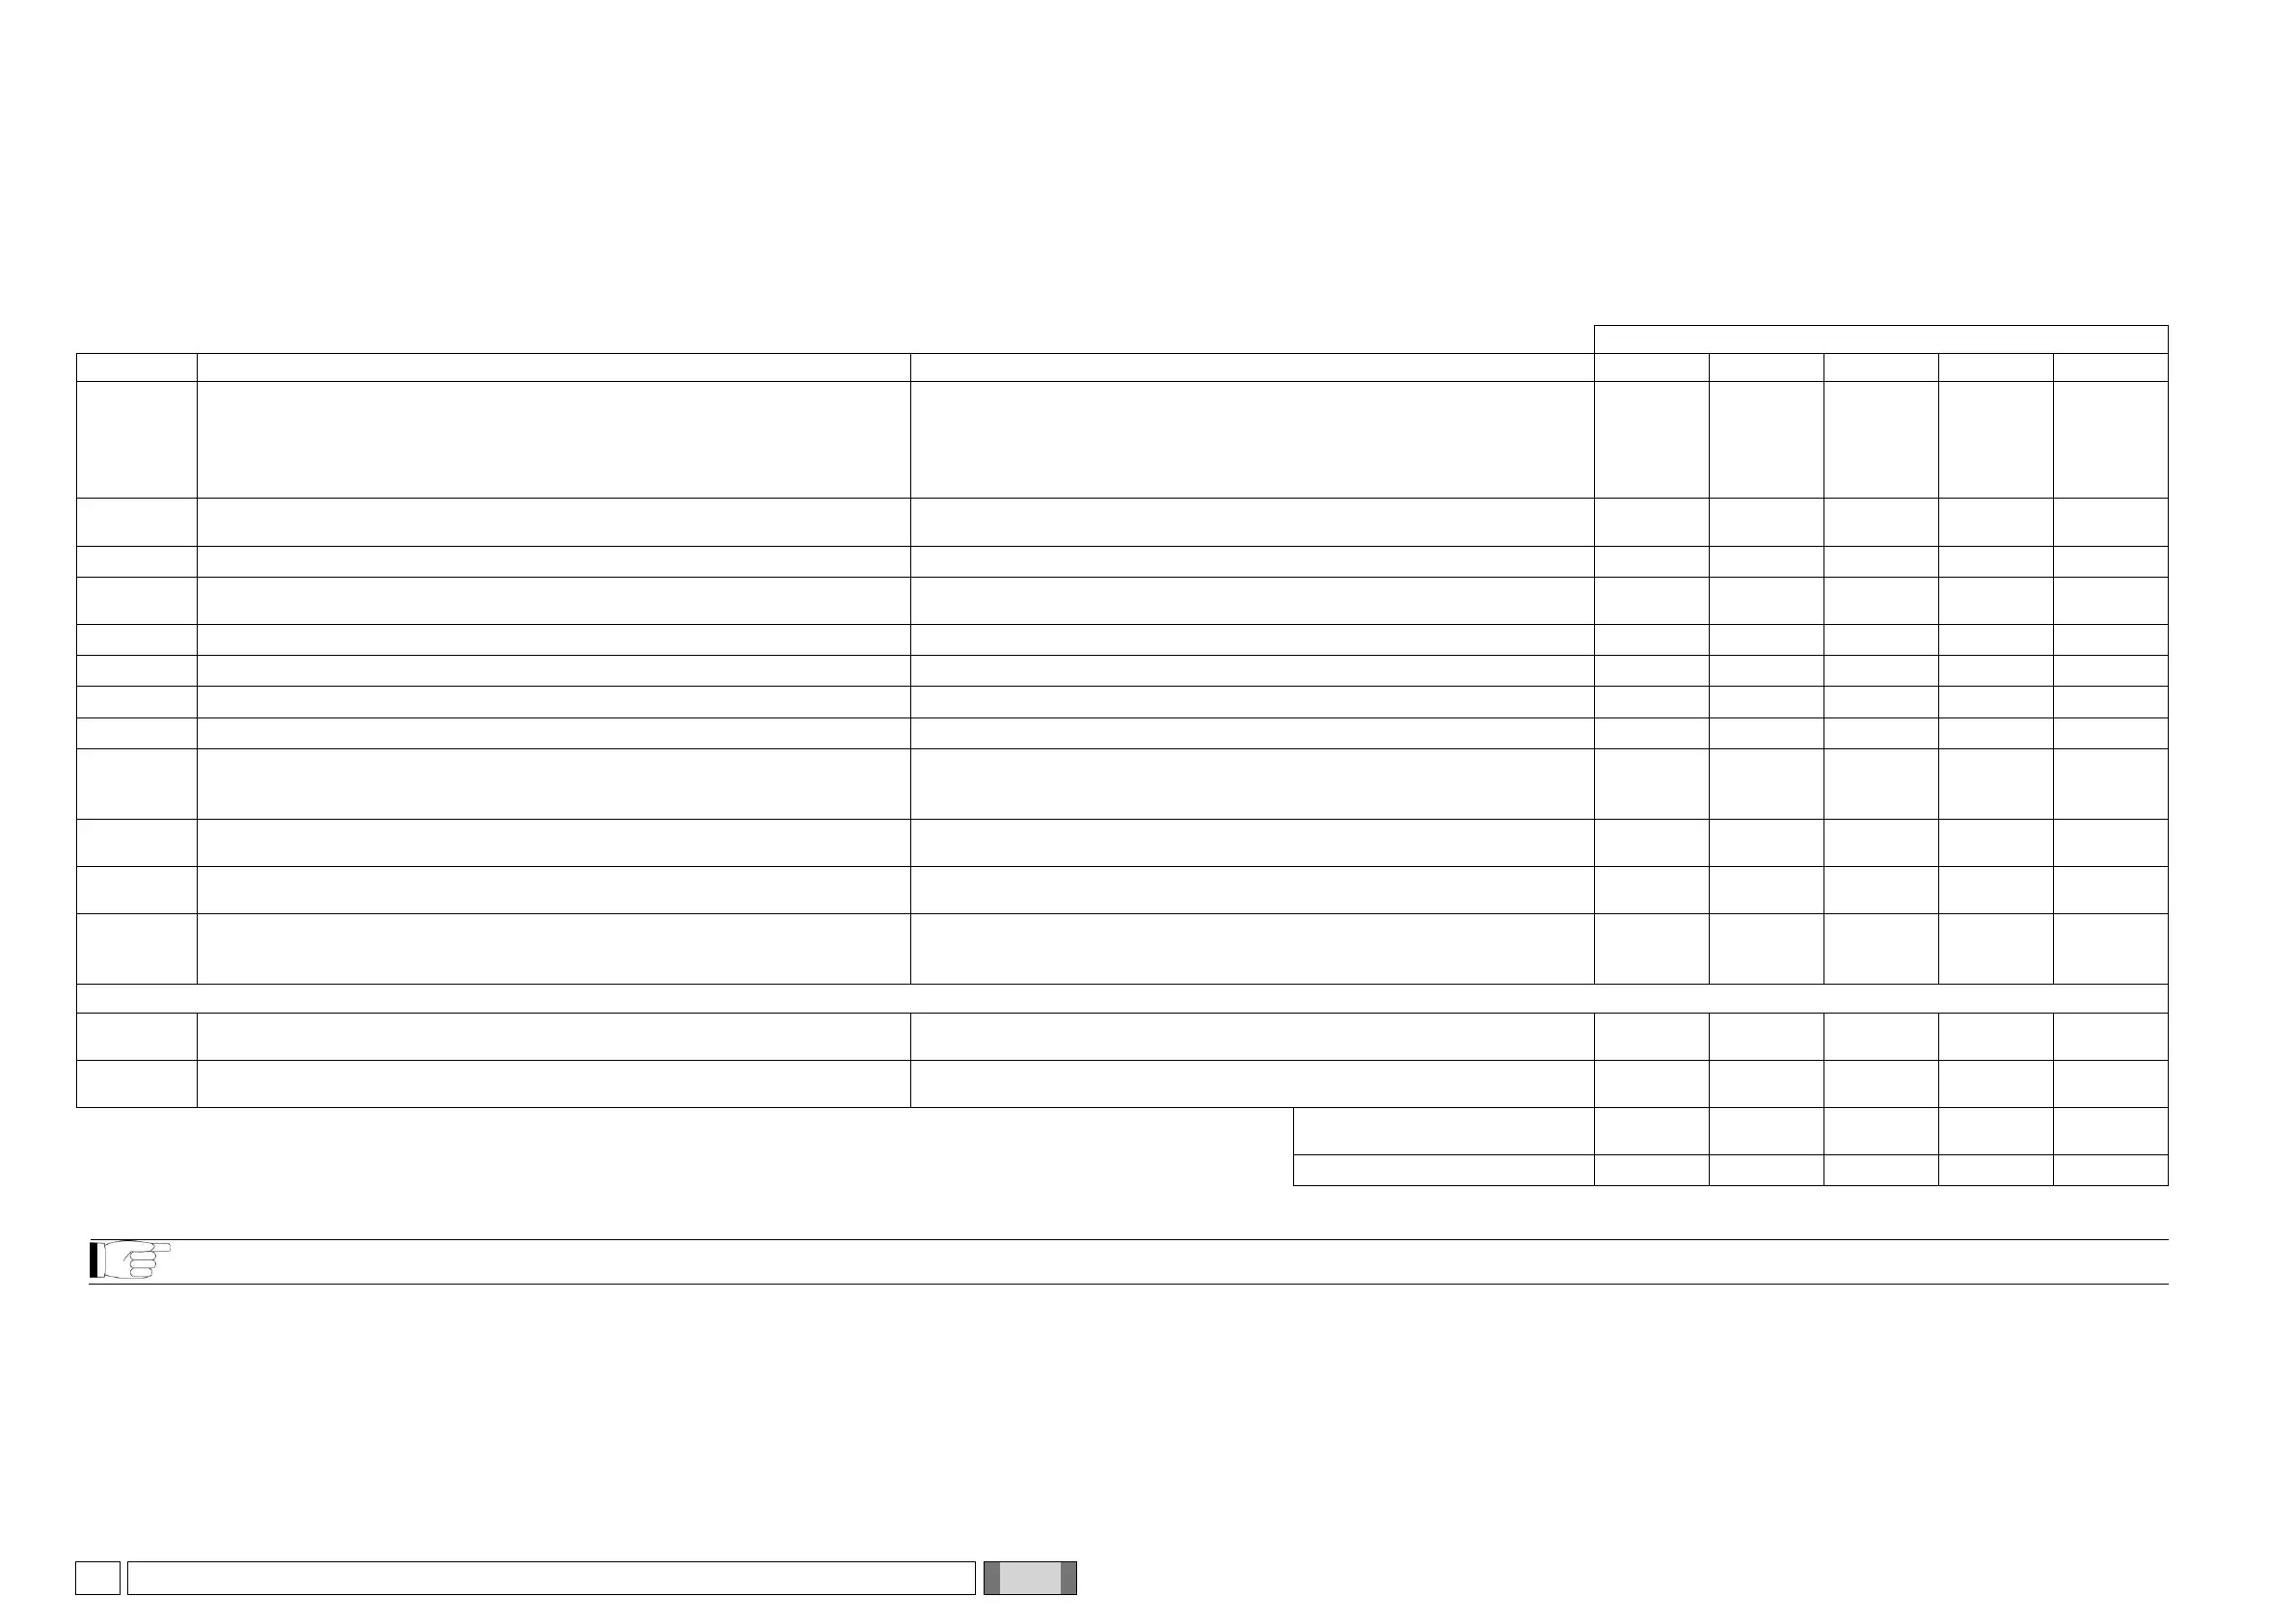
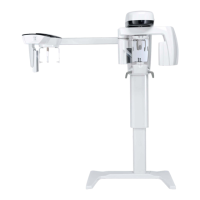
These instructions describe the maintenance procedures for the extraoral X-ray system.
These instructions apply to all versions of said equipment, as well as all the accessories that may have been provided, therefore the description of some parts may not correspond to your equipment.
Inspection and preventive maintenance must be performed at scheduled intervals to protect the health and safety of patients, users and other persons in accordance with national regulations regarding the use and maintenance of dental x-ray
units that are in force in the country where the device is installed.
In order to ensure the operational safety and functional reliability of your product, the system owner should check the equipment at regular intervals (at least once a year) or commission an authorised technician to do so.
If one or more checks to be performed are not satisfactory, please contact your dealer for technical support.
Answer questions with yes (√) or not (−)
Check that all labels located
- on the side of the device
- at the base of the column,
- on the X-ray tube housing,
are intact, well attached and legible.
User Manual, Section Identification plate position
Check there are no external damages to the equipment, which may reduce protection
against radiation.
User Manual, Section Description of operation
Check the remote emission button cable is not broken or scratched.
User Manual, Section X-ray emission remote control
Check the power switch verifying that the switch is working properly and the green light
on the switch, check if the keyboard illuminates when the switch is in the on position.
User Manual, Section Starting the system
Verify that exposure is immediately interrupted when x-ray button is released
User Manual, Section X-ray emission remote control
Check the control keyboard functionality: functions must respond to interrogation.
User Manual, Section Console onboard the machine
Check proper functioning of X-ray exposure LED and exposure buzzer
User Manual, Section X-ray emission remote control
Check proper functioning of patient centring laser traces
User Manual, Section Laser traces
Perform a movement test running the Dummy panoramic procedure, making sure the
axis movement (rotation and translation simultaneously) is smoothly and without noise.
See figure 1, next page.
User Manual, Section Perform a simulation (Dummy Run)
Perform column movements, up and down on the Z axis and check proper functioning.
See figure 2, next page.
User Manual, Section Console onboard the machine
Check the emergency stop button functionality. Emergency stop button is used to stop X-
ray device operation, it is located at the top near mains switch button.
User Manual, Section Emergency stop button
Check the x-ray generator functionality performing a complete trial exposure. Select any
panoramic exam and reset the unit. Hold down the emission button throughout the entire
exam procedure. Absence of error messages assures proper generator functionality.
User Manual, Section Performing a 2D X-Ray examination
If Quality Phantoms are not available at installation site, then contact your dealer tech support to have the Quality Assurance procedure performed at your premises
Perform an exam on the 2D Quality Phantom and evaluate the quality of the outcome
radiographic image.
Section 3D image quality controls
(
For 3D machines only
) Perform an exam on the 3D Quality Phantom and assess the
quality of the outcome image
Section 3D image quality controls
The undersigned confirms that the equipment was checked for the above criteria and that, in case of any malfunction, an authorised technician of the local dealer was informed.
All inspection and maintenance work performed by the system owner and/or service engineer must be recorded in this document and kept near the unit!