Figure: 6
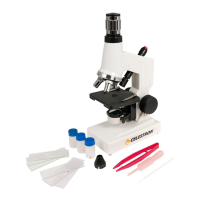
1. Use the clamp lever to open the clamping arm of the stage holder clamp.
2. Place a specimen slide (1in x 3 in / 25.4 mm x 76.2 mm size) inside the holder and gently close the clamping arm
against the slide.
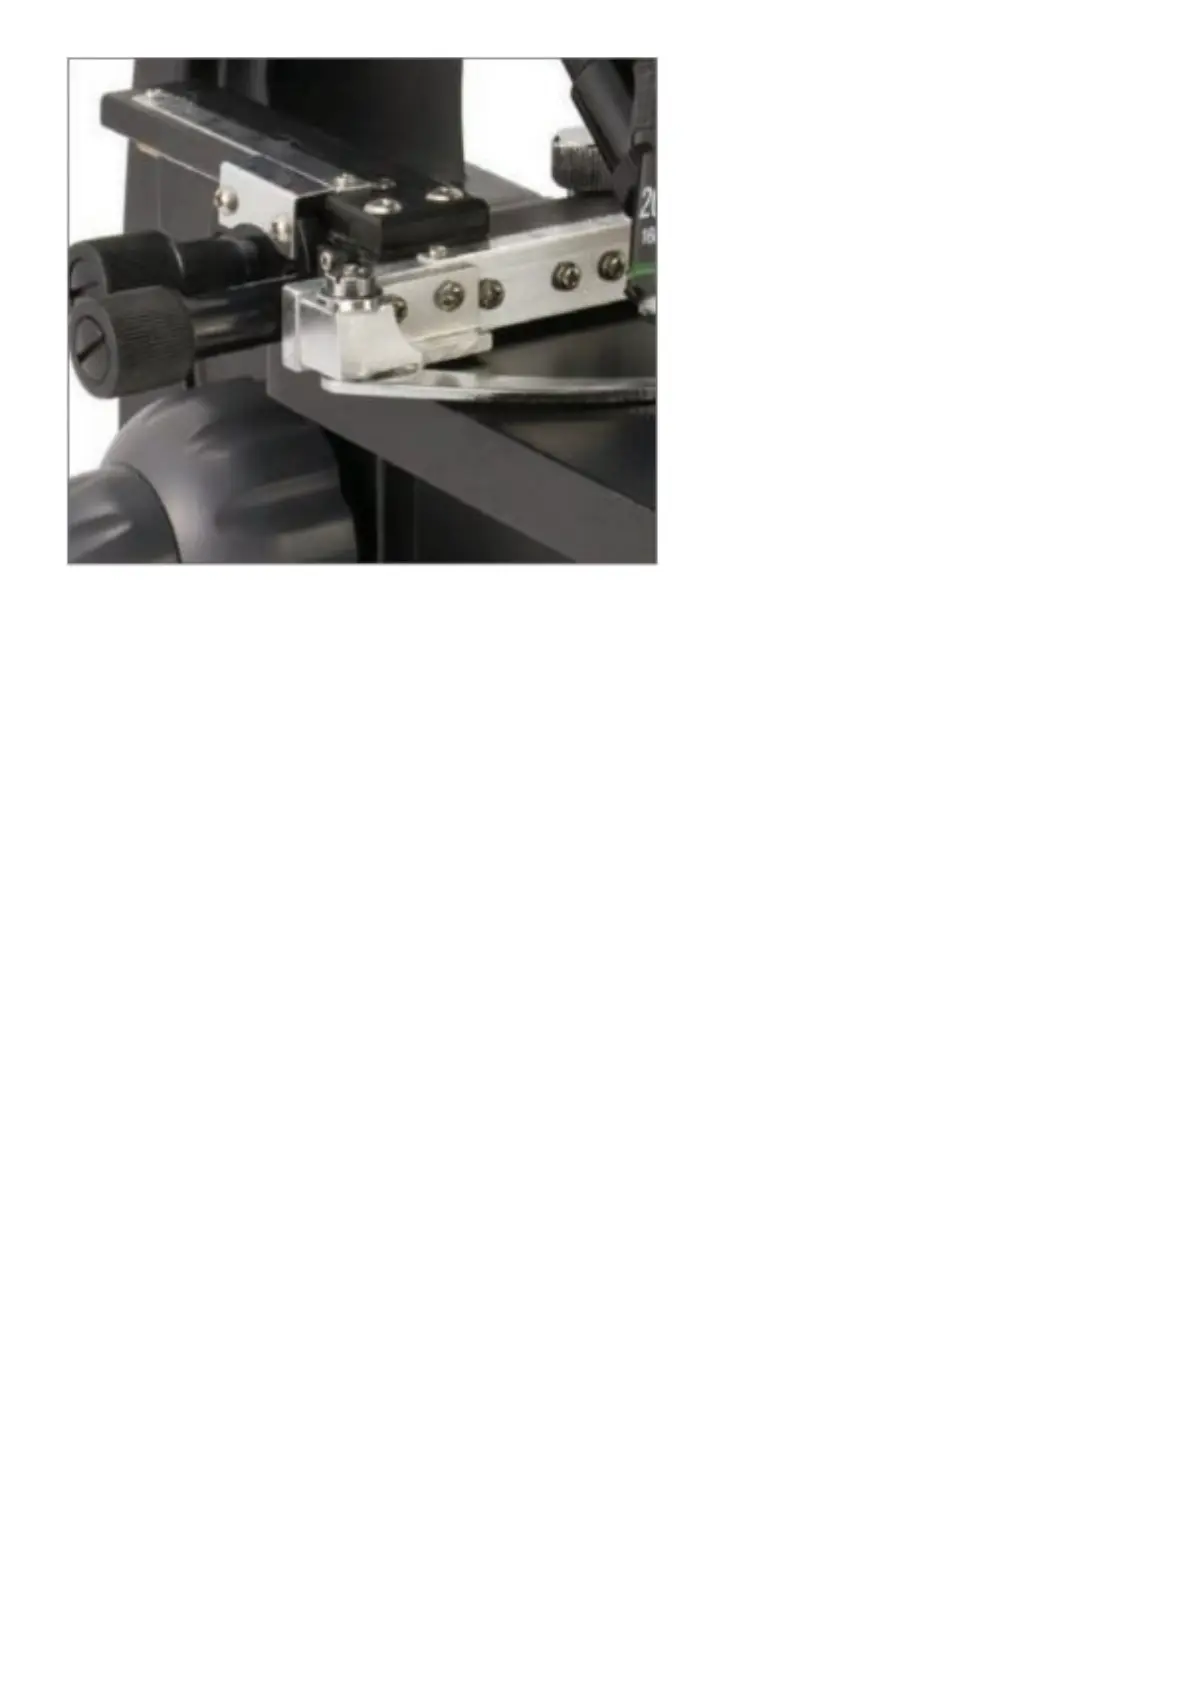
3. Use the stage movement knobs to position the specimen over the opening in the stage. The rear stage movement
knob moves the X-axis (forward and backward), while the front stage movement knob moves the Y-axis (side to
side). For first time microscope users, it will take some time to get used to the movements, but soon you will be
able to center objects easily.
NOTE: A vernier scale on both axes allows the exact marking and replication of an object in the field of view.
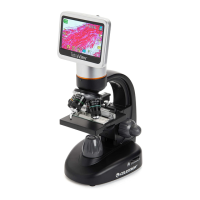
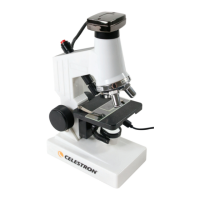
4. Use the objective nosepiece (Figure 1) to rotate the objective lenses (Figure 1) until the 4x objective lens is
directly over the specimen. Always start with the lowest power objective (4x with this microscope), which gives
you 40 power, and work your way up to higher powers. At 40 power, you will have the widest field of view and the
brightest image.
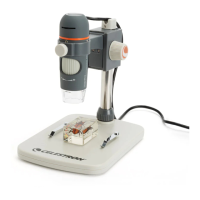
5. Look at the LCD screen while turning the focus knob (Figures 1 & 6) until the specimen comes into view. You may
need to adjust the stage movement knobs (Figure 6) slightly to center the specimen in the field of view. The larger
focus knob is the coarse focus and the smaller knob is for fine (exact) focusing.
6. With the 4x objective lens, you can also vary the power anywhere from 40x to 160x by using the digital zoom.
7. For higher powers, you will need to rotate the objective nosepiece to the 10x or 20x and to the 40x objective for
the maximum power. You will have to refocus when changing the power of the objective lenses. While using any
of these objective lenses, you also can increase power by using the digital zoom.
Note that using a higher power objective lens will yield sharper images than a lower power objective lens and
digital zoom for the same magnification.
8. To use the digital zoom, touch the screen icons on the right side of the screen to increase or decrease the power
from 1x to 4x.
NOTE: When changing objective lenses, lower the stage to its lowest position so you do not hit anything during
the rotation. At the higher powers, be careful when raising the stage close to the objective lens so that the
objective does not hit the slide specimen (or other object) and cause damage.
USING FILTERS & THE DIAPHRAGM
Normally, most viewing or imaging can be done without colored filters. Before using the microscope, check to make
sure no filters are in the optical path. To bring out different levels of detail, experiment with changing the color of the
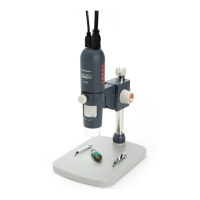
back lighting of the specimen especially for very bright transparent specimens. To change the lighting color, rotate the
wheel (Figure 7) to the desired color – Red (R), Green (G), Blue (B). Each color is centered when you hear/feel the
faint click stop. You may need to refocus by adjusting the focus knob (Figure 1) slightly for best viewing. You should
experiment with each of the colors to see what works best.