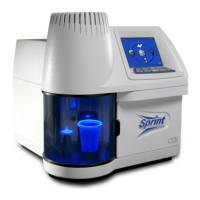
16. To edit the number
of decimal places for
displaying the result
precision, use the right
arrow key to high-
light the number. The
result precision can be
displayed with 2 or 3
decimal places. Press
the down arrow key to
display the choices. Use
the arrow keys to select
either “2” or “3.”
17. Press the “Enter” key.
18. Using the arrow keys,
select “Sample Details.”
Expected Protein Typical Sample Maximum Sample
Concentration Range Size
90% 0.1 g – 0.14 g 0.15 g
50% 0.2 g – 0.25 g 0.30 g
10% 0.7 g – 1.0 g 1.5 g
3% 2 g – 4 g 5 g
<1% 5 g – 20 g 30 g
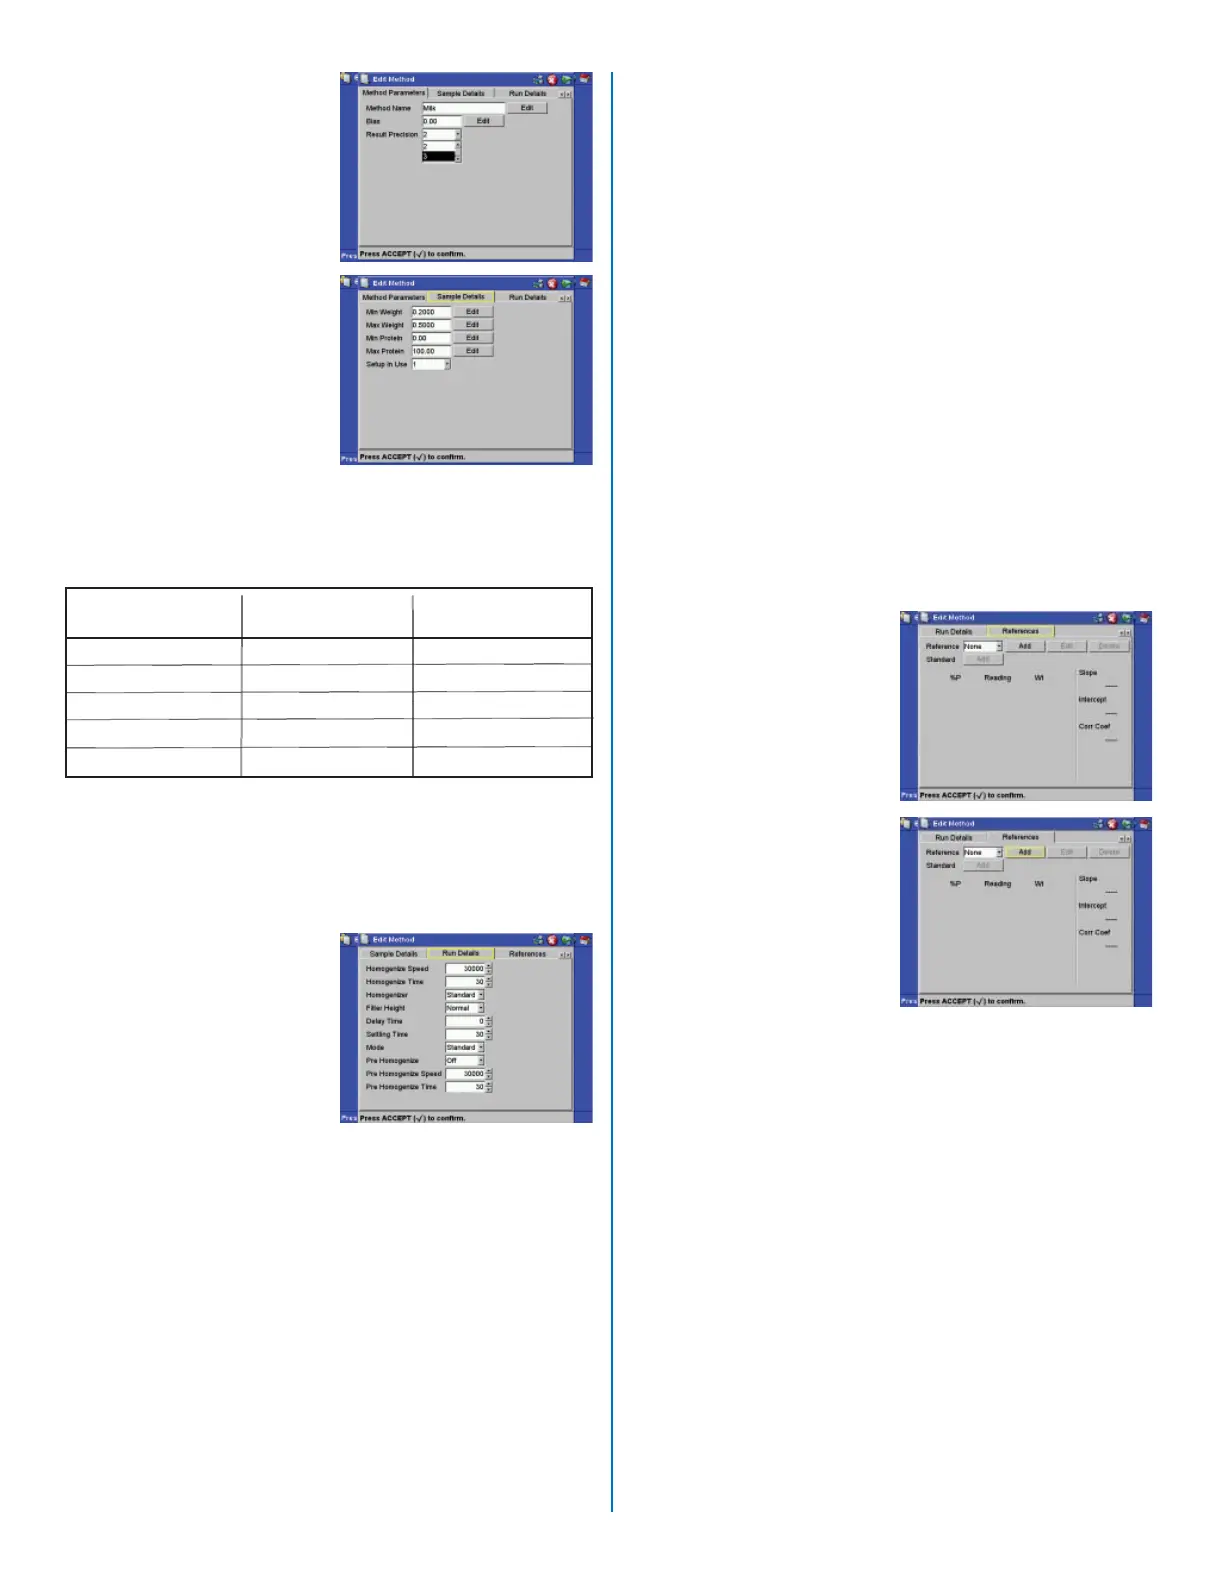
19. Use the arrow keys and “Enter” key to edit the mini-
mum and/or maximum sample weight.
Note: A typical sample size can be estimated based upon
the protein content of the sample (refer to the chart below).
20. Use the arrow keys and “Enter” key to enter the mini-
mum and maximum protein values of the reference
samples (standard AOAC values).
Note: If necessary, all values for the “Sample Details” can
be edited once the method is created.
21. Use the arrow keys
to to select “Run
Details.”
22. Use the arrow keys
and “Enter” key to
navigate and enter
method values.
Homogenize Speed – For liquids, begin with 20,000
RPM. For solids, begin with 30,000 RPM.
Homogenize Time – For liquids, enter 15 - 30 seconds;
for solids, 60 – 90 seconds; for raw meat, 90 seconds;
and for grain, up to two (2) minutes. Usually, the homog-
enize time will be between 30 – 60 seconds.
Homogenizer Type – Based on sample type, choose
either the Standard, Dairy or Meat homogenizer.
Filter Height (Aspiration Level) – Begin all methods with
the fi lter height at the default level (Normal). Changes
to the fi lter height change the height of the fi lter in the
sample cup. If a sample does not precipitate and fl oats,
adjust the fi lter height away from where it settles.
Delay Time – The delay time is the length of time the
iTAG® Solution 1 and the sample are in contact prior to
beginning homogenization. If the sample is extremely
dense, increase the delay time to permit the sample to
soften in the iTAG® Solution 1 prior to homogenization.
Settling Time – Unless the sample settles very slowly, al-
ways begin with a settling time of 30 seconds. Eggs and
some whey powders may require longer settling times.
Eggs sometimes froth and settle slowly. Note: A longer
settling time does not necessarily increase the sample
test time because the homogenizer is usually still going
through the cleaning process.
Mode – Some samples require dilution prior to analysis.
Choose either Standard or Dilution mode.
Pre-Homogenize – The pre-homogenize step is used if
the protein in the sample will not dissolve in the iTAG®
solution. Select the dilution mode. Select “On” or “Off”
for the pre-homogenize step.
Pre-Homogenize Speed – Select the homogenizer speed
to pre-homogenize the sample.
Pre-Homogenize Time – Select the time to pre-homoge-
nize the sample.
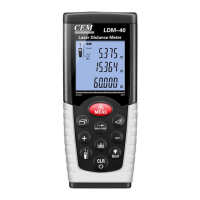
23. Once all Run Details
are entered, use the
arrow keys to select
“References.”
24. Use the arrow keys
to select “Add” to en-
ter reference values
(AOAC reference
values).
25. Using the arrow keys
and the “Enter” key,
select the numerals
and decimal of the
reference.
26. Once the reference
is selected, press the
“Accept” key.
27. Continue to select
“Add” and enter the
references until each
reference is added
into memory. Once
each reference is
selected, press the
“Accept” key.
28. Once a reference
has been entered,
it can be edited or
deleted by selecting
the “Edit” or “Delete”
keys.
26