page 36 www.centsys.com
FIGURE 62
FIGURE 63
FIGURE 64
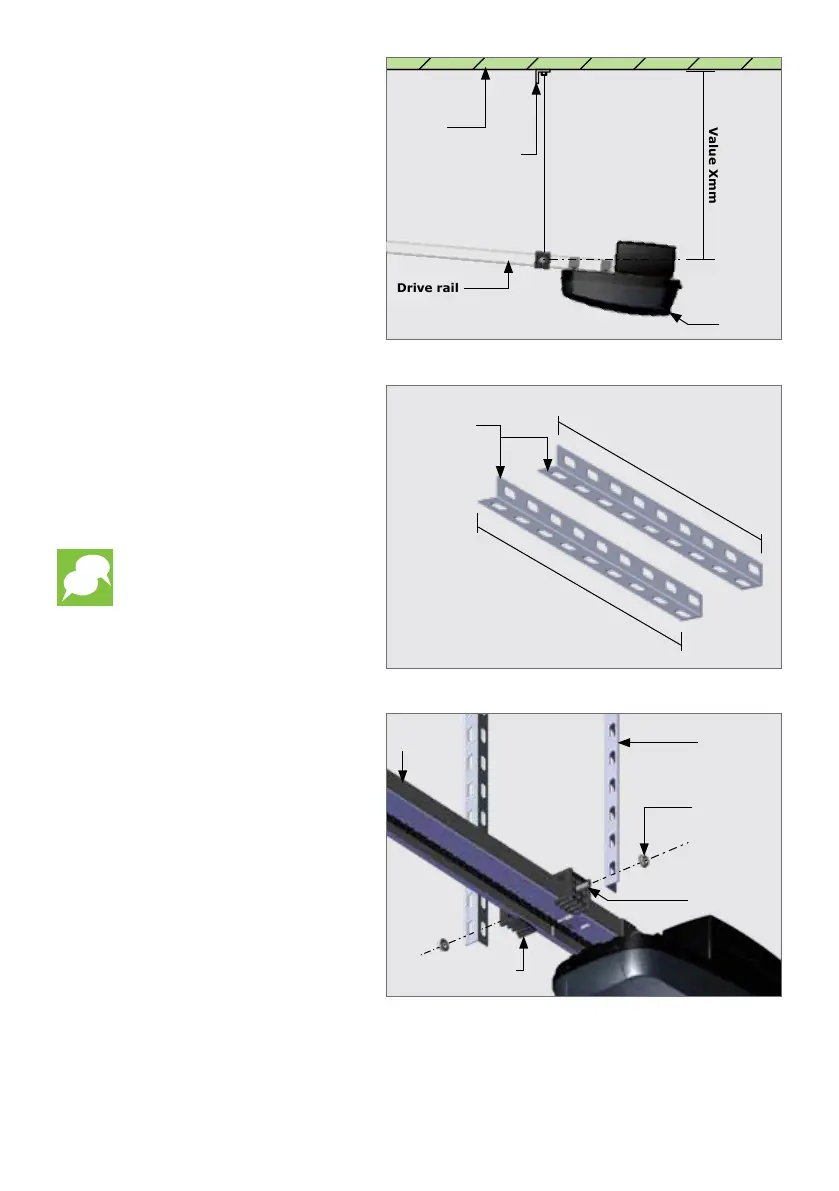
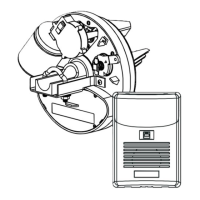
Position the SDO4 SMART again,
as shown in Figure 57, and measure
the length needed from the ceiling
to the underside of the drive rail,
marked as ‘Value Xmm’ in Figure 62.
Mounted punched
angle iron
Ceiling
Value Xmm
SDO4
SMART
Drive rail
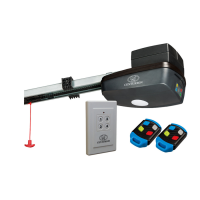
Remove the two drive rail hanger
nuts from the gutter bolts, and
locate the two lengths of punched
angle iron into position as shown in
Figure 64. Secure them in position
with the two drive rail hanger nuts.
Two equal
lengths
of punched
angle iron
Value Xmm
Value Xmm
Drive rail
hanger nut
Drive rail
hanger bolt
SDO4
SMART
Drive rail hanger
bracket
Punched
angle iron
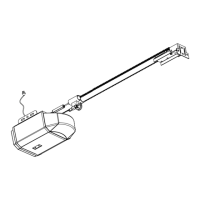
Using an angle grinder or hack saw,
cut two lengths of punched angle
iron to the measurement taken for
‘Value Xmm’.
Snip o the four corners of
the punched angle iron to
add a degree of safety and
neatness to the installation.
OPERATOR INSTALLATION - TIP-UP DOORSSECTION 6