64 – Monitoring – User manual – v1.2
Monitoring - CanDis
8.5.2 Description
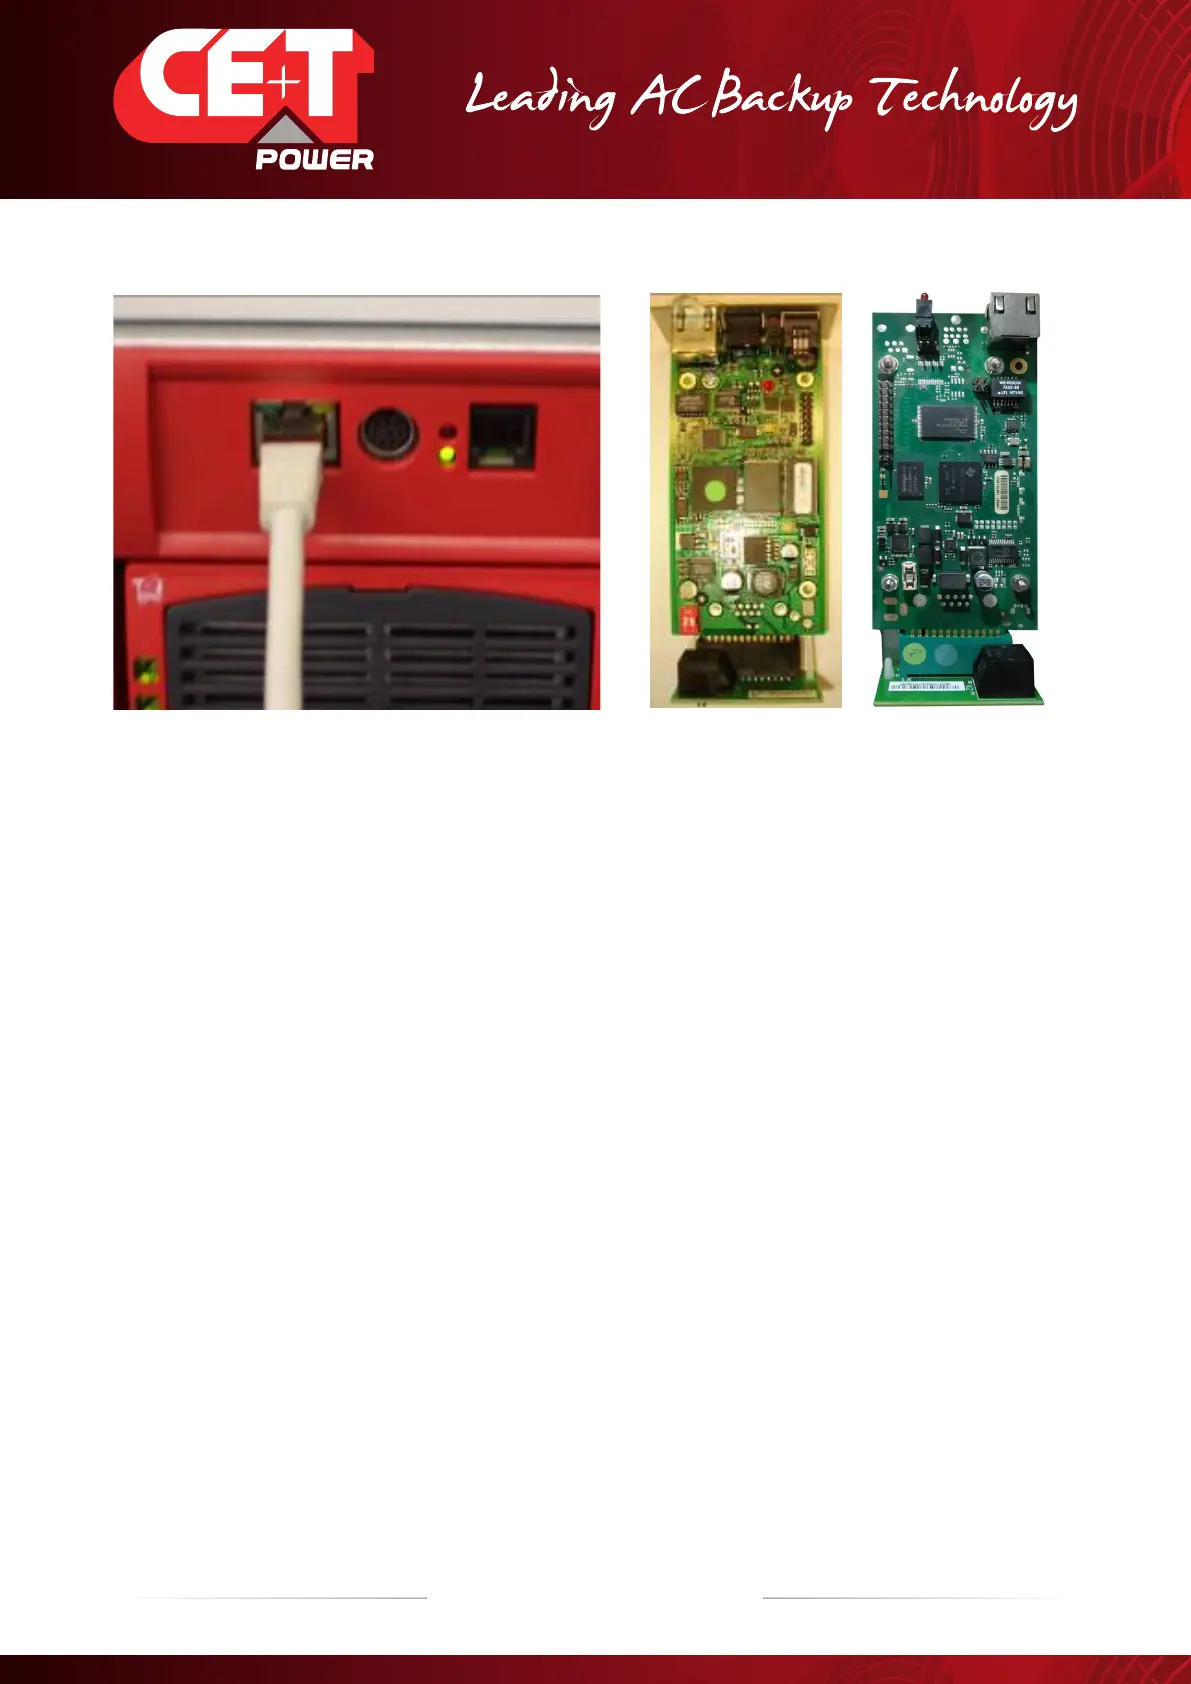
CS121 CS141
The powerful and flexible management card for TSI systems
CanDis / TCP-IP interface is a powerful and flexible network management card with autosensing Ethernet port included. CanDis /
TCPIP interface is a slot located inside the CANDIS Shelf.
Measurement values and alarms are written with time stamps into the non-volatile storage of the CanDis TCP-IP interface. The
time synchronisation protocols are written with precise time values.
The CanDis TCP-IP Interface provides its users with a simple to use overview for a broad range of functionality within its
monitoring and configurations capabilities. It has a high performing graphical analysis tool.
There is a live system on CE+T Power premises of which anyone can access the remote monitoring screens.
Password and access address can be obtained from your sales representative.
For more details about CS121 and CS141, refer Annexe 12.1, page 85
SNMP
The CanDis TCP-IP supports standard MIB and MIB extensions to make all of its information gathered from other service devices
available via SNMP, and can operate with major management platforms.
This MIB file can be obtained from your sales representative or from my.cet-power.com (if you’re an end-user and not a CE+T
customer, contact the company who has provided your TSI installation):
8.5.3 Configuration - CS121
This configuration procedure must be done through a web browser and requires a crossover Ethernet cable.
1. Connect the cross Ethernet cable between the Web-SNMP interface and your computer. At least one TSI inverter module
and the T2S monitoring unit must be in function.
2. Fix in your computer an IP address near of the default address Web-SNMP address: “192.168.100.196”. For instance
choose “ 192.168.100.194”
3. Open your favourite web browser and type in the URL field the following URL: http://192.168.100.196. If the default IP
address was changed or if you don’t know the last IP address, the only way to change the setting will using the section
8.5.5, page 68.