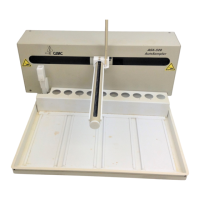
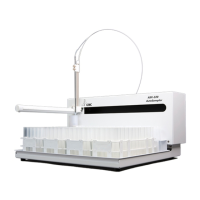
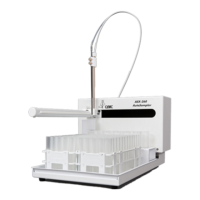
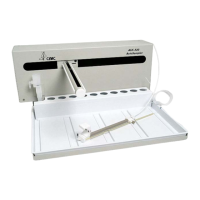
Guide to Installing the EXR-8 with a CETAC Autosampler
5
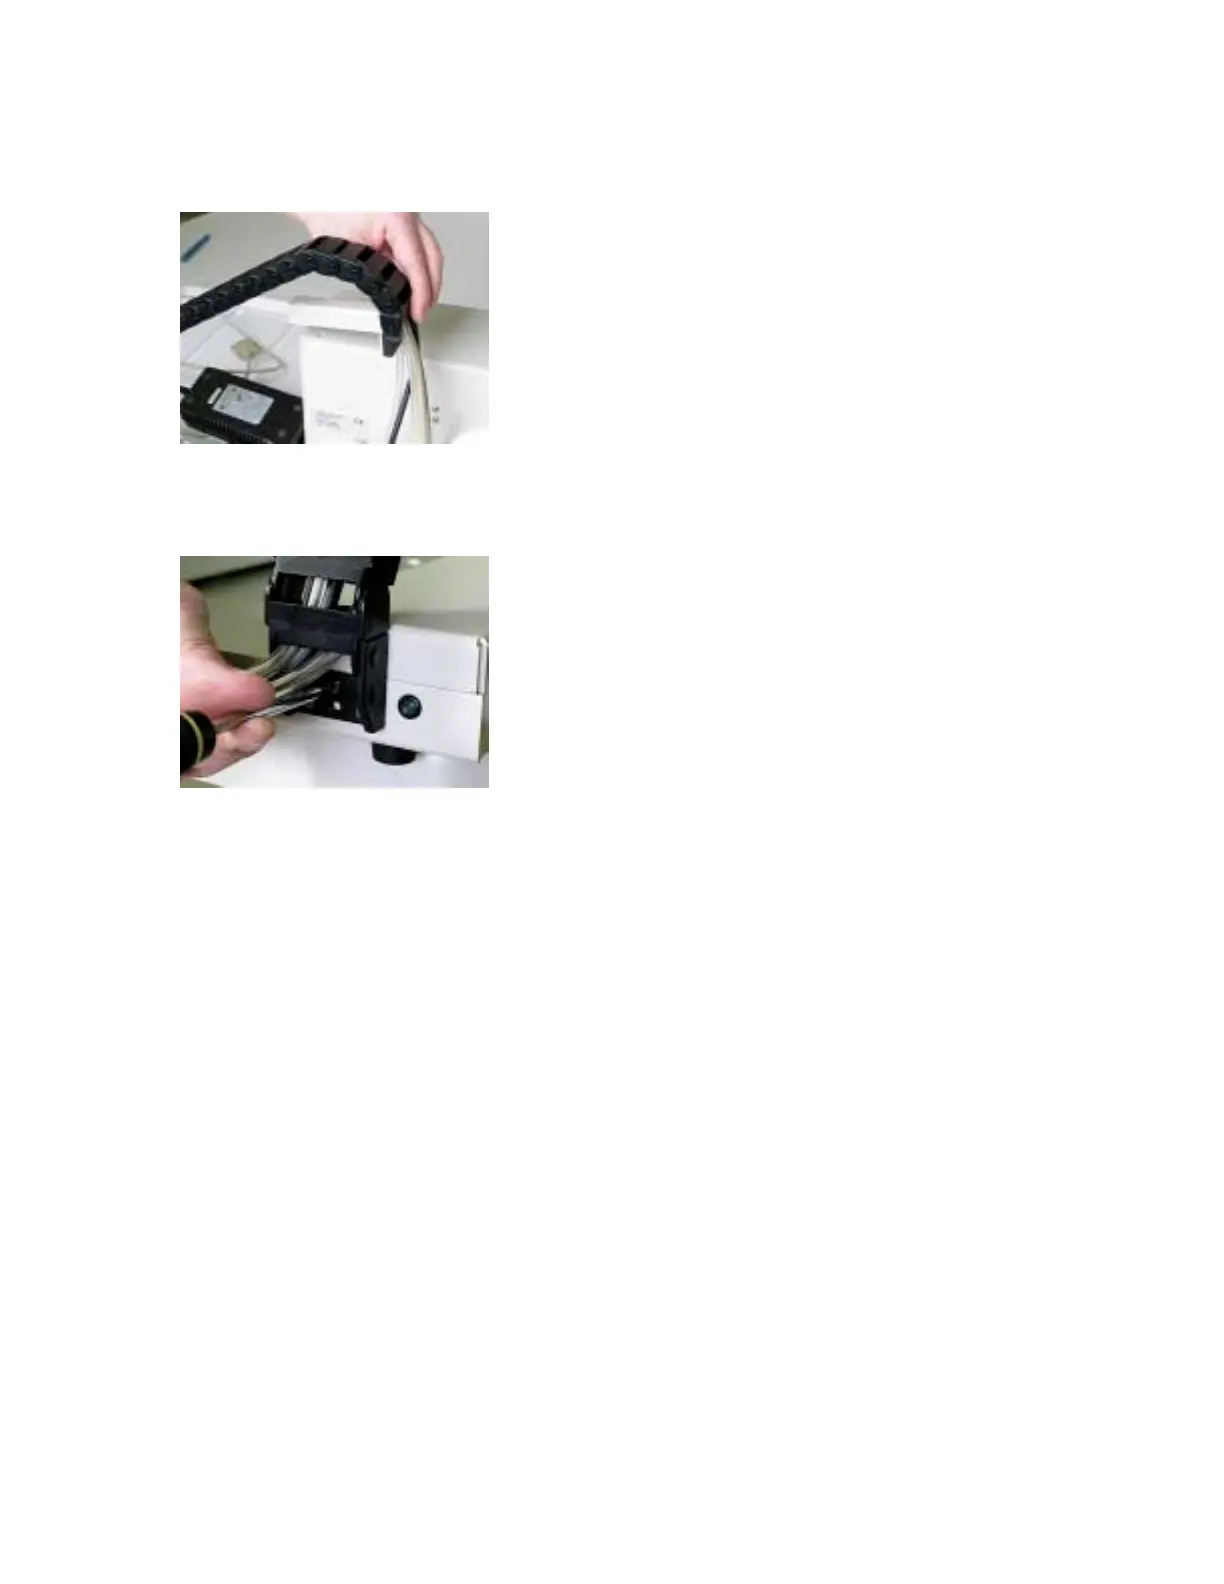
10. Attach the chain bracket to the top of the head assembly using the 10-32 screw found in Bag
B (Figure 12).
Figure 12. Attaching the chain assembly to the head assembly.
11. Attach the other end of the chain assembly to the right side of the Extended Rack (Figure 13)
using the three screws in Bag B.
Figure 13. Attaching the chain assembly to the Extended Rack.
Connecting the head assembly to the Extended Rack
1. From the top of the chain assembly, locate the serial cable labeled 1 and connect to the COM
1 on the head assembly.
2. From the top of the chain assembly, locate the serial cable labeled 2 and connect to the COM
2 on the head assembly.
3. Plug the power cable into the head assembly.
4. From the top of the chain assembly, locate the pump tubing and connect to the rinse pump
on the head assembly.
5. Replace the rinse output channel of the rinse pump with larger ID pump tubing which is
supplied in the EXR-8 completion kit.
6. Cut pump tubes to length allowing for flexibility (Figure 14).
7. From the end of the chain assembly, locate the serial cable labeled 2 and plug into the right
side of the Extended Rack.
8. Plug the power supply into the Extended Rack.
 Loading...