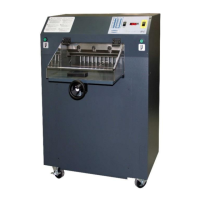
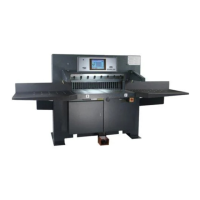
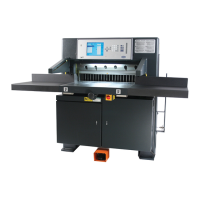
3.0 Maintenance Guide
8
3.1 Routine Maintenance
DISCONNECT POWER before making any adjustments or lubricating.
See page 4, SAFETY PRECAUTIONS, for Power Lockout Procedure.
Place this machine on your plant maintenance schedule. A clean, lubricated machine will run longer,
smoother, cut more accurately, with less downtime and fewer costly repairs. Schedule lubrication
both early in the day and early in the week. This allows the lubricants to work into the machine.
Lubrication at the end of the day or week allows the lubricants to run off without any benefit to the
machine. The following guidelines will help you set up a regular maintenance schedule:
3.1.1 Weekly
Clean — Clean off old, dirty excess grease. Remove the front panel cover and clean accumulated
dust off valves, hoses and connections. Built-up dust increases operating temperatures, which
causes premature wear to all hydraulic components.
Hardware — Remove front panel cover, rear panel cover, and top hood to check all nuts and bolts
for tightness. Loose hardware is the cause of most component wear and in the electrical area could
cause short circuits and/or shock.
Hydraulic Fluid — Low fluid level causes excessive heat and wear on the system. Check the fluid
level as described in section 3.2 below.
Oil and Grease — See section 3.3
3.1.2 Monthly
Backgauge Squaring — See section 3.4.2
3.1.3 Yearly
Change Hydraulic Fluid — See section 3.2
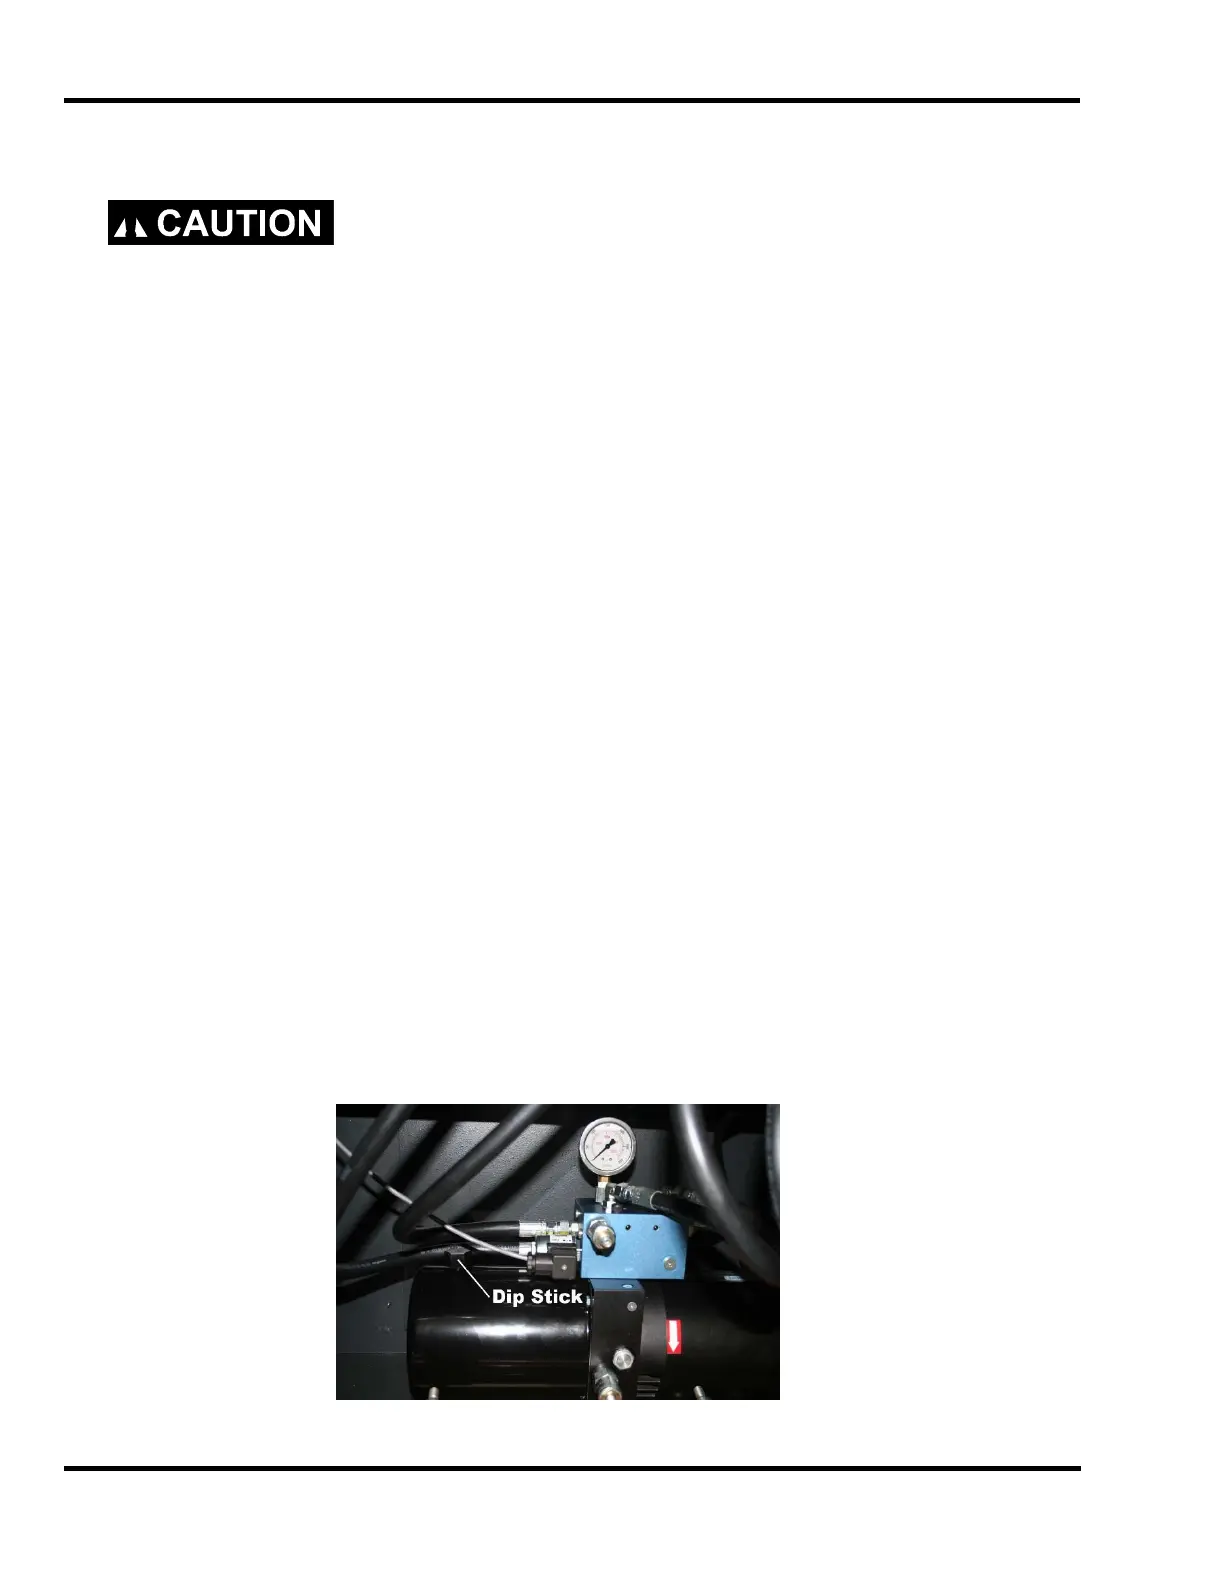
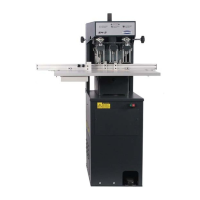
3.2 Checking/Changing the Hydraulic Fluid
The hydraulic fluid level should be checked weekly. To check, remove the lower rear cover and
unscrew the cap on top of the tank (Figure 2).
Figure 2