15
Installation
3 Attach the Rail to the Header Bracket
1. Align the rail with the header bracket. Insert the clevis pin through the holes in the header
bracket and rail. Secure with the ring fastener.
NOTE: Use the packing material as a protective base for the garage door opener.
Ring
Fastener
Clevis Pin
5/16
" X 2-3/4"
HARDWARE
Clevis Pin 5/16" x 2-3/4" Ring Fastener
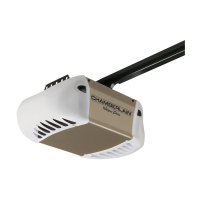
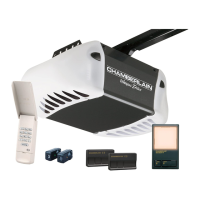
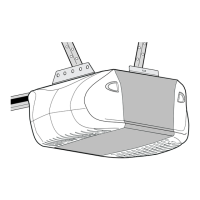
4 Position the Garage Door Opener
To prevent damage to garage door, rest garage door opener rail on 2x4 placed on top section of
door.
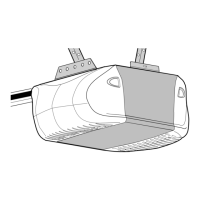
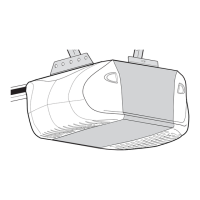
1. Remove the packing material and lift the garage door opener onto a ladder.
2. Fully open the door and place a 2x4 (laid flat) under the rail.
A 2x4 is ideal for setting the distance between the rail and the door. If the ladder is not tall enough
you will need help at this point. If the door hits the trolley when it is raised, pull the trolley release
arm down to disconnect the inner and outer trolley. Slide the outer trolley toward the garage door
opener. The trolley can remain disconnected until instructed.
 Loading...


