Page 7
Page 6
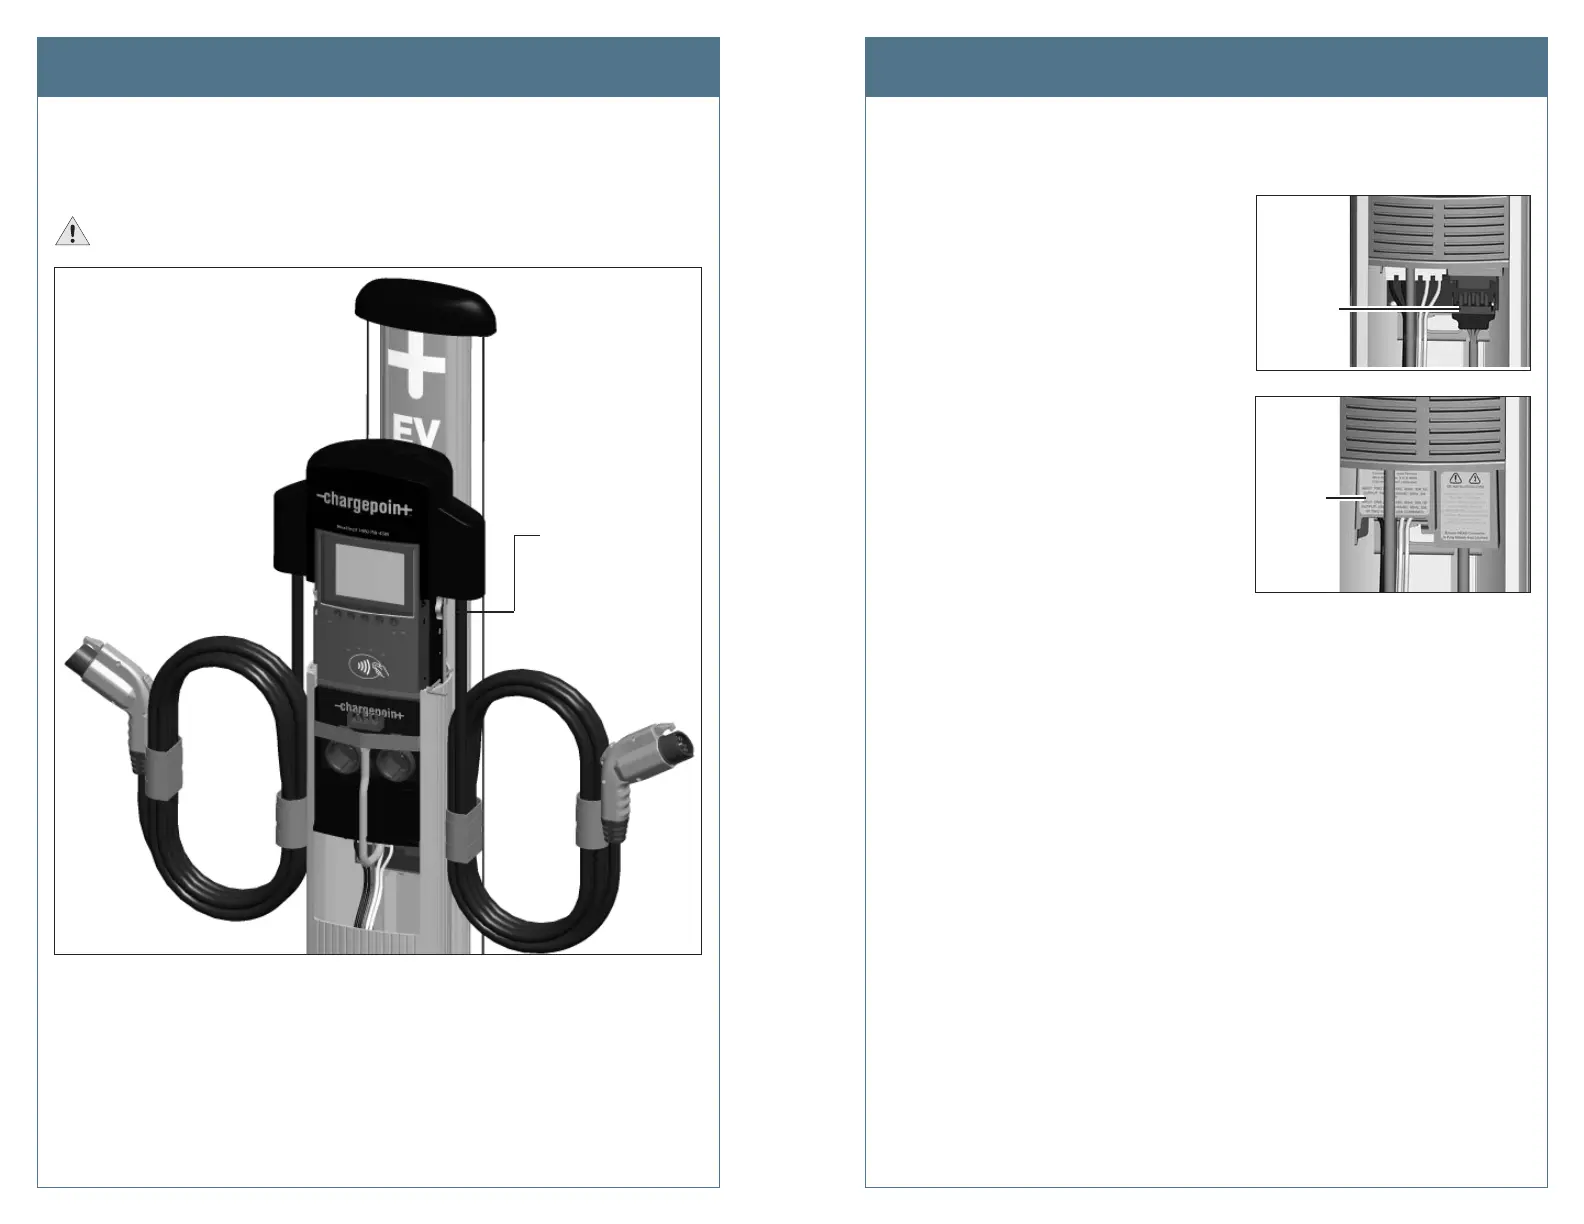
Step 2: Slide head assembly into the body.
Slide the head assembly into the main body and stop it in its raised position by inserting the
L-wrench into the marked hole on the right side of the head assembly, as shown.
IMPORTANT: Do not insert the charging connectors into the holsters until after you’ve
powered up the station. Doing so causes the holsters to permanently lock.
Step 3: Connect the head assembly.
a) Remove the yellow strap from the blue connector.
b) Connect the blue connector to the
terminal block, ensuring it clicks into
place.
c) Push the cover down over the terminal
block.
Step 4: Power up the station.
At the electrical panel, power up the charging station.
Install the New Head Assembly Install the New Head Assembly
Connect
the blue
connector
to the
terminal
l
k
Push the
cover
down over
the terminal
block
Insert the L-wrench
into the marked
thru-hole to keep
the head assembly
raised