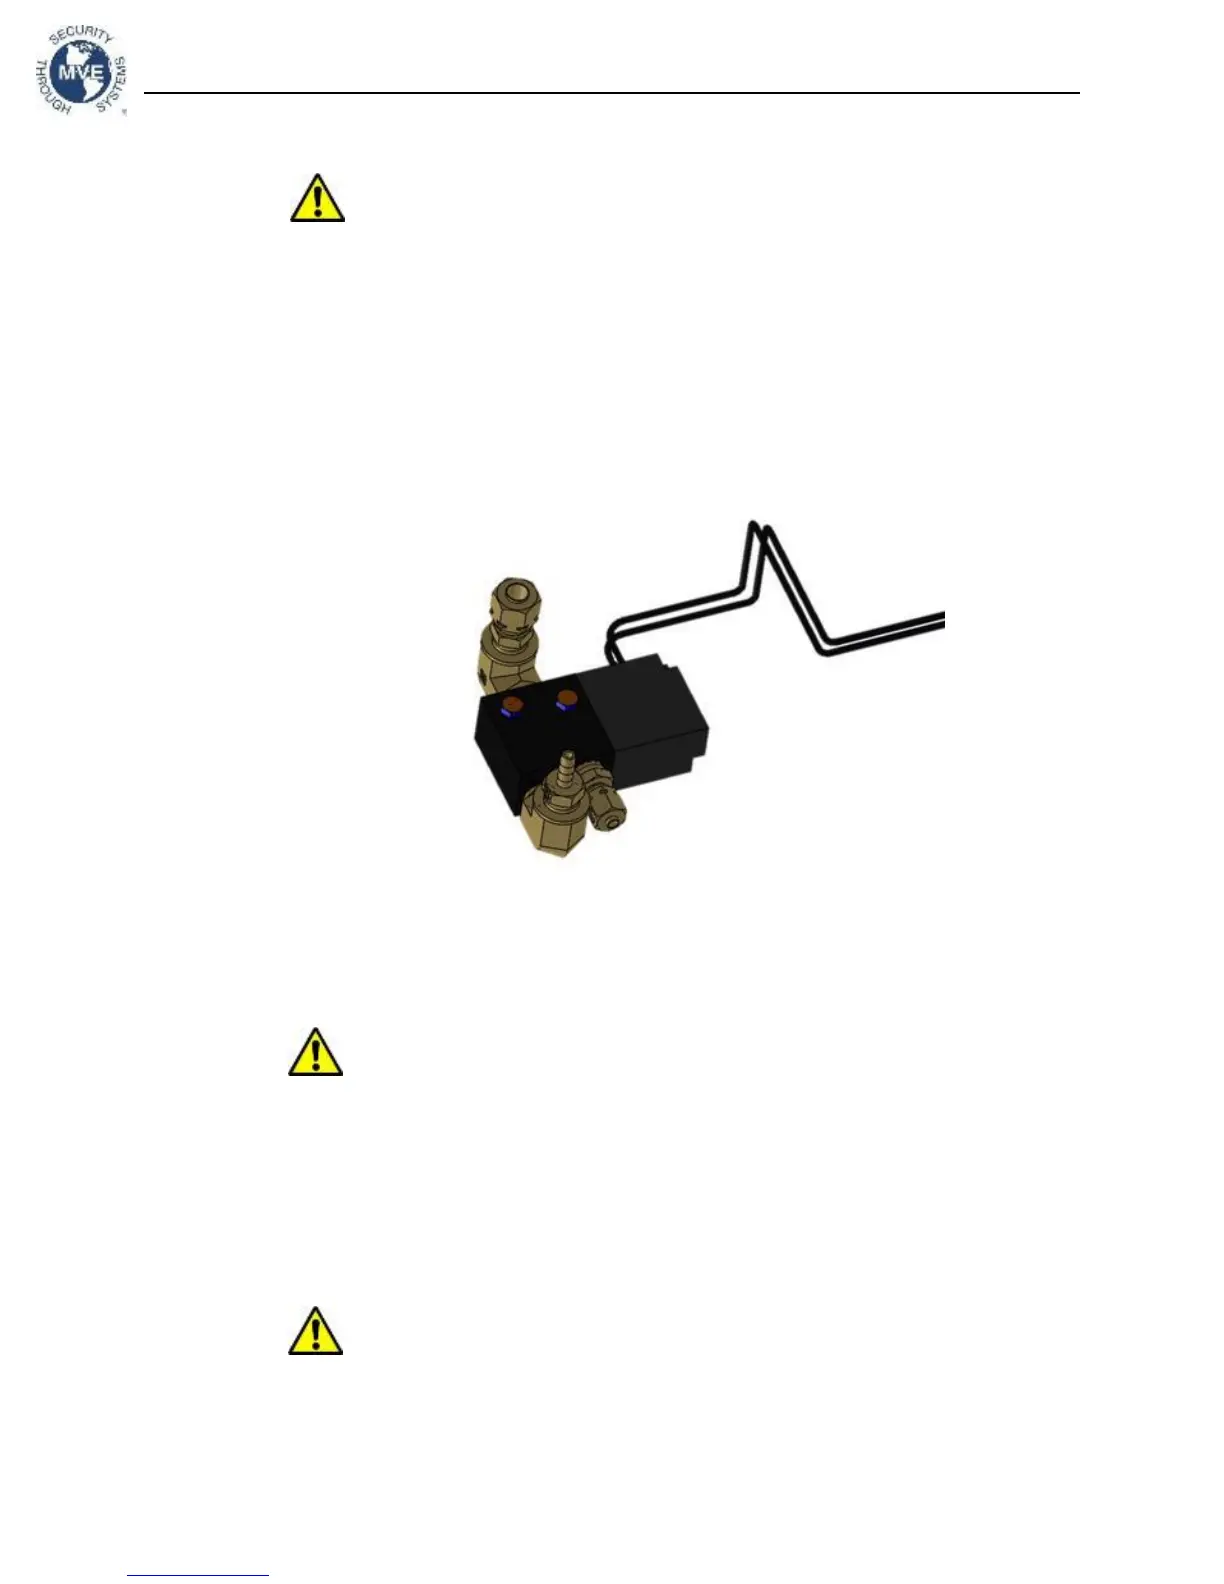
Purge Valve Replacement
CAUTION: Ensure that the LN2 supply valve is closed and the plumbing
assembly is vented before removing the solenoid valves.
1.
Remove plumbing shroud (on HE and HEco series) or rear access panel (on MVE series) to
gain access to plumbing system.
2.
Disconnect the Purge Valve wires from the TEC3000 wire harness.
3.
Using an adjustable wrench, disconnect the copper tubing from the 2 fittings on the Purge
Valve assembly.
4.
Disconnect the clear vinyl tubing from the barbed fitting.
5.
Remove the two bolts that mount the Purge Valve to the plumbing platform.
6.
Repeat steps 1-5 in reverse order to install a new Purge Valve.
Relief Valve Replacement
CAUTION: Ensure that the LN2 supply valve is closed and the plumbing
assembly is vented before removing the relief valve.
1.
Remove plumbing shroud (on HE series) to gain access to plumbing system
2.
If equipped with a relief valve deflector, loosen the deflector clamp and slide off the deflector.
3.
Loosen the relief valve and remove it from the plumbing assembly. Be sure to support the
attachment tube with wrench to prevent damage from twisting.
4.
Install new relief valve (PN 1810032) applying new Teflon tape if needed. Ensure relief valve
is rated to 50 PSI (3.4 bar).
CAUTION: Installing a relief valve with a different pressure rating could prevent
proper operation and lead to a dangerous over pressurized condition.
Additionally, this will void any warranty.