10
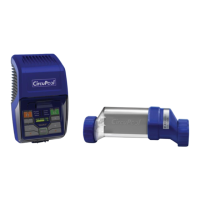
Using the Control Module
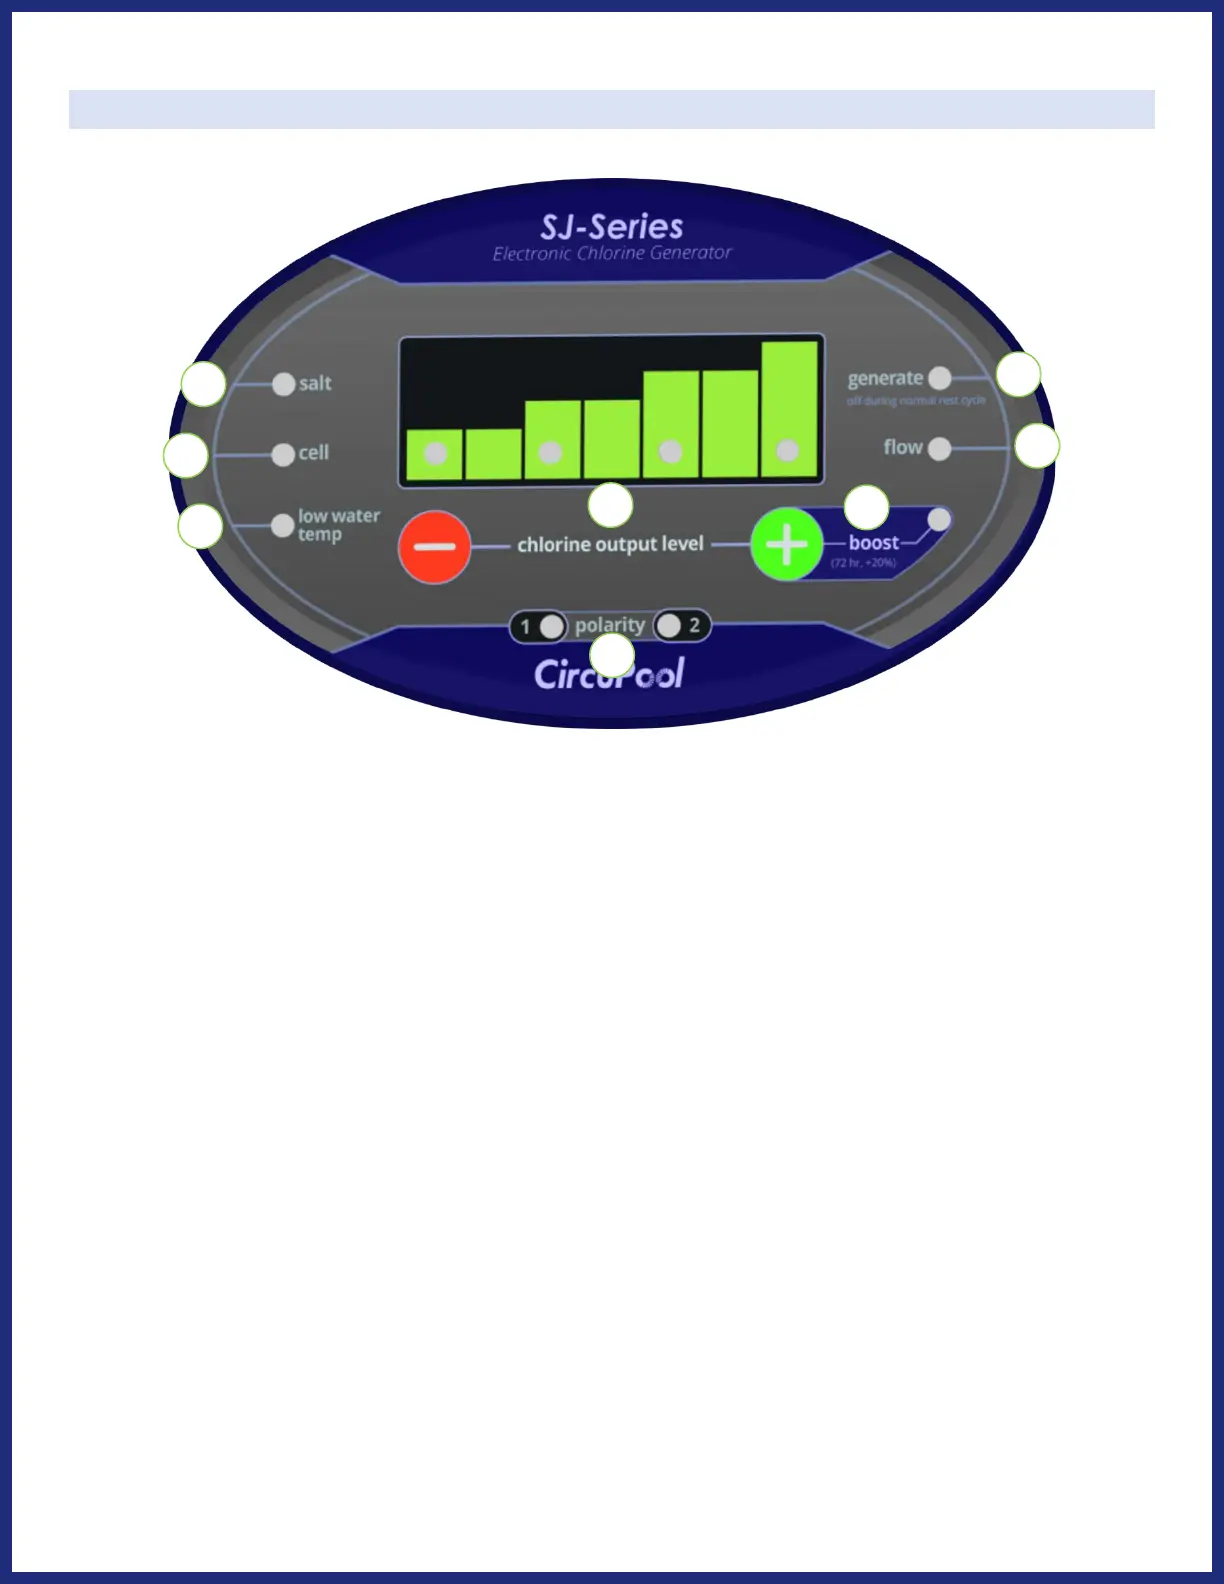
CONTROLS:
1) Chlorine Output Level: Press the “-” or “+” buttons to adjust the current level of chlorine output
(the rate of chlorine production). Displayed on the LED indicators in the graph above, this is the
system's power setting that you will choose in order to customize operation for your pool's needs.
2) Boost: After raising the chlorine output graph to full, pressing the ”+” again will activate the Boost
Mode. This will raise the chlorine output to max (an additional 20%) for 72 hours of run time, after
which the system will automatically return to its previous setting.
3) Polarity: These LED will alternate automatically every 6 hours of run time as part of the system's
self-cleaning feature. These lights do not require any action and do not need to be monitored.
4) Salt: The LED indicator will be illuminated green normally. If this light becomes red, the system is
unable to operate and there may be insufficient salinity, see pages 22-23 for troubleshooting.
5) Cell: The LED indicator will be illuminated green normally. If this light becomes red, the system is
unable to operate and the cell may require service or cleaning, see pages 22-23 for troubleshooting.
Note: the Salt & Cell indicators will be typically be lit within about 2 minutes of cell generation.
6) Low Water Temp: If this light is illuminated red, the system has detected that the water temperature
is too low for chlorine generation. This may be a normal occurrence with seasonal temperatures.