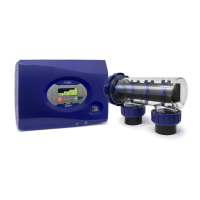
15
IMPORTANT: If you haven’t already done so, it is necessary to balance the pool's water chemistry before the
SJ-Series is powered on and used. See pages 6 - 8 for more information.
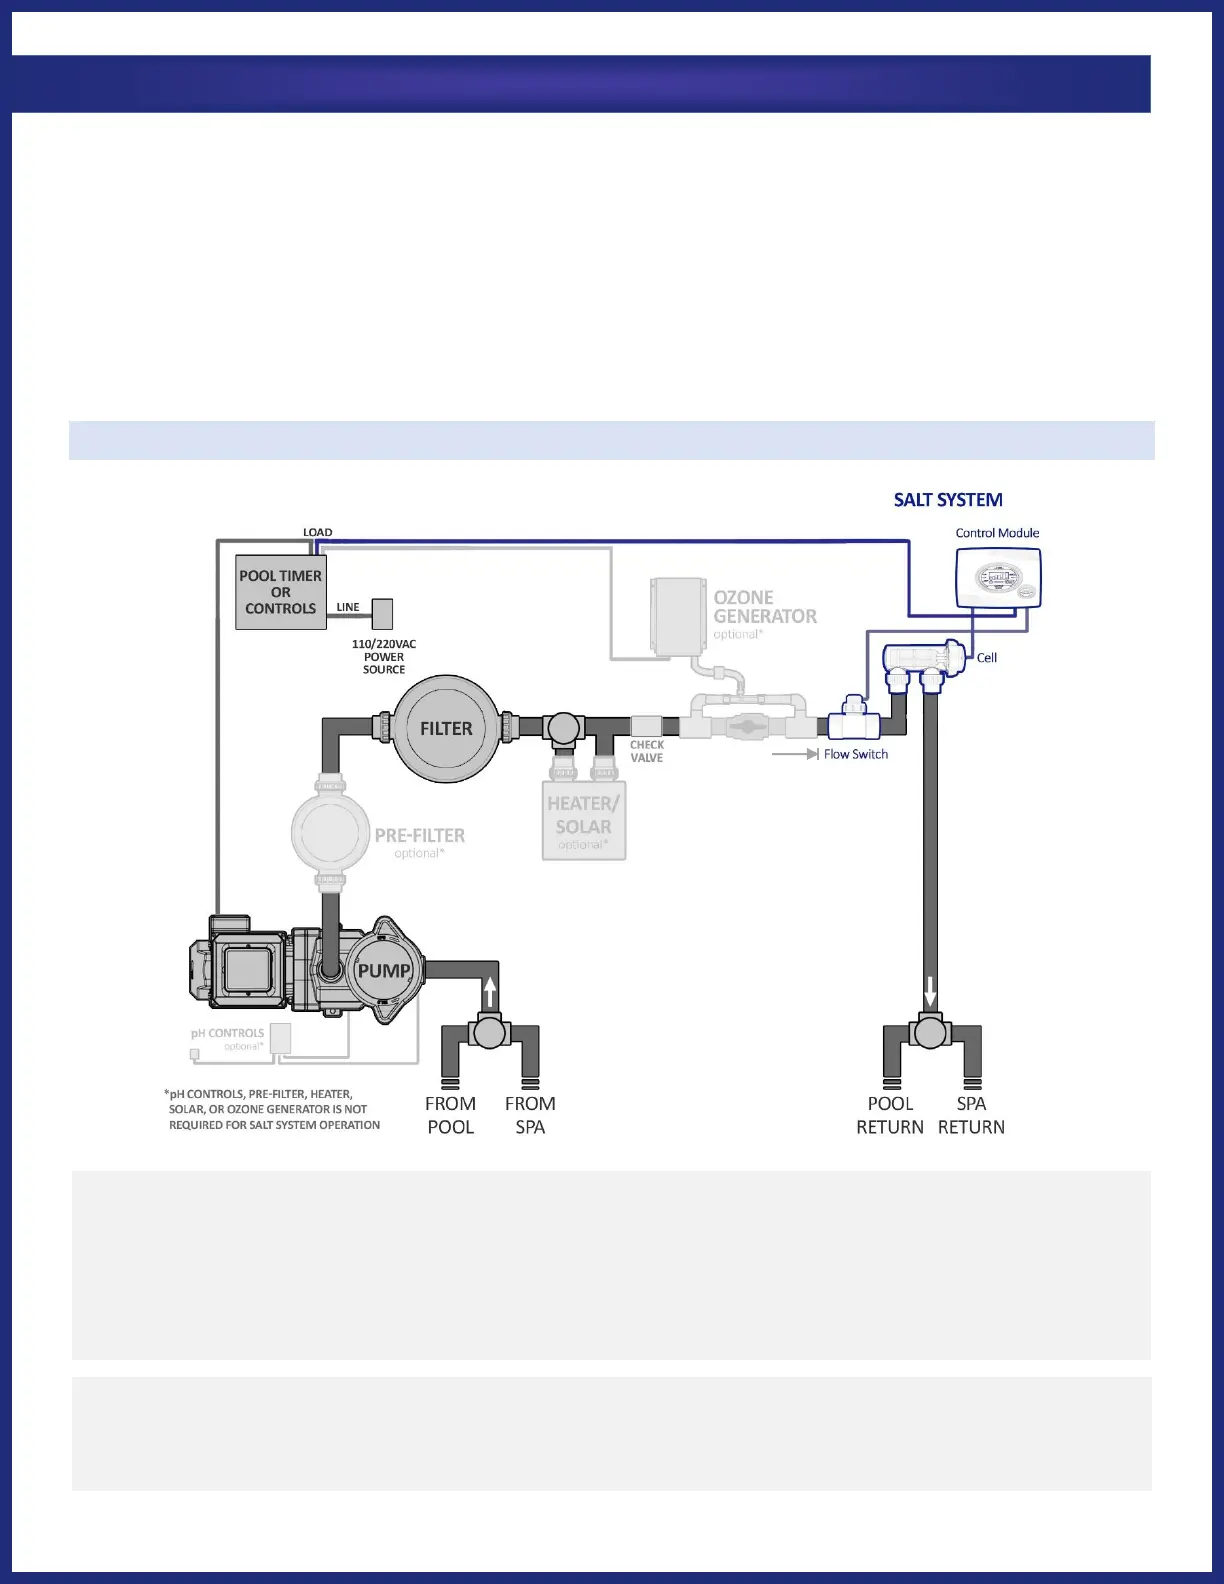
The following are guidelines for the typical installation using 2” plumbing, which should be performed by a
qualified individual. If 1.5” plumbing is present, reducers (not included) can be used to adapt the system; be
sure to note the changes to any listed measurements or dimensions that the addition of reducers may cause.
Your installation may vary depending on space available and your specific arrangement of equipment. Double
check each measurement before cutting.
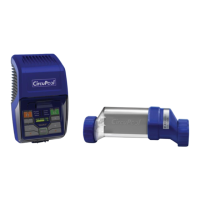
Overview
CAUTION: Ensure that the pool pump and all electrical power are turned off before installation.
TIP: Lay out your equipment and wiring to confirm placement and measurements first before cutting and gluing.
TIP: Be sure to clean & smooth cut pipe. Clean all parts with PVC Primer. When gluing PVC, parts will slip in place
easier once glue is applied. Be sure to apply firm, constant pressure between both glued parts for up to a minute to
prevent potential slippage. Allow for glue to dry after each step.
IMPORTANT: These instructions are for 2” plumbing (typical). For installations using 1 ½" plumbing, you can simply
use 2"-to-1 ½" reducers (not included) to adapt the ports of the Cell Housing. For 1 ½” installations, be sure to note any
new or additional measurements before cutting pipe.