3. Use a number 1 Phillips or flat-blade screwdriver to tighten the screws..
Connection Procedures and Precautions
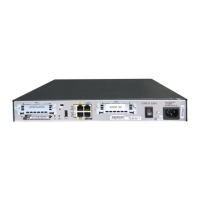
After you have installed the router chassis, perform these steps to connect the WAN and LAN interfaces:
• Connect each WAN and LAN to the appropriate connector on the chassis.
• Position the cables carefully so that you do not strain the connectors.
• Organize cables in bundles so that cables do not intertwine.
• Inspect the cables to make sure that the routing and bend radius is satisfactory. If necessary, reposition
the cables.
• Install cable ties in accordance with site requirements.
Configure the Router at Startup
After installing the router and connecting the cables, you can configure the router with basic configurations.
For more information on how to configure the router, see the Cisco 1100 Series Software Configuration Guide.
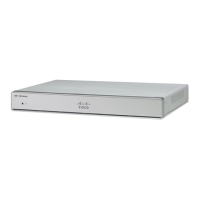
Hardware Installation Guide for the Cisco 1100 Terminal Gateway
35
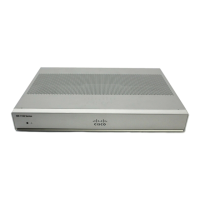
Install and Connect the Router
Connection Procedures and Precautions
 Loading...